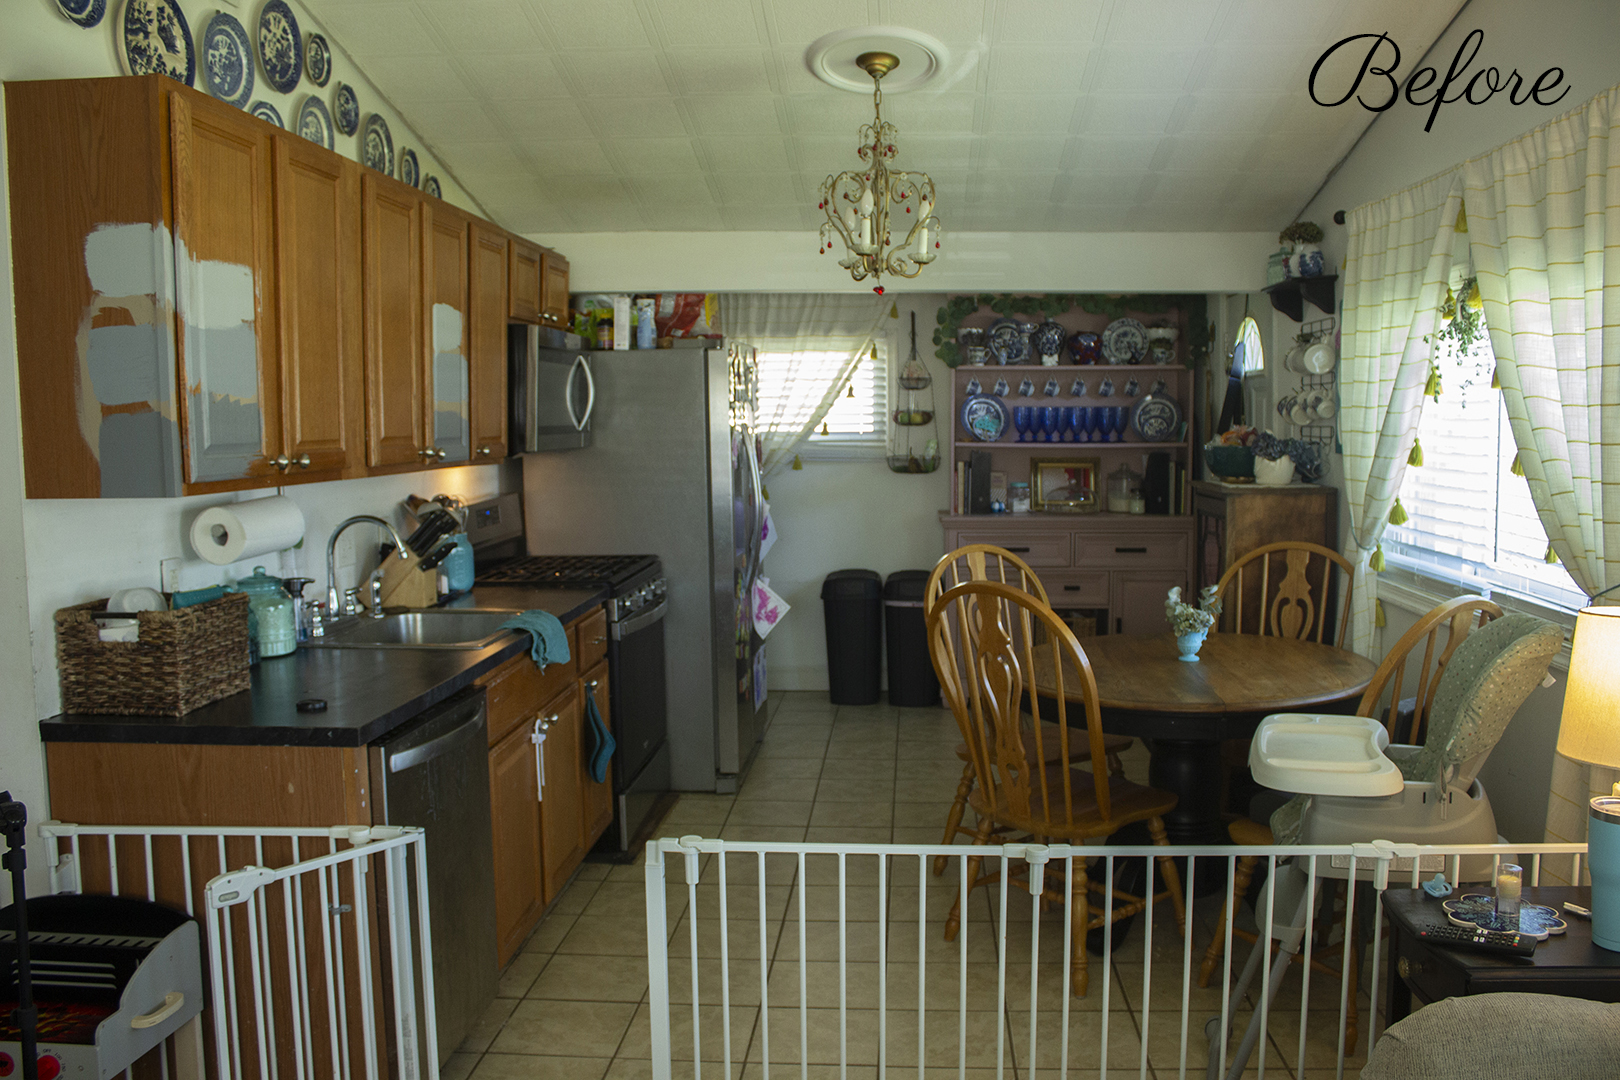
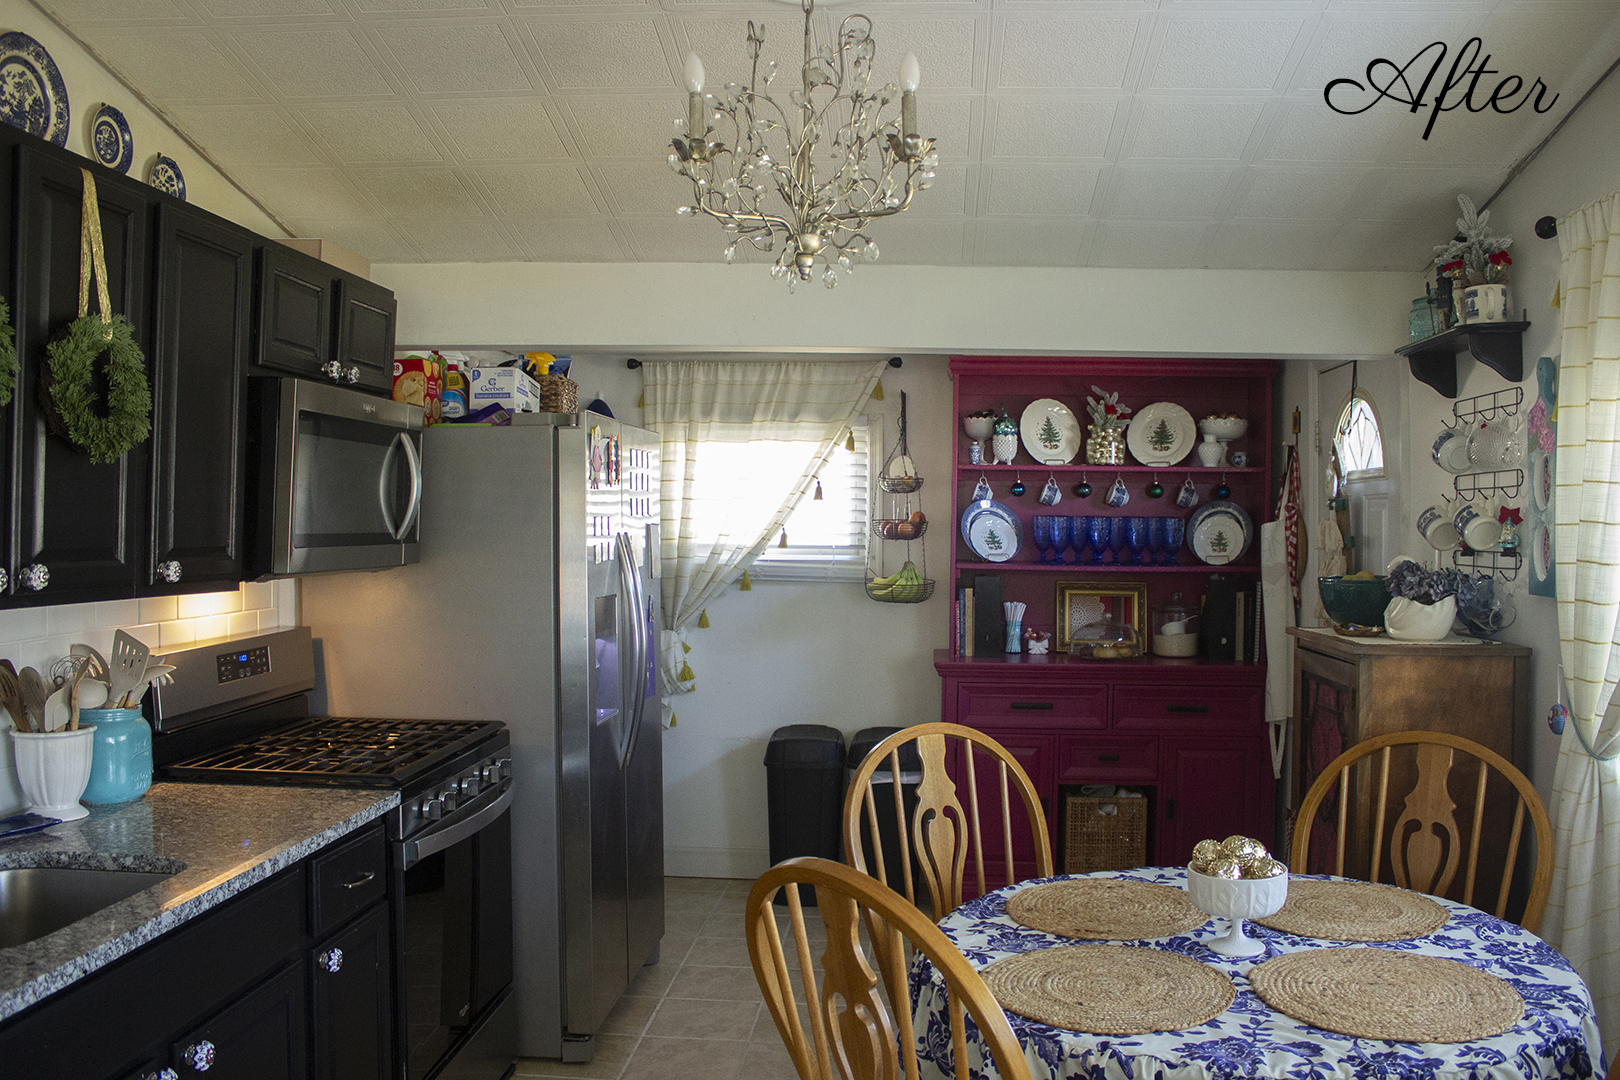
For the past few months, we have been hard at work on a budget kitchen renovation. We did most of the work ourselves, and I couldn’t be more pleased with our results.
I created a checklist of the things we did to the kitchen. There are still two major items that are incomplete: we need to install crown molding, and we need to paint our secondhand kitchen chairs black. (We also need a runner rug, but this is not a design project. It’s something I will take my time looking for).
I decided to move ahead with sharing our results, despite these two items being incomplete. We aren’t going to tackle these until spring because it’s getting cold out, and we truly just needed a break from house projects.
I didn’t want to wait that long to show you what we’ve done. So without further ado, here is our budget kitchen renovation!
To get started, let’s take a look at the elements that make up the heart of the kitchen.
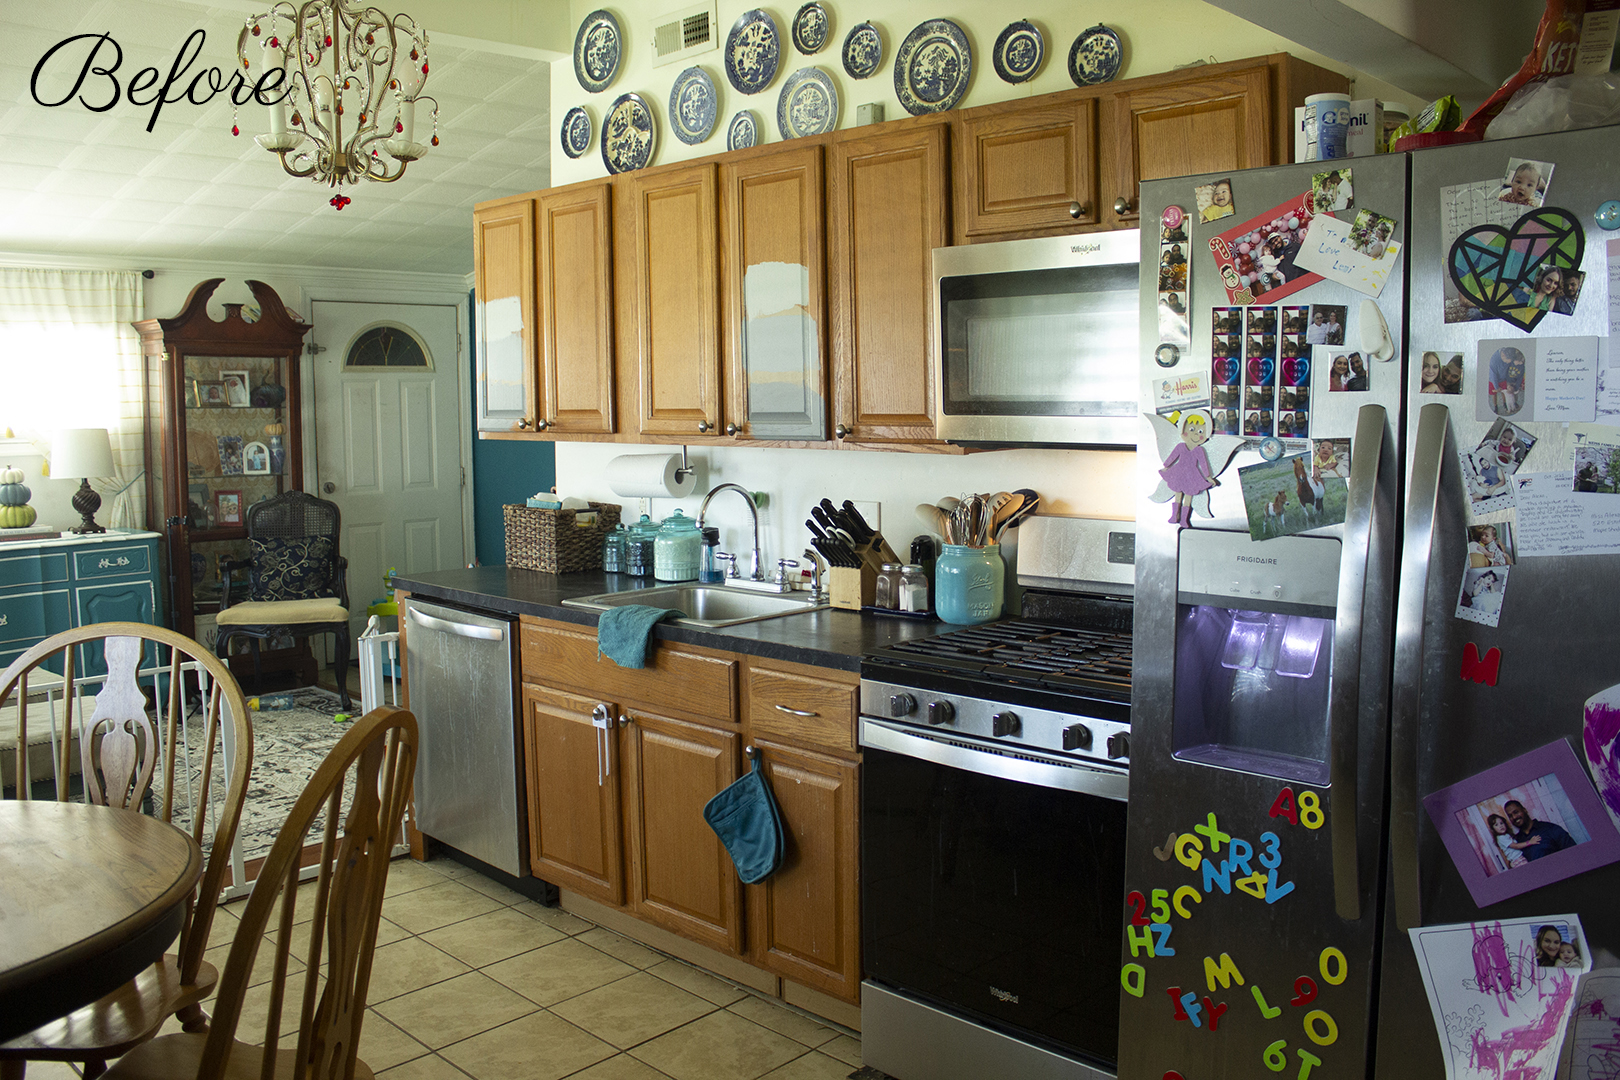
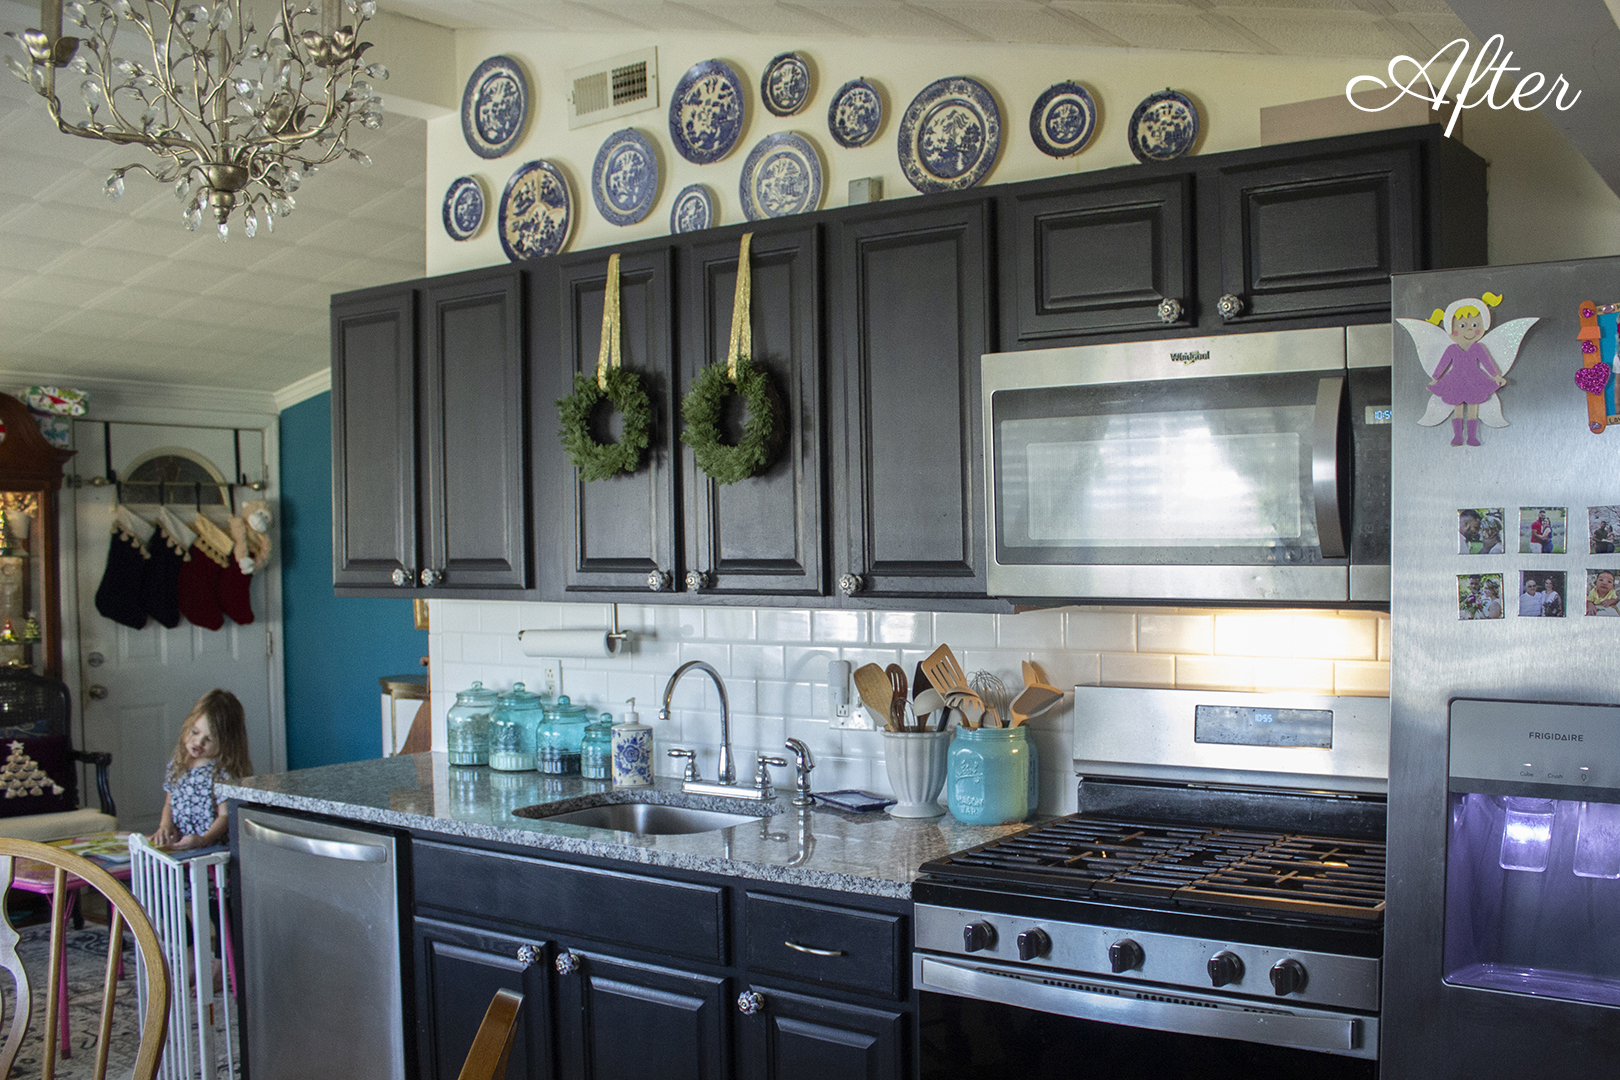
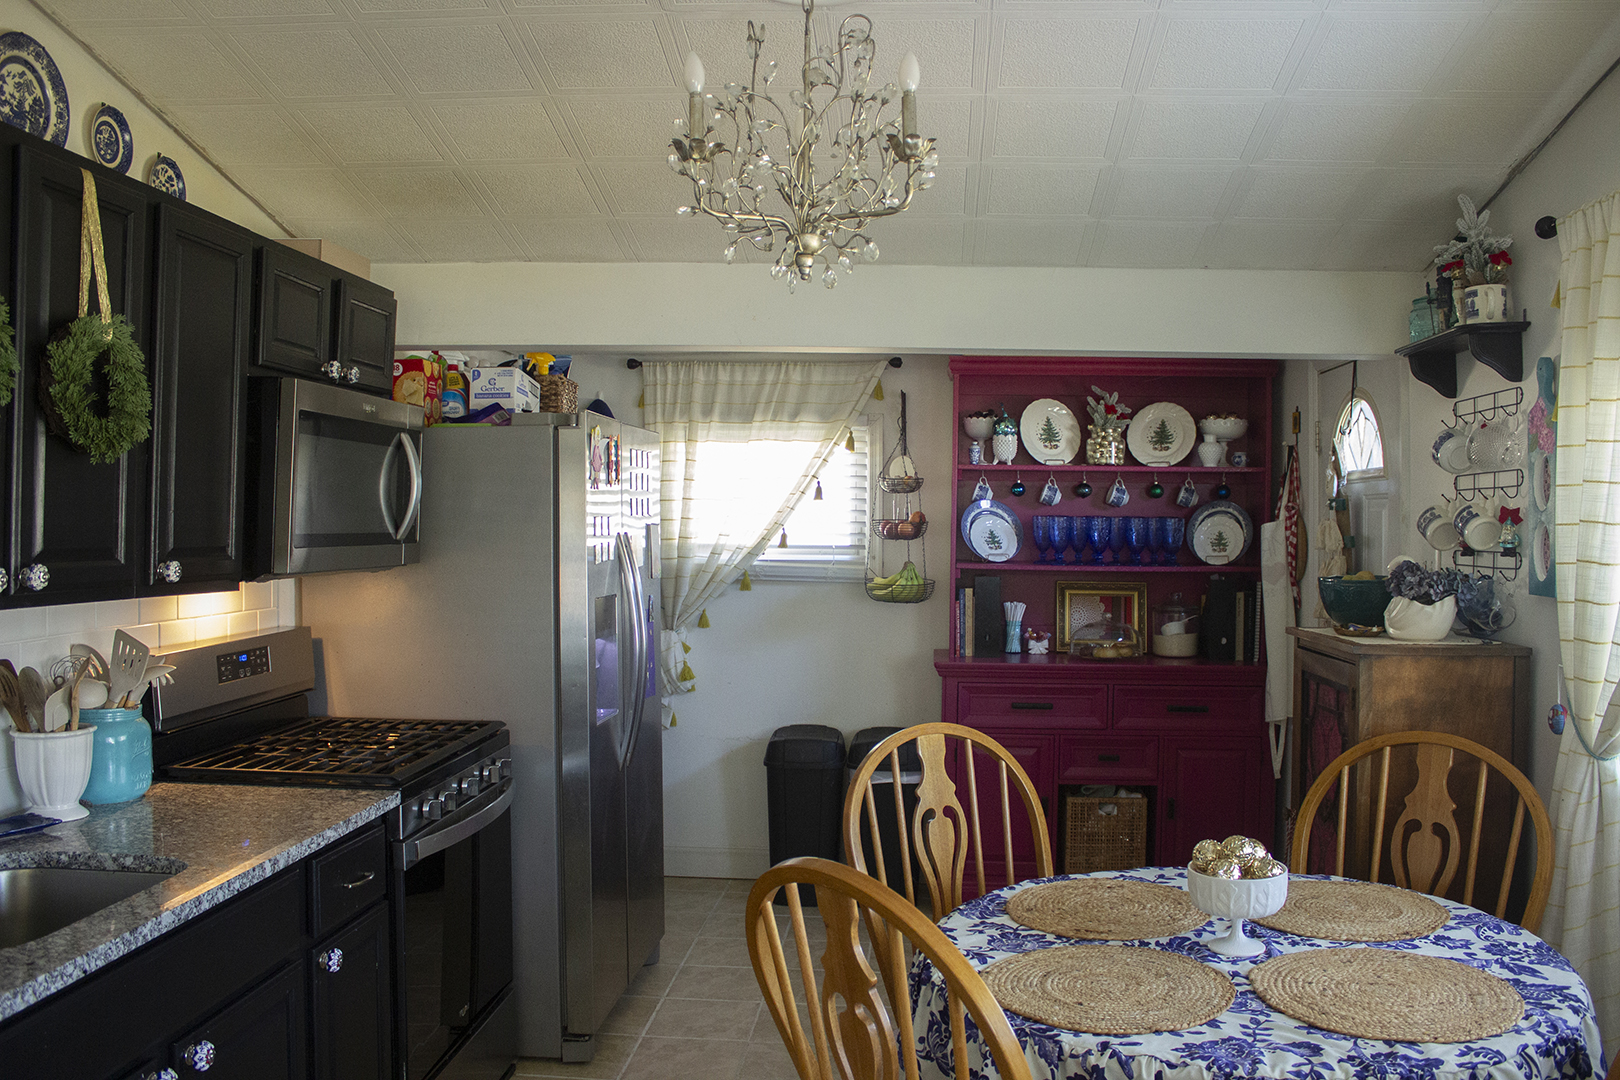
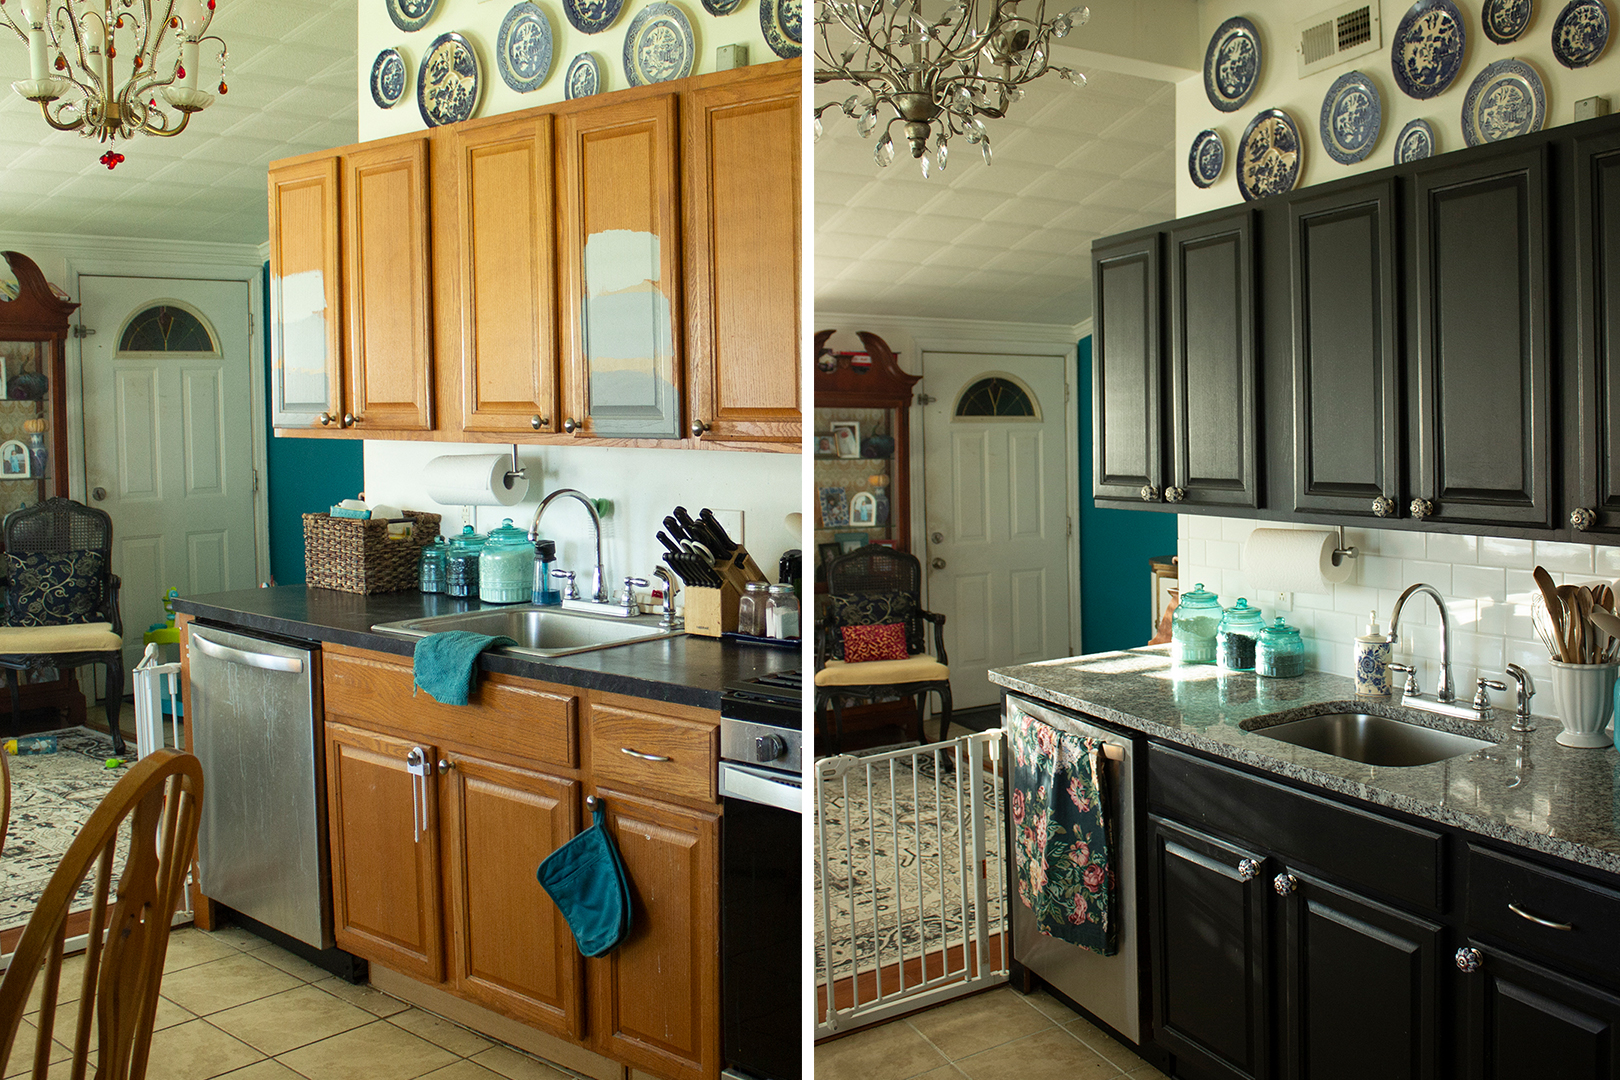
The biggest project in this kitchen was painting the cabinets. I was originally considering beige or grey, as evidenced by the swatches in my before picture. After much deliberation, I decided on black.
I did about two coats of black cabinet paint and was immediately in love with the results.
Often when I complete a big house project, I will be instantly filled with doubt as to whether I made the right decision. But then when I get used to it, I realize I love it. But with these cabinets, I knew I liked it right away.
I feel like they were always meant to be black! It gives a moody vintage vibe to our kitchen. I also like that the black blends well with our appliances, which are only a few years old.
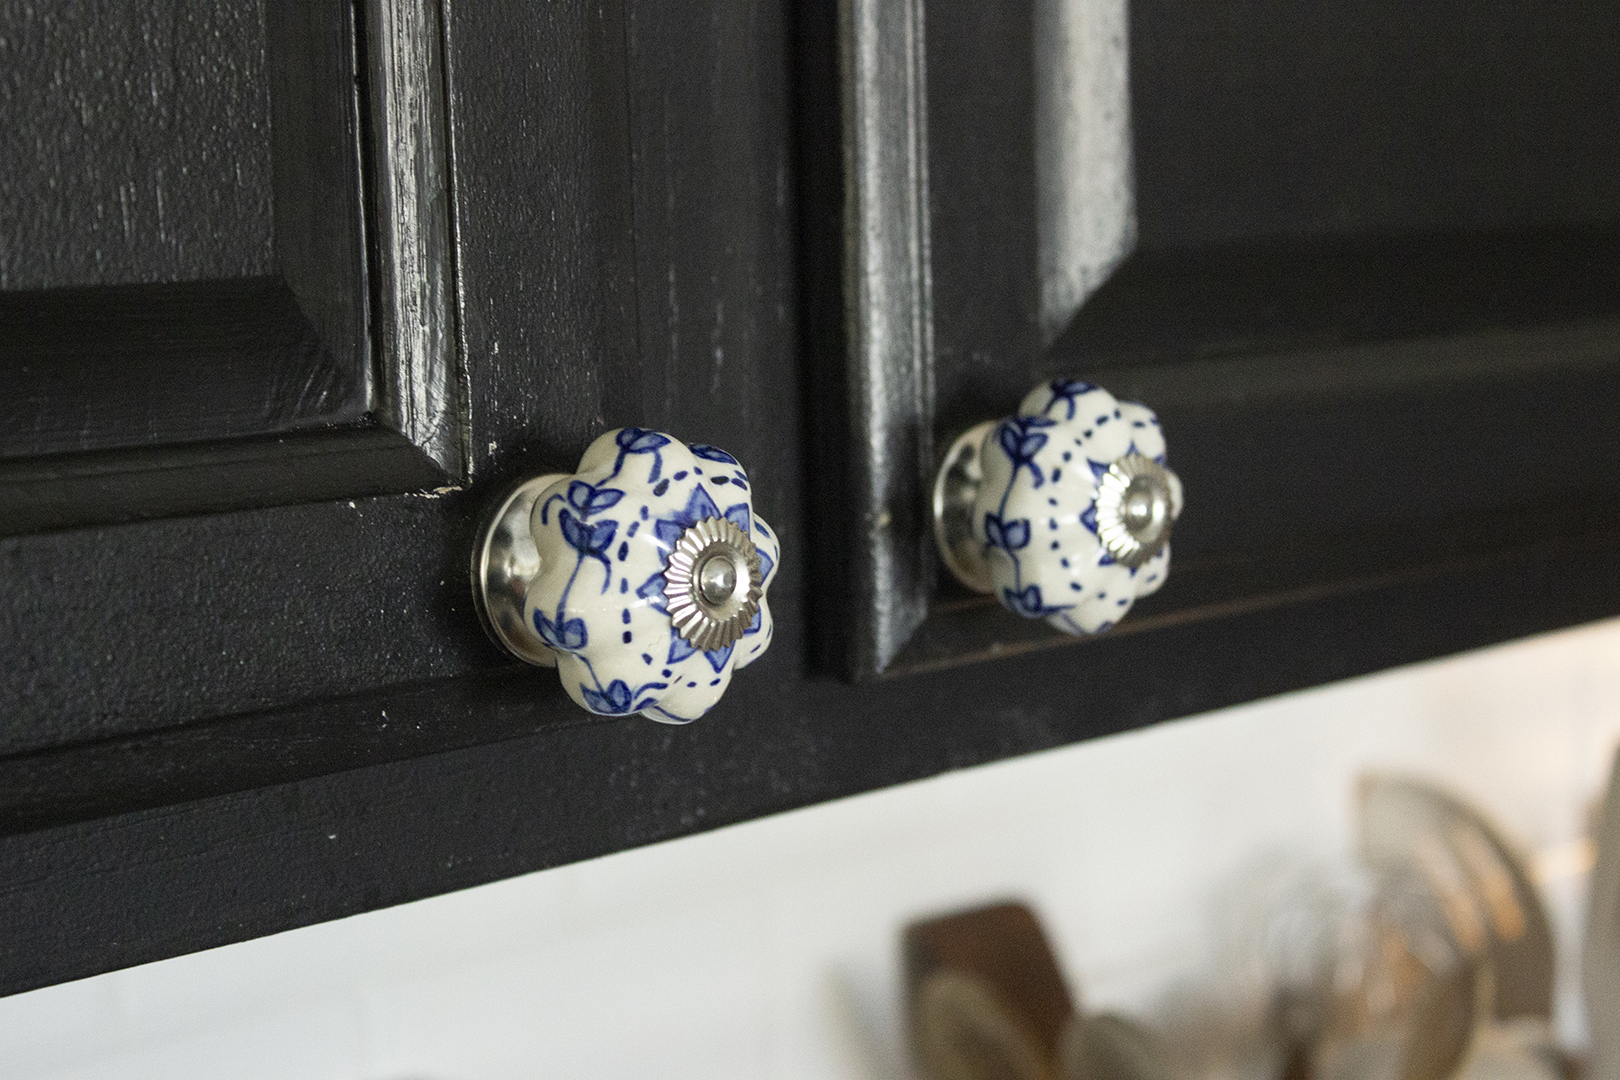
The hardware on the kitchen cabinets was something I truly scored a deal on. A few years ago, I purchased a bag filled with blue and white porcelain hardware at a yard sale for $5.
At the time, I did not know what to use it for. But when I started working on this kitchen, I realized I already had hardware in my stash that I could use. There was enough for every cabinet door and a few spares besides!
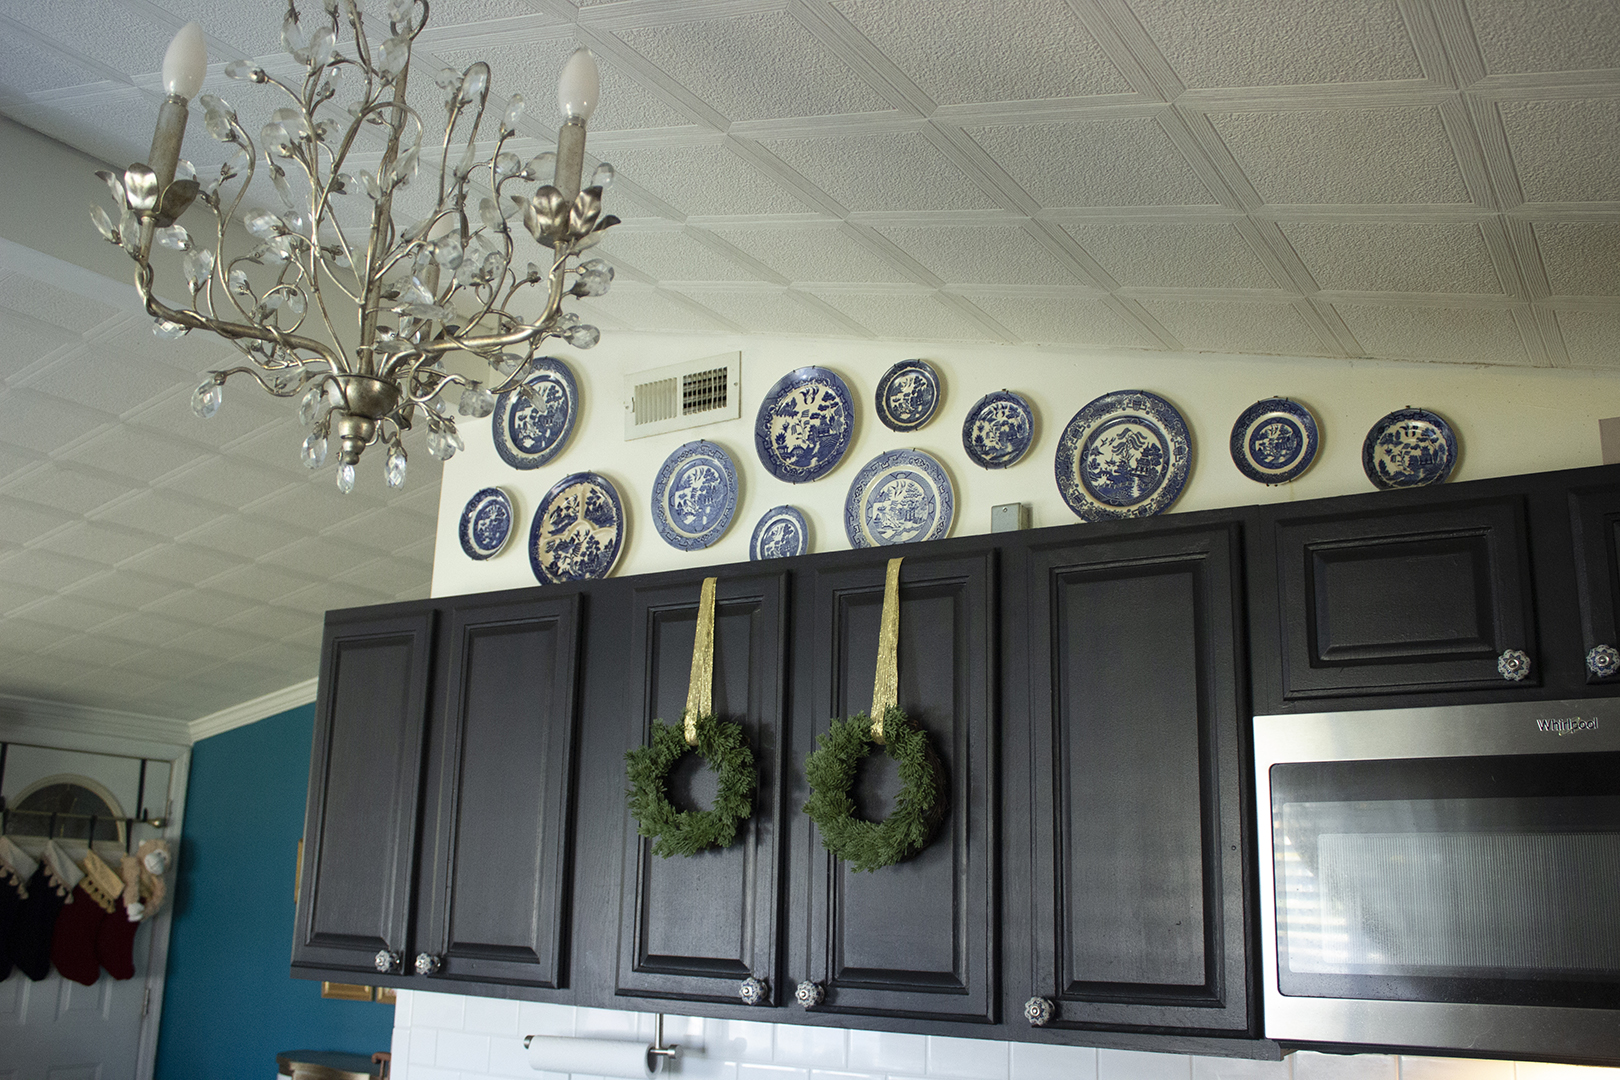
The hardware on the cabinets paired really well with an installation that has been in my kitchen for a while: my plate wall.
Above the kitchen cabinets hangs a collection of vintage and antique Blue Willow plates. It fills in the irregular shaped wall that is formed by our sloped ceiling. It also adds a pop of color and dimension.
These plates are not uniform sizes or shades of blue, and I like it that way. Now that the cabinets are black, I feel these plates really shine.
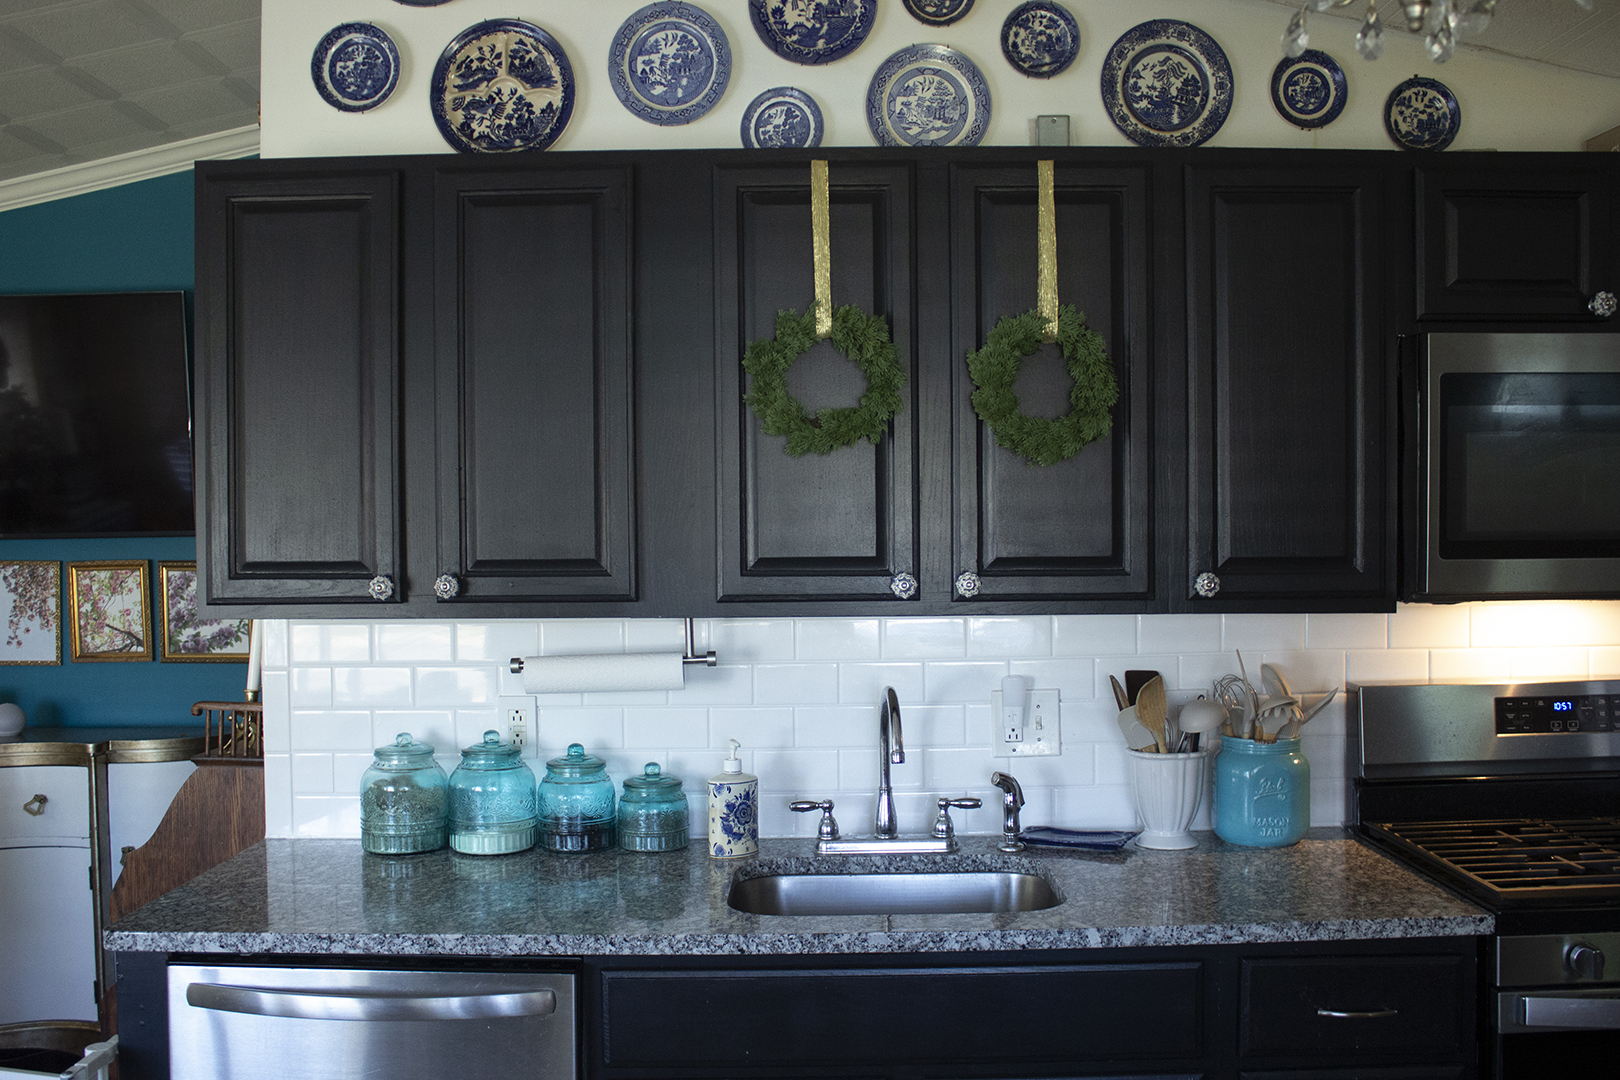
The most pricey thing in our kitchen renovation was the countertop slab. My parents actually gifted it to us as an early Christmas present.
I’m glad we were able to get nice counters, because having one truly quality item in here really elevated the look of the whole kitchen.
I looked at multiple materials and decided on granite because I liked the movement it brought. We picked out a black and white slab at a local shop and had it installed. This was the only thing in our renovation that we didn’t tackle ourselves!
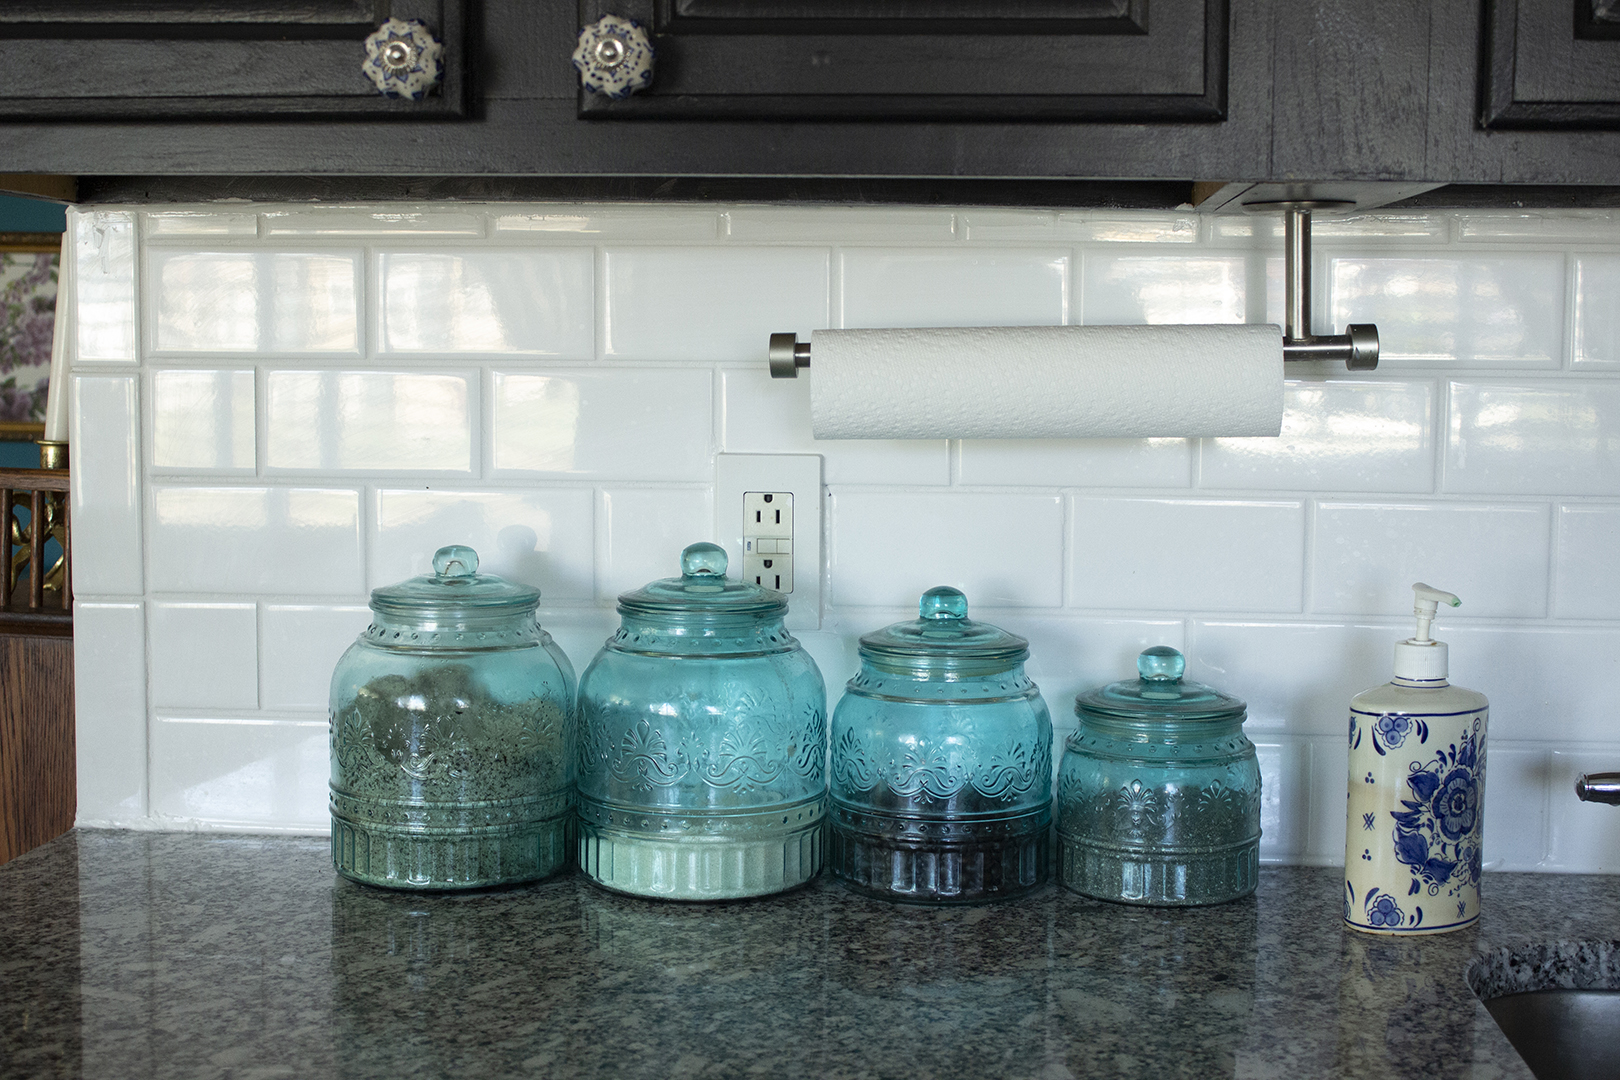
We did a basic white subway tile backsplash. Before we installed tile, it was just a plain white wall covered in splatters from cooking. It was in need of tile! But it was nice that there was nothing to demo beforehand – we just went right to installing the tile.
Because the area was so small, we only needed one box of tile. It was definitely an affordable project!
Originally, I thought about selecting a colorful or unique tile, but I’m glad I didn’t. With the plate wall as a pop of color and the gorgeous granite, the tile didn’t need to stand out. It needed to pull everything together!
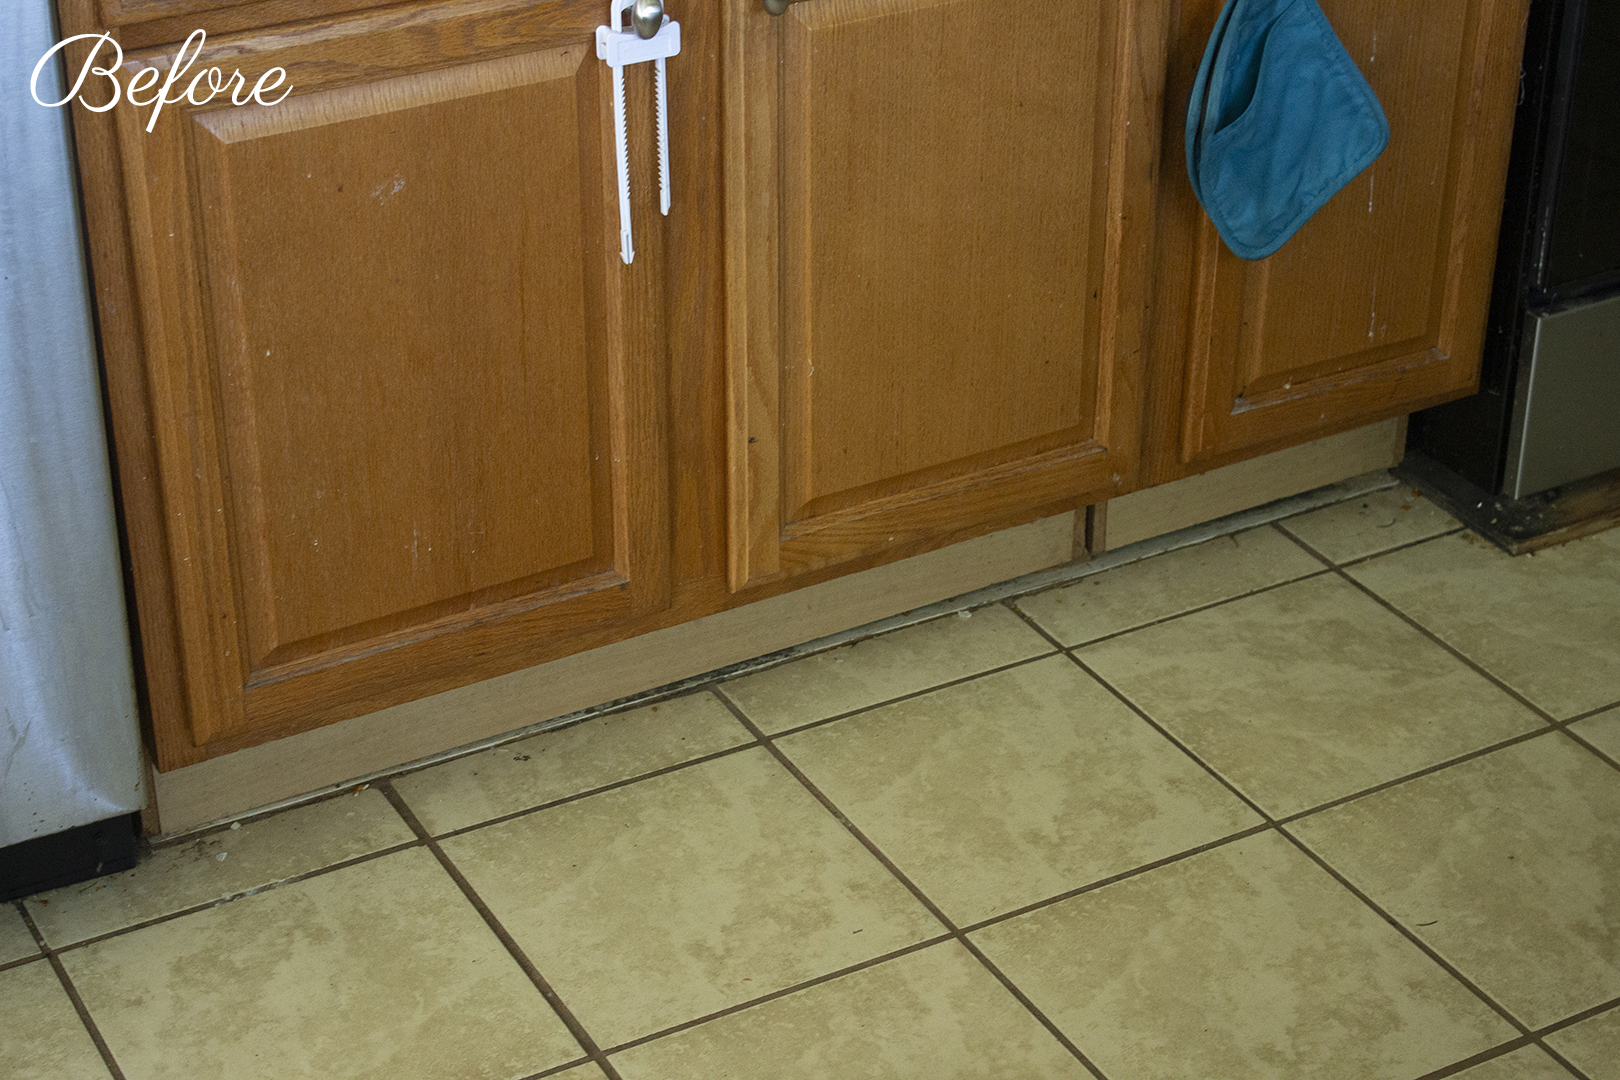
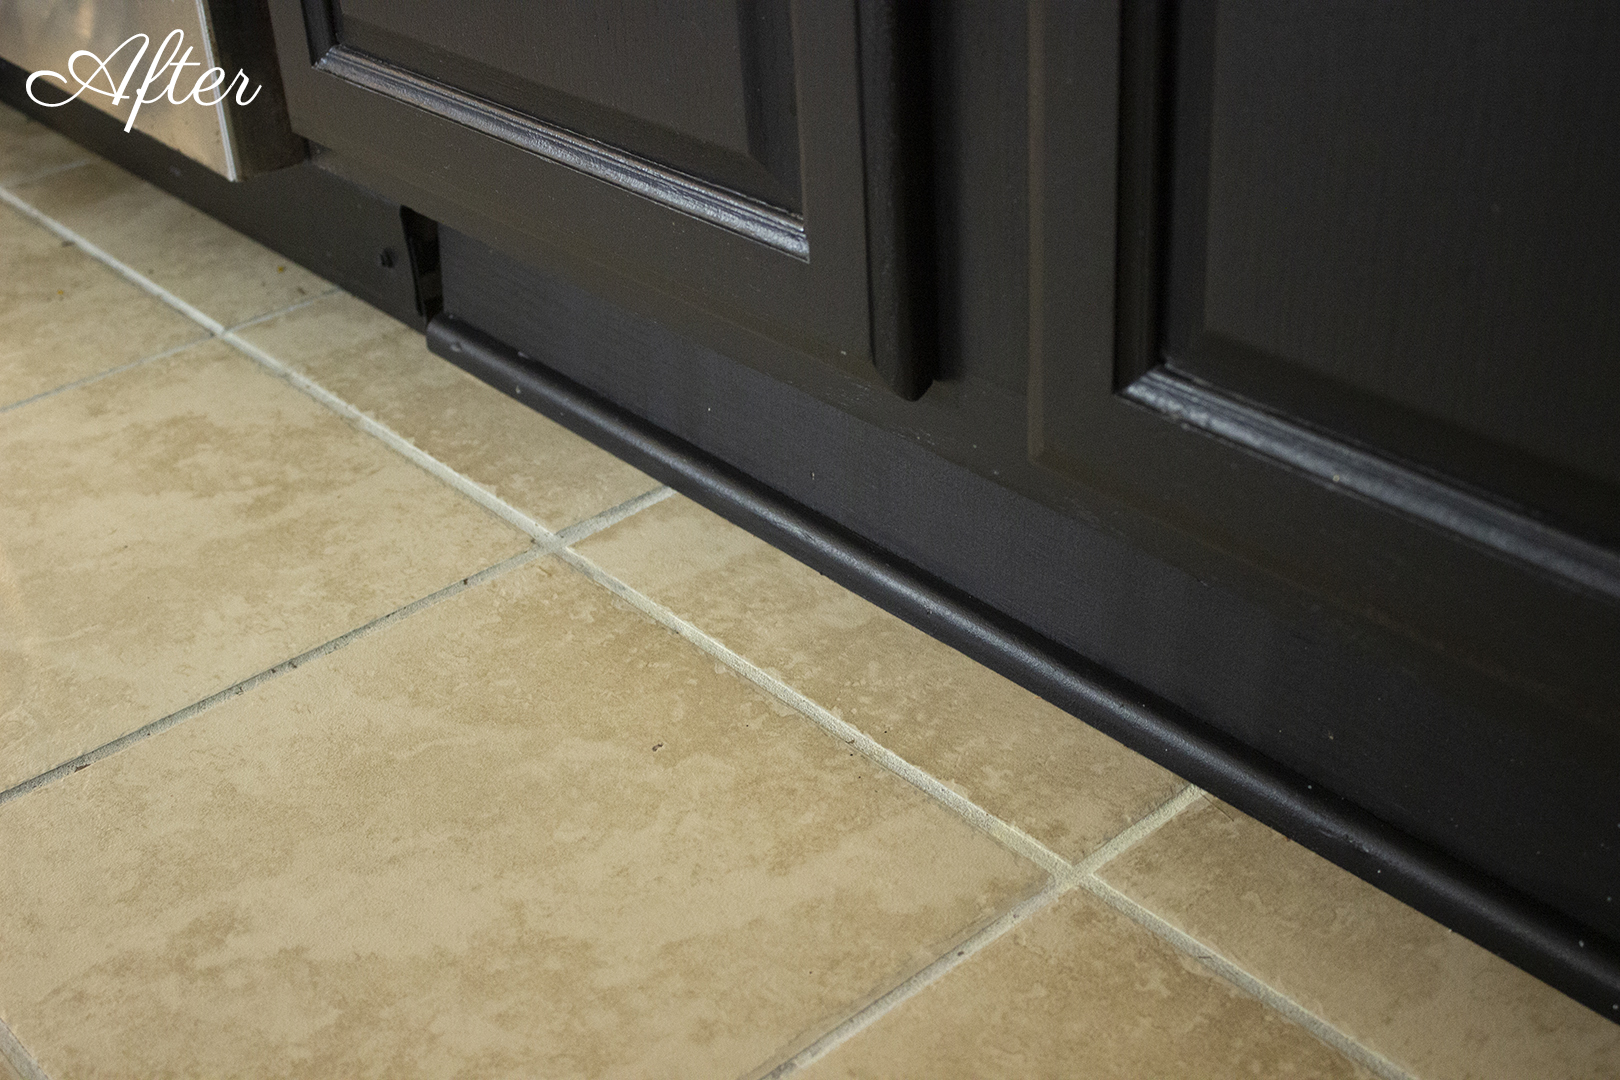
The bottom of our kitchen cabinets used to be unfinished. This drove me crazy! After we painted the cabinets, we also painted and installed a simple toe kick.
This really made everything look more intentional. I love the end result!
Here are the pieces of furniture that we’ve brought into our kitchen.
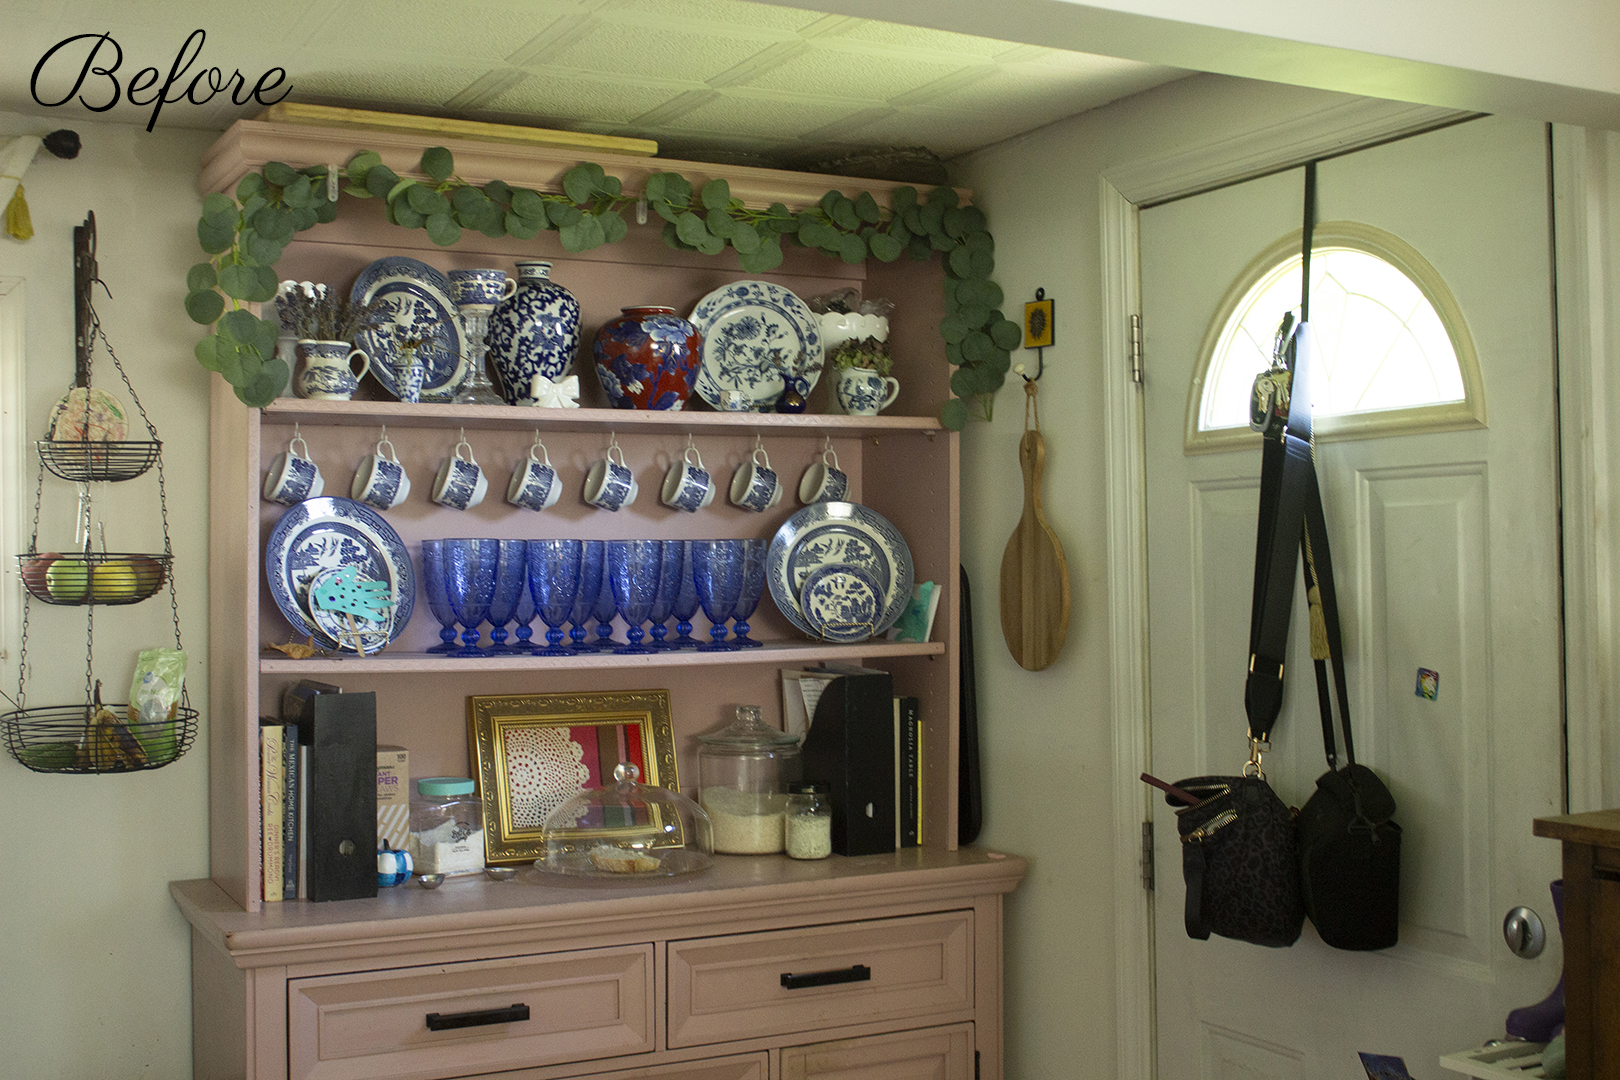
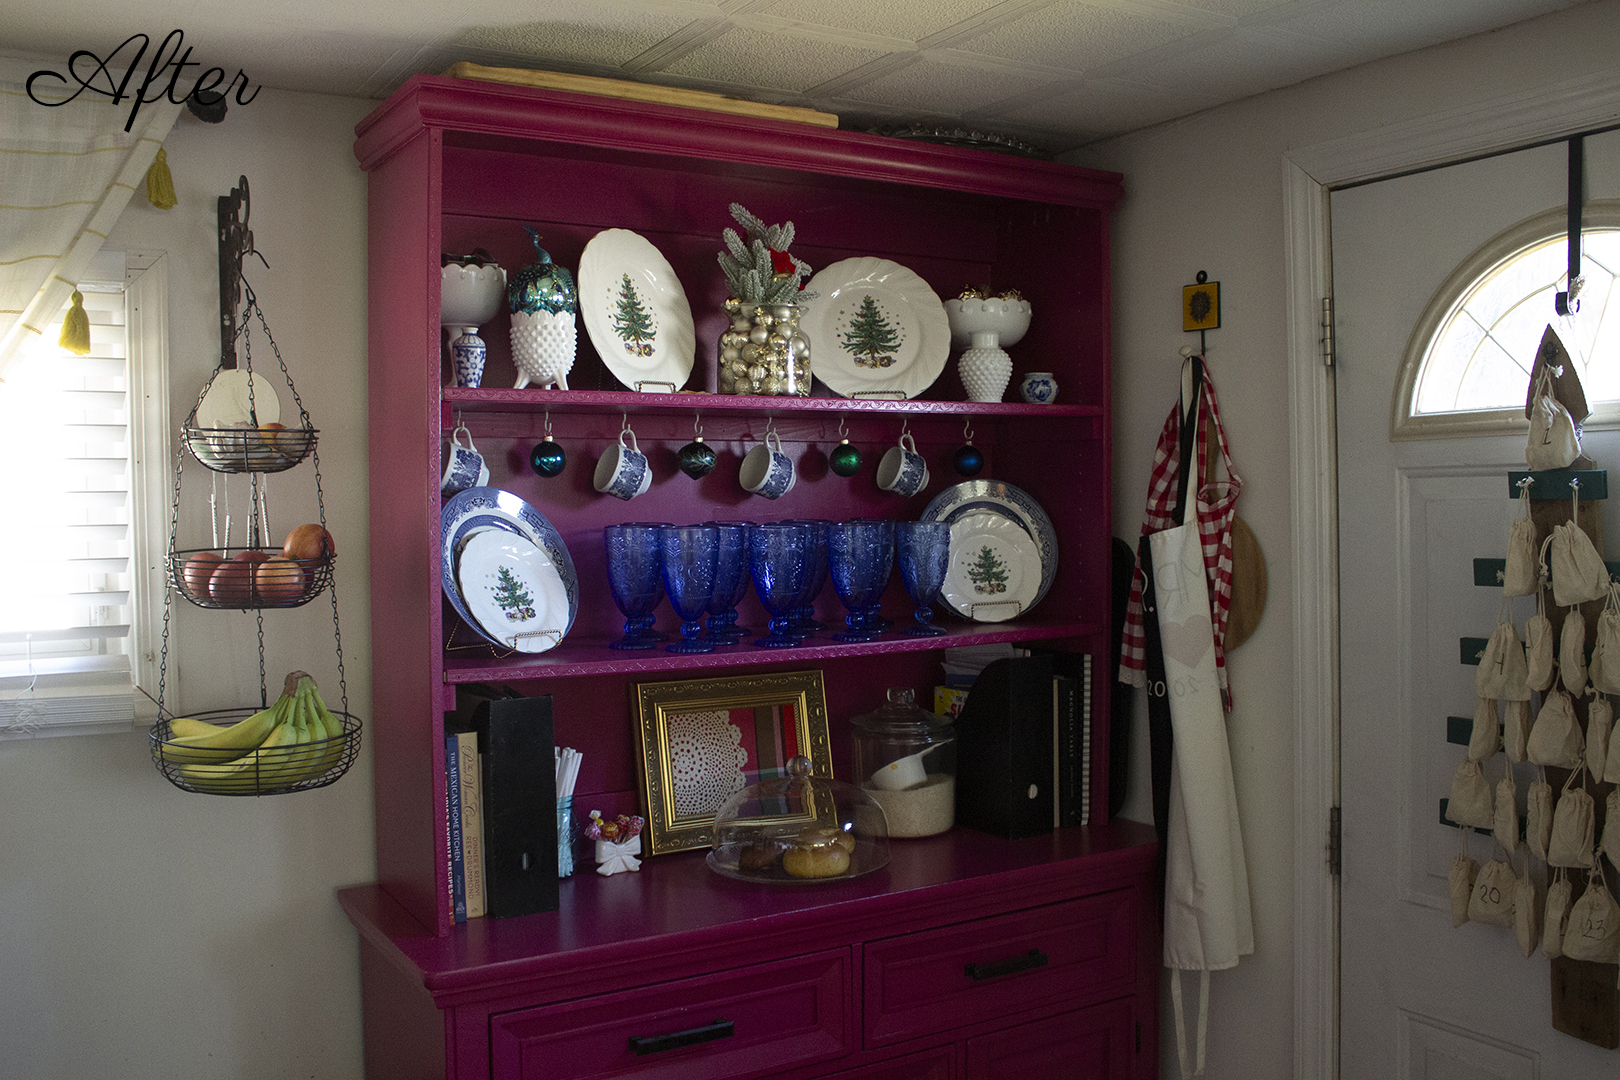
The corner of our kitchen had a light pink hutch. The base was a buffet table that we scored on Facebook Marketplace just before we got married. The top hutch was crafted by my dad. I painted everything to make it look like one piece.
We originally weren’t going to repaint this, but upon close inspection, it needed fresh paint. I decided to take the opportunity to do something that had been in my head for a while: paint it deep pink.
I wanted hot pink at first, but I tried out a few shades in Chat GPT and decided a deep berry shade was a better selection for my space. The shade I used was Glitterati by Behr.
I love the contrast between the pink and the cobalt blue pieces I display on here! This hutch serves as a pantry space, since we don’t have one in our kitchen. The top part is perfect for displaying my prettier collected serving pieces.
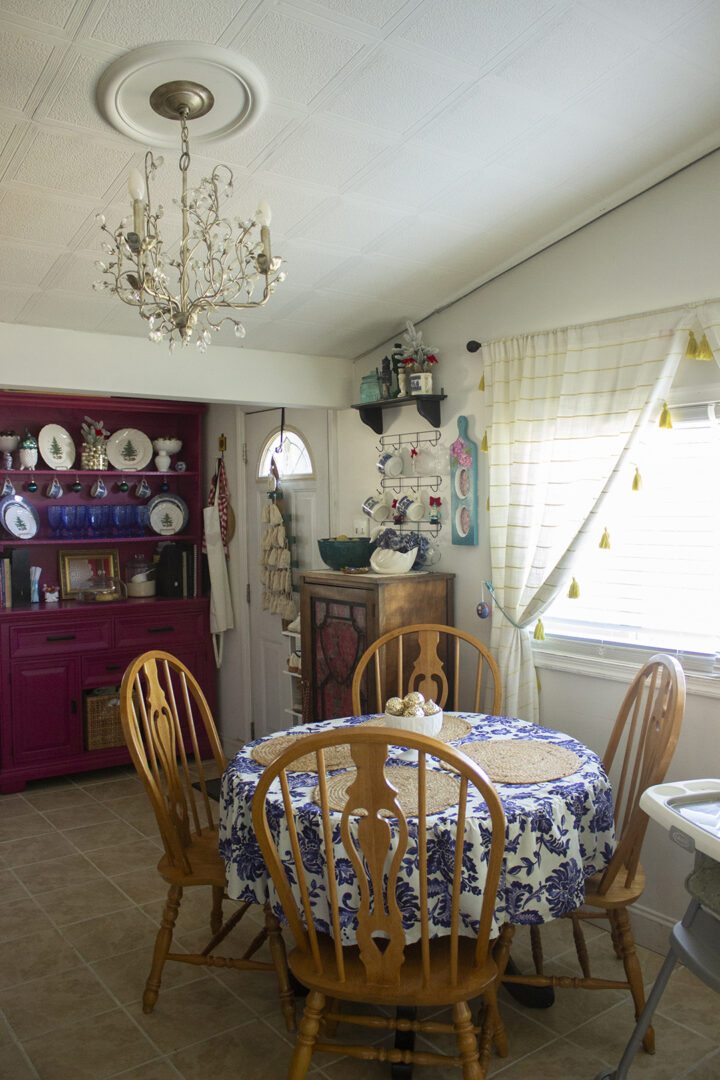
We have had our kitchen table for years. It was a secondhand find that we painted and finished ourselves. A more recent find was as the set of chairs to go with it.
We paid under $20 a chair. The plan is to paint them black to match the kitchen. But now that the weather is getting colder, we are going to hold off on that project until spring.
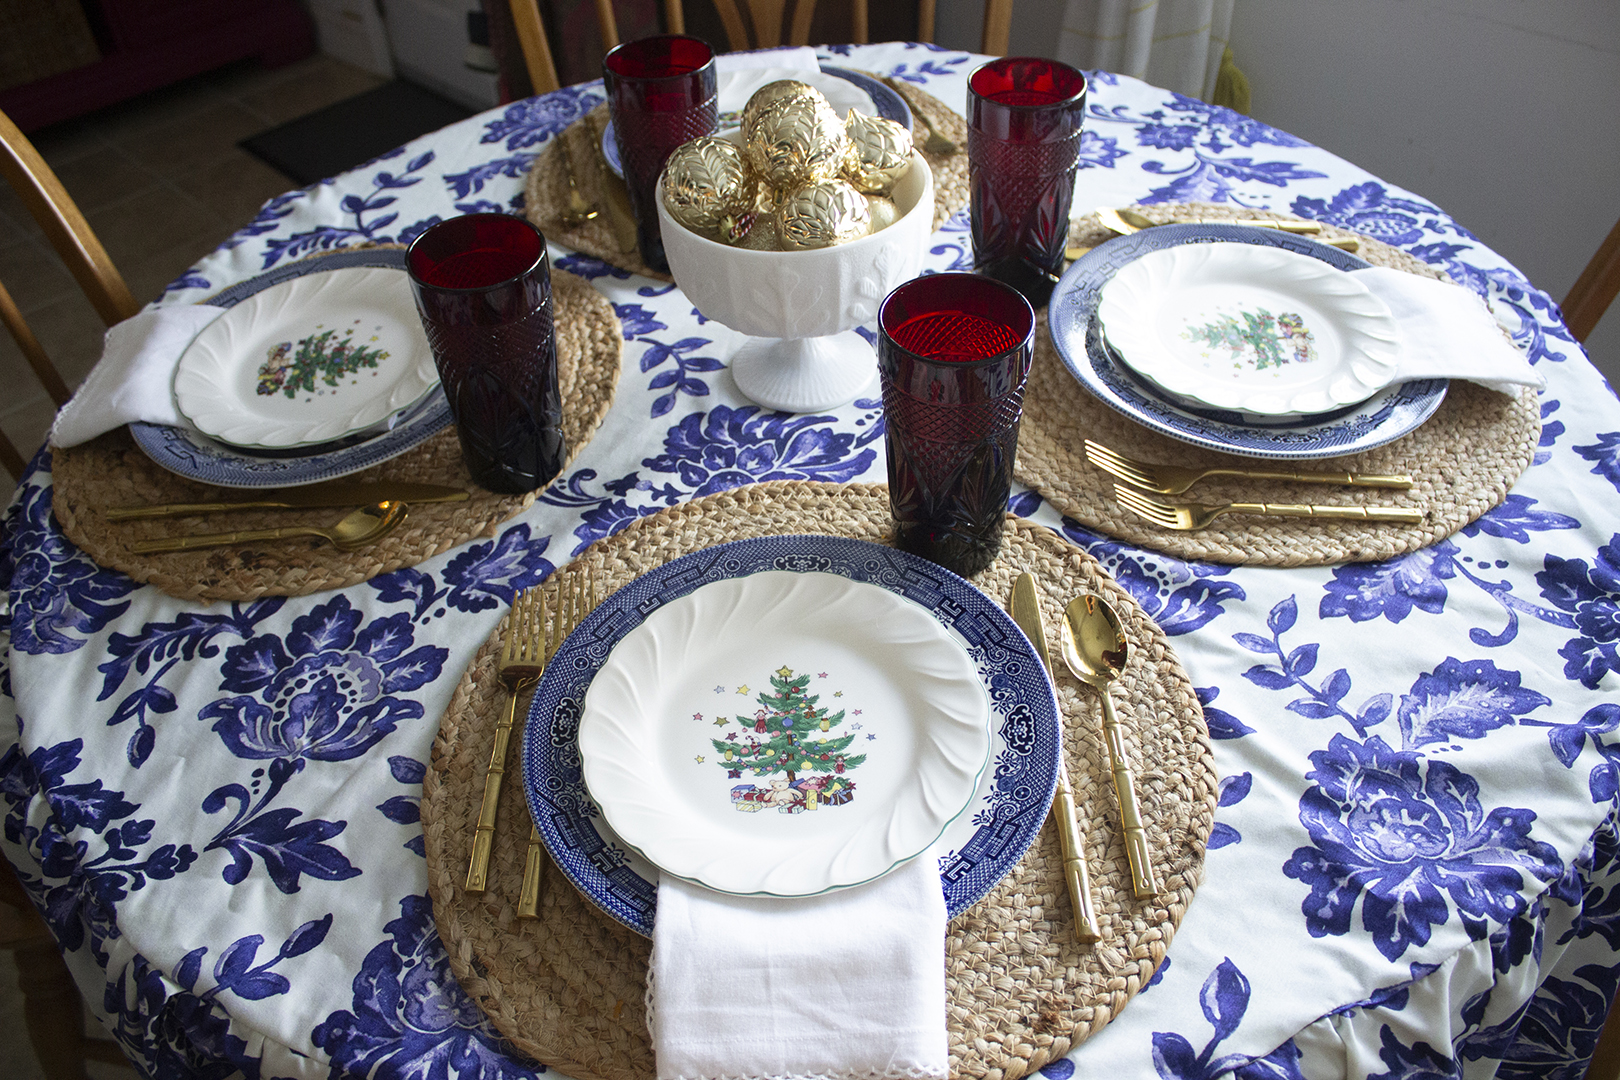
In the meantime, I’ve covered this table with a tablecloth that I made from a thrifted sheet. It disguises the fact that the chairs don’t match the table yet. But also, I have just been loving tablecloths and the texture and pattern they can add to a room.
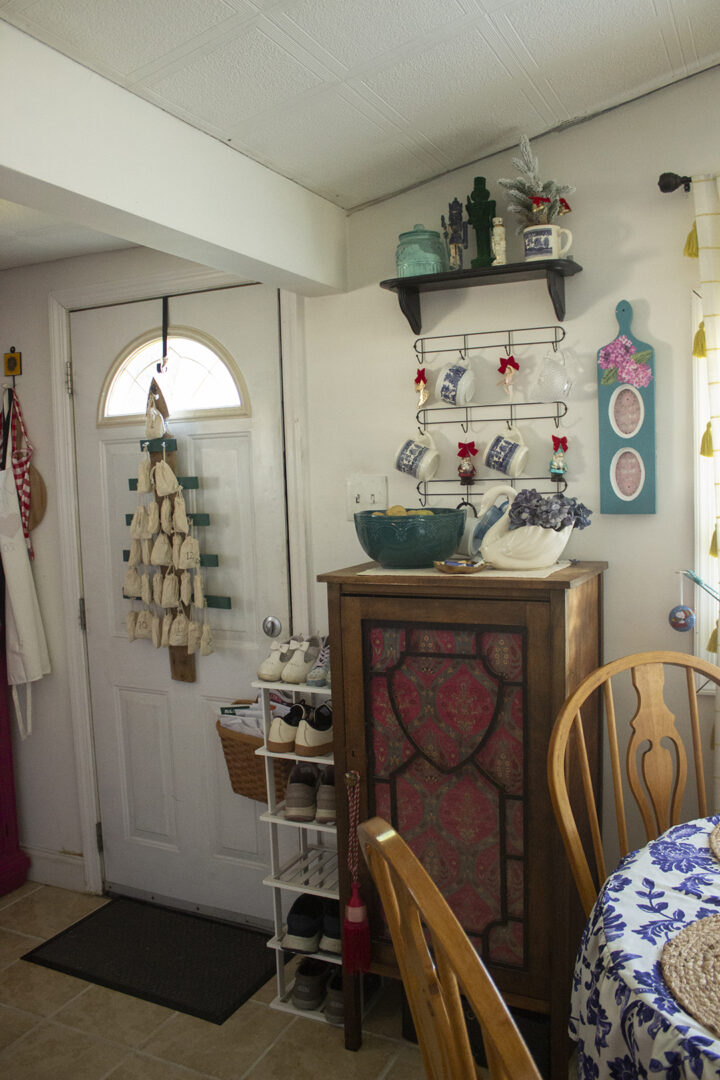
Another area of the kitchen is the entry area – this is the main entry to our home. For this reason, it’s seriously difficult to keep it from getting cluttered and dirty. We are always dropping off shoes, coats, bags, and dirt in this little space.
It’s not the prettiest thing in the world, but we have a tall skinny shoe stand nestled into the corner by the door. Would I prefer this space be clear? Yes. But practically, we need to store shoes somewhere so they don’t end up on the floor.
This piece has served us well the past few years. It’s kept us from having a pile of shoes by our doorway.
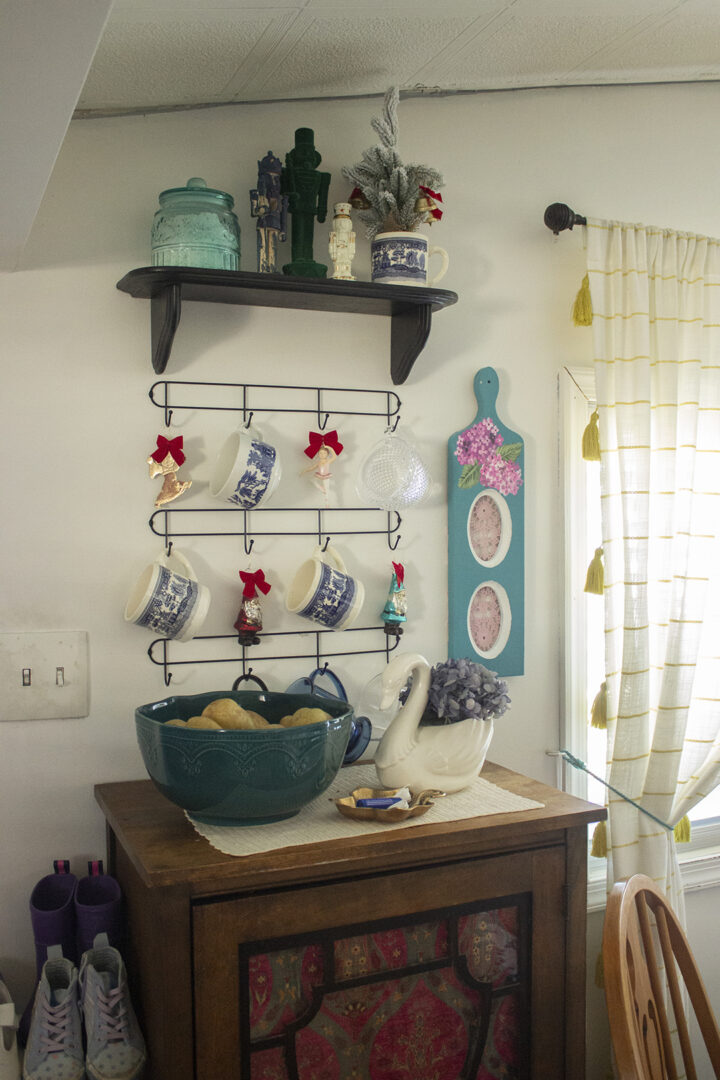
Right by the entry is my coffee bar area. This area has been finished for a while, and wasn’t necessarily part of the recent renovations. Still, I would like to include this in our tour!
To turn some empty wall space into useful storage, I hung some hooks I got on Amazon and displayed coffee mugs on them. The wooden cabinet below is full of glassware and cocktail accessories. This was a $50 Facebook Marketplace find about eight years ago, and I have loved it.
The little shelf above the coffee mugs is perfect to display decorative pieces. In these photos, you see my holiday decor displayed throughout the area.
From the crown molding to our pink painted hutch, here’s a look at some of the other areas of the kitchen.
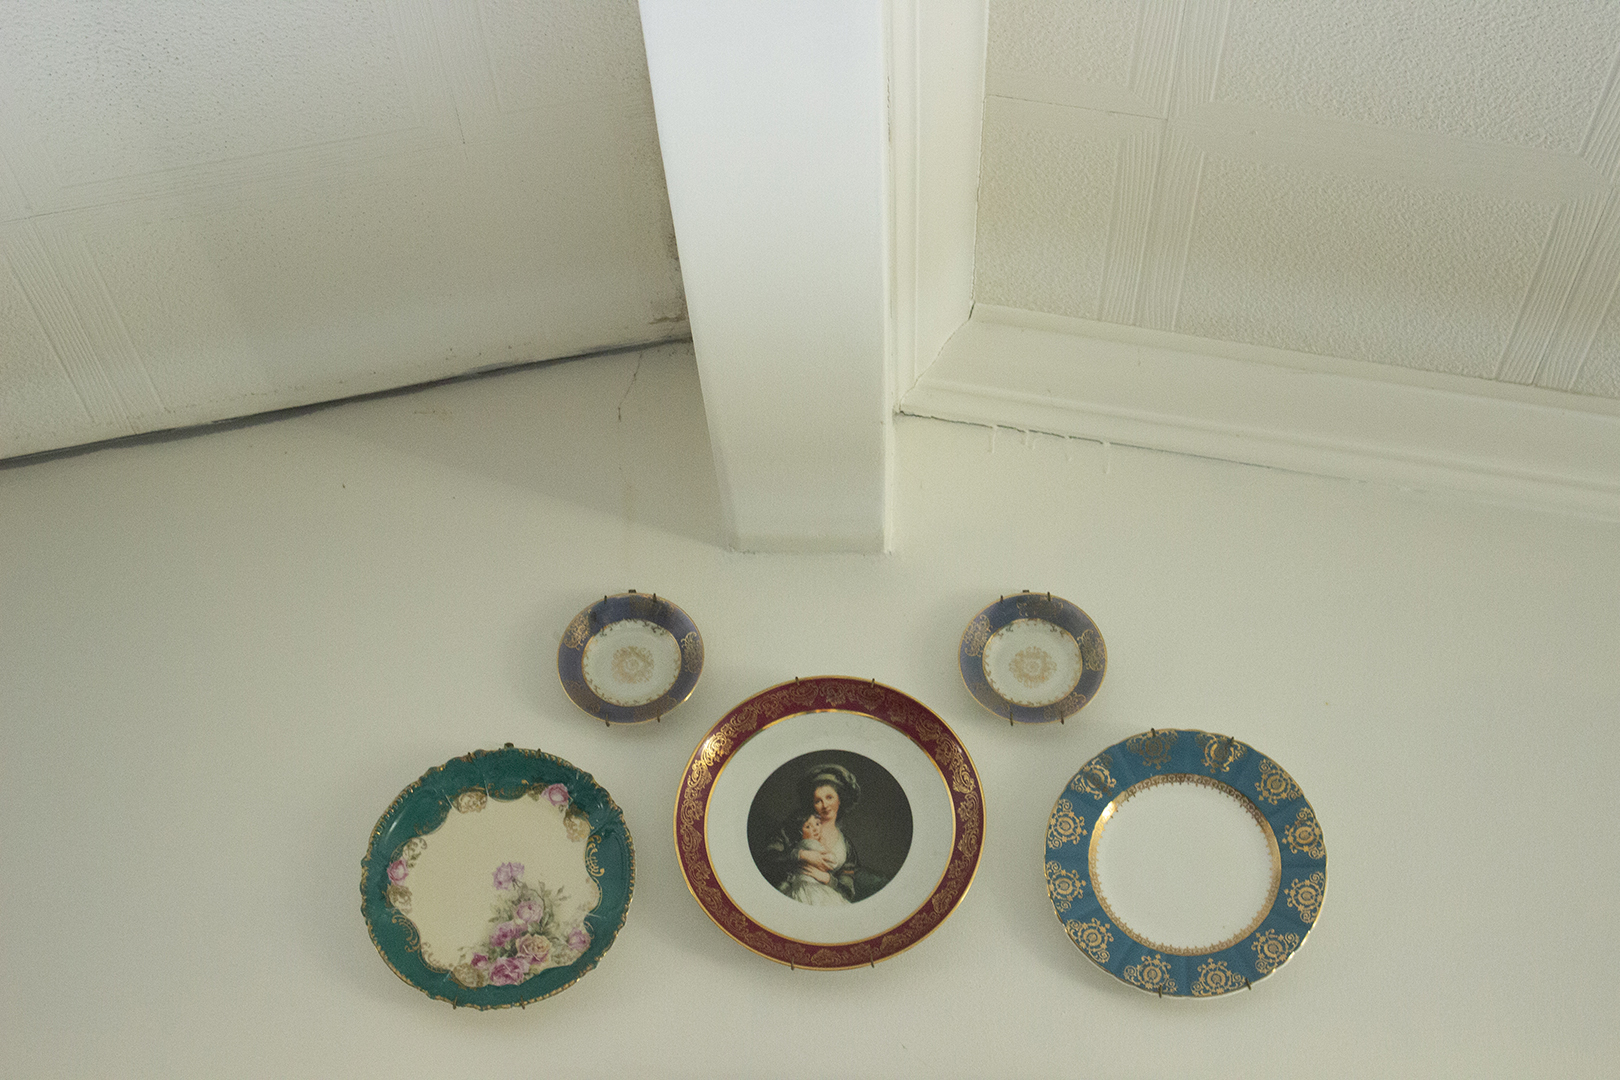
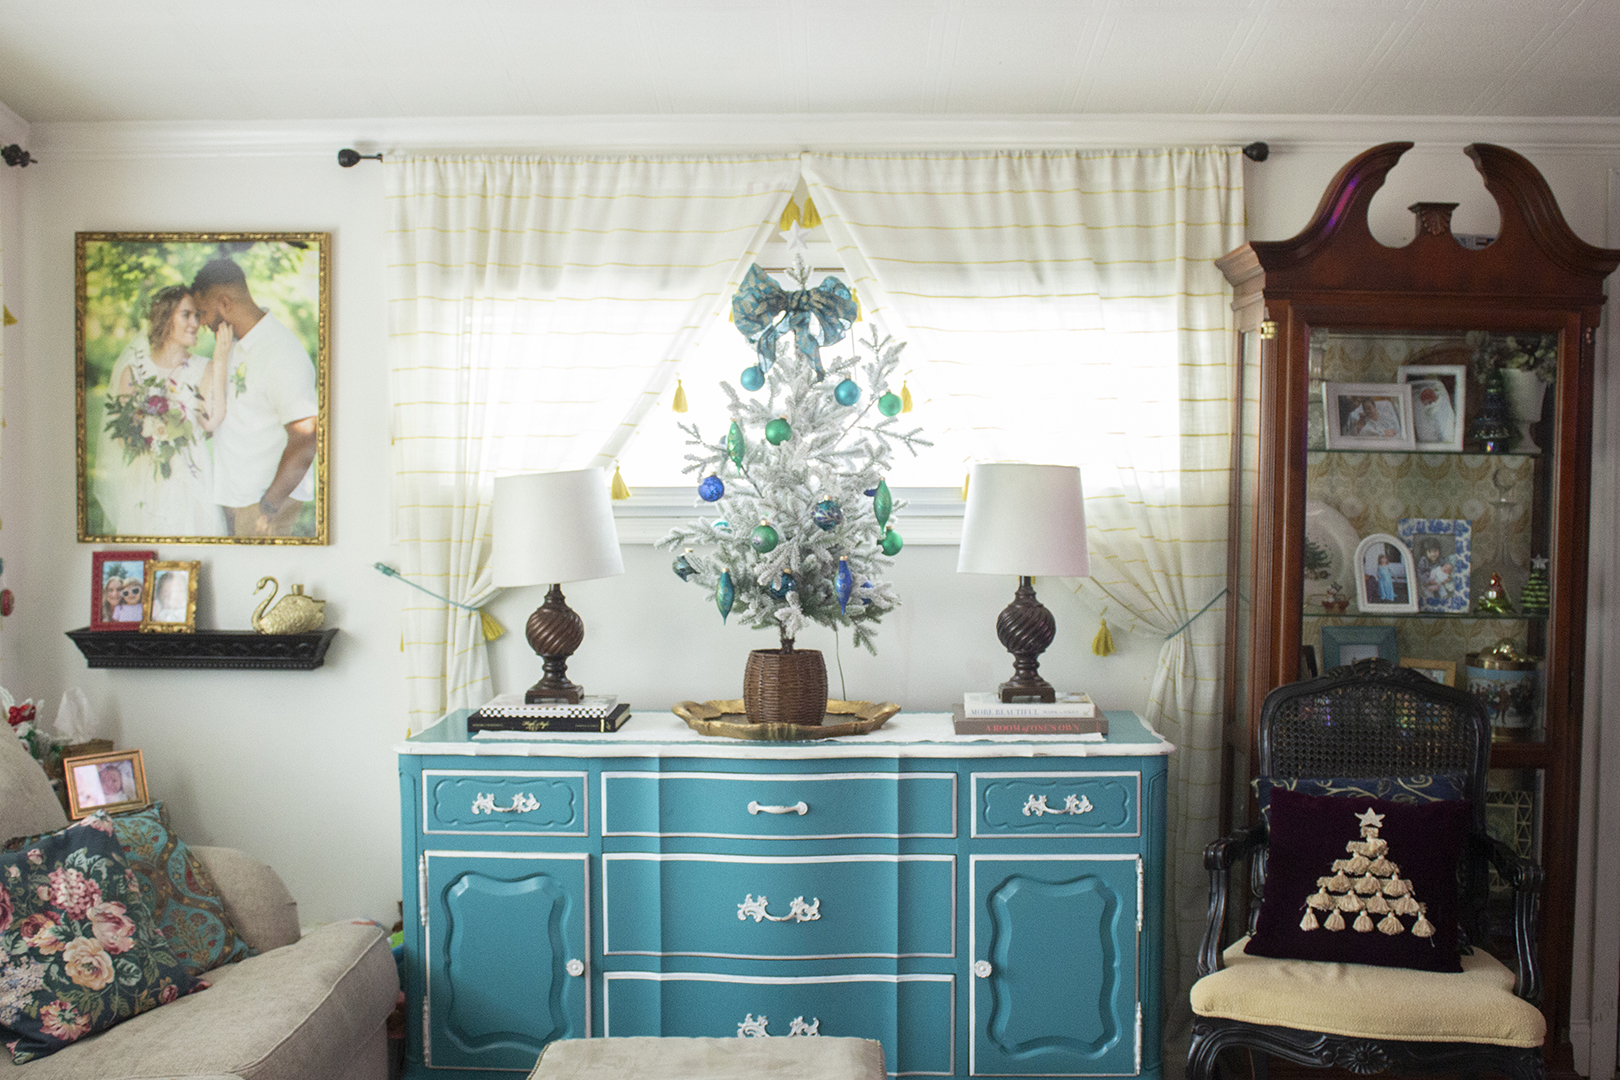
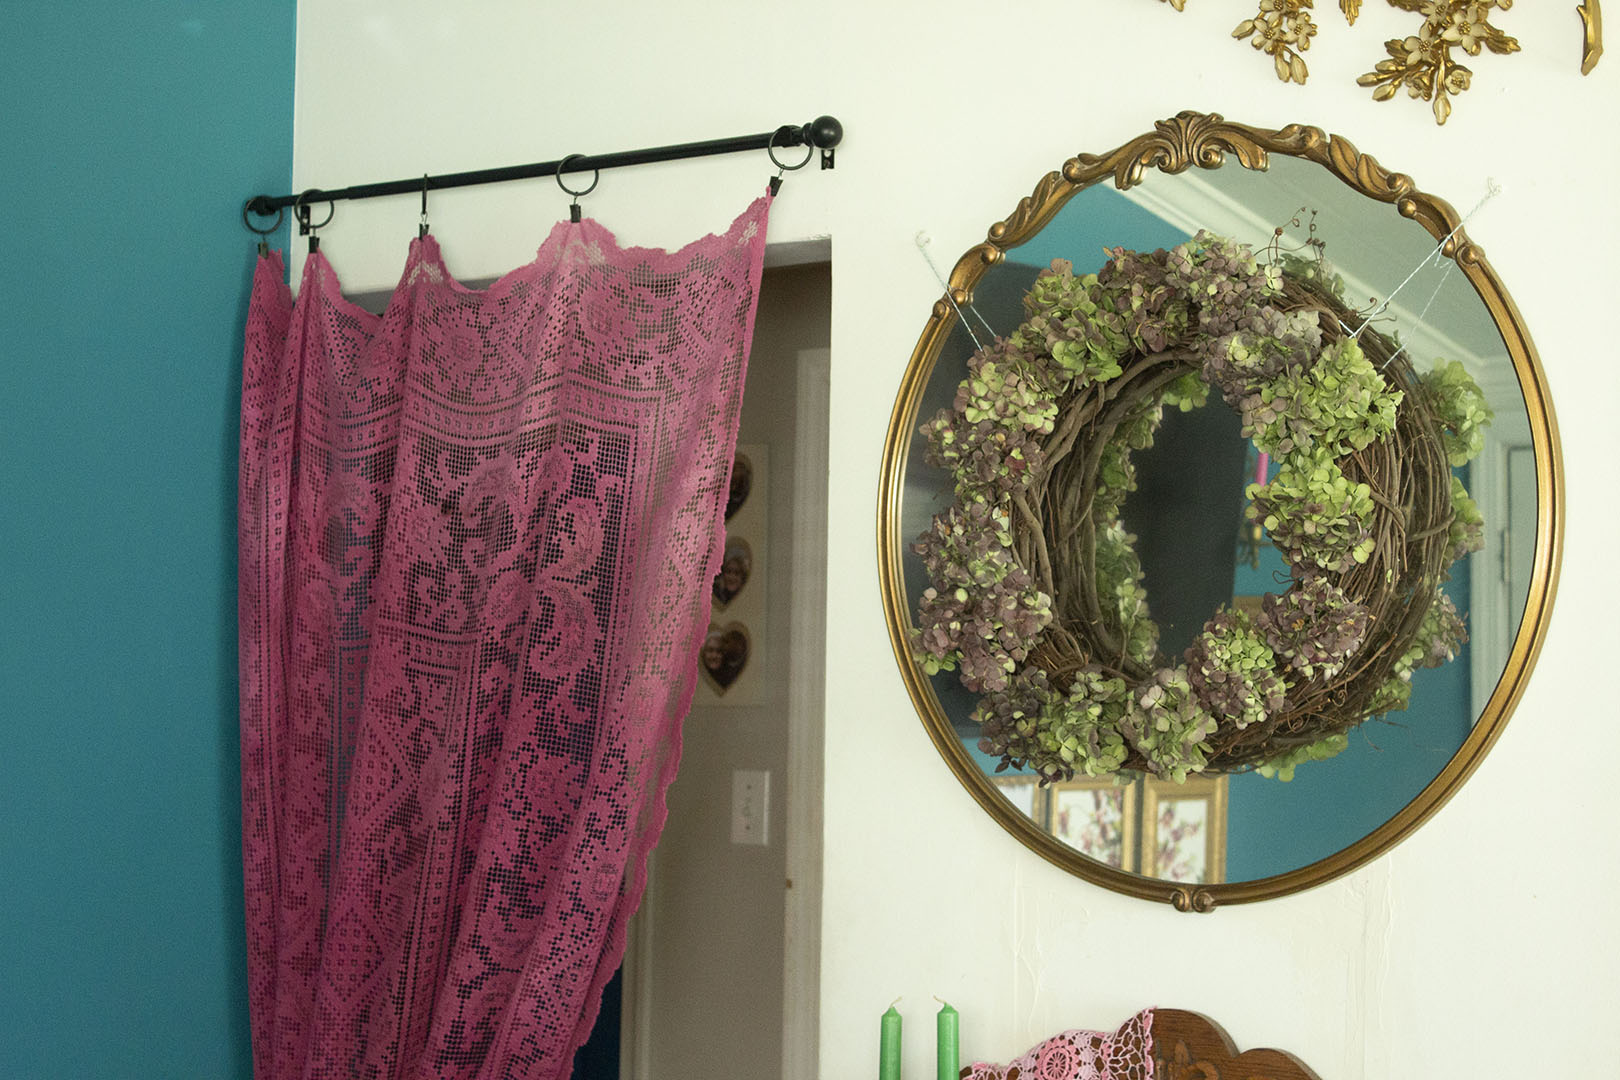
Something that needs to get done is that we need to install crown molding in the kitchen. Our kitchen is joined to our living room. The living room side has molding, but for some reason the kitchen was left unfinished.
We need to install the molding, but we also need to do some touch ups in the living room. There are places that need some caulk to hide gaps between the molding and the wall, as you can see in the photo.
When we install the molding, we are also going to repaint the room white. We first painted these rooms white when we moved in six years ago. The paint job has taken a beating and needs a touch up. Plus, we don’t have an exact match of the white paint in the living room, and we don’t want it to clash. So we will just give everything a fresh coat!
This is a bigger project that we will aim to tackle in the spring. We love house projects, but they cut into family time, so it’s nice to take a step back from them sometimes.
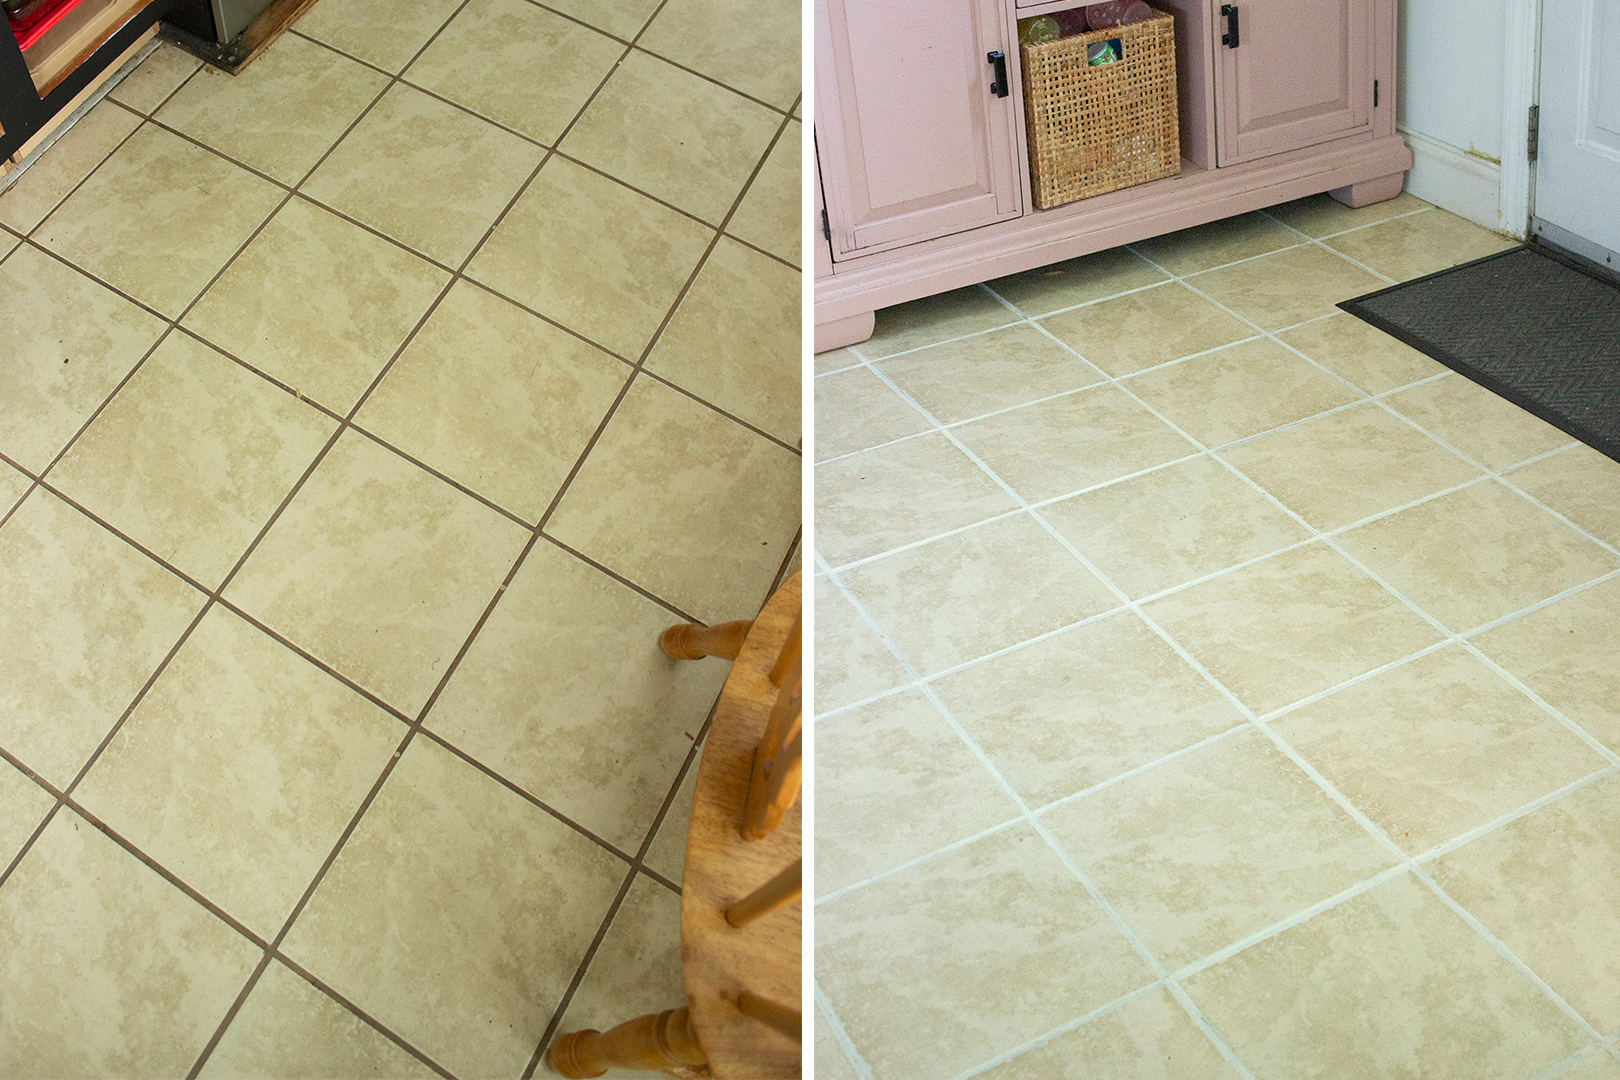
We weren’t ready to pay to demo the floors, and we didn’t want to do such a big job ourselves. The tile is pretty neutral, but the dirty grout was driving me crazy.
When we first moved in, I tried to clean the grout using toilet bleach and grout cleaner, but neither method worked.
I ended up trying out a grout pen. This was essentially a paint pen that allows you to restore the look of your grout. You can get more details with my grout restoration blog post.
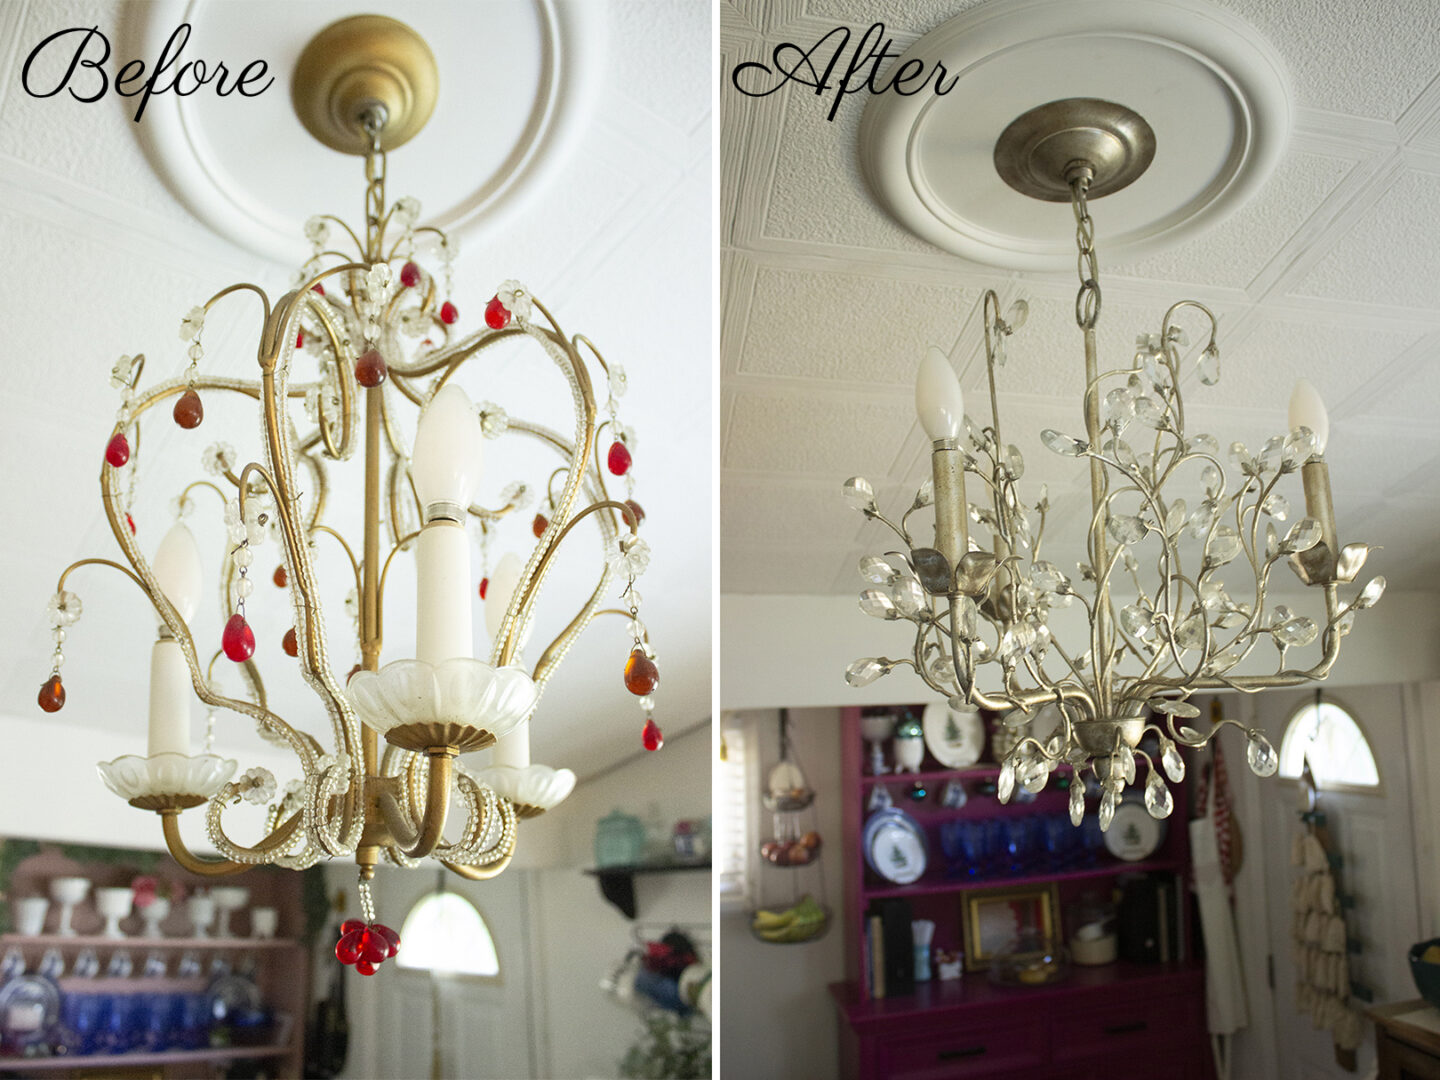
The main chandelier in our kitchen was a gorgeous piece. It was a vintage Italian gold and crystal chandelier. I scored it for free at a yard sale, and I love it.
But our kitchen has mostly chrome and stainless steel fixtures. And I had a silver crystal chandelier in my shed that I bought for $24 at a thrift store. I felt this piece was a better fit for the new space.
So my husband installed it, and I have no regrets! The scale and the color of the chandelier are a much better fit. I carefully stored the Italian chandelier away for a future project.
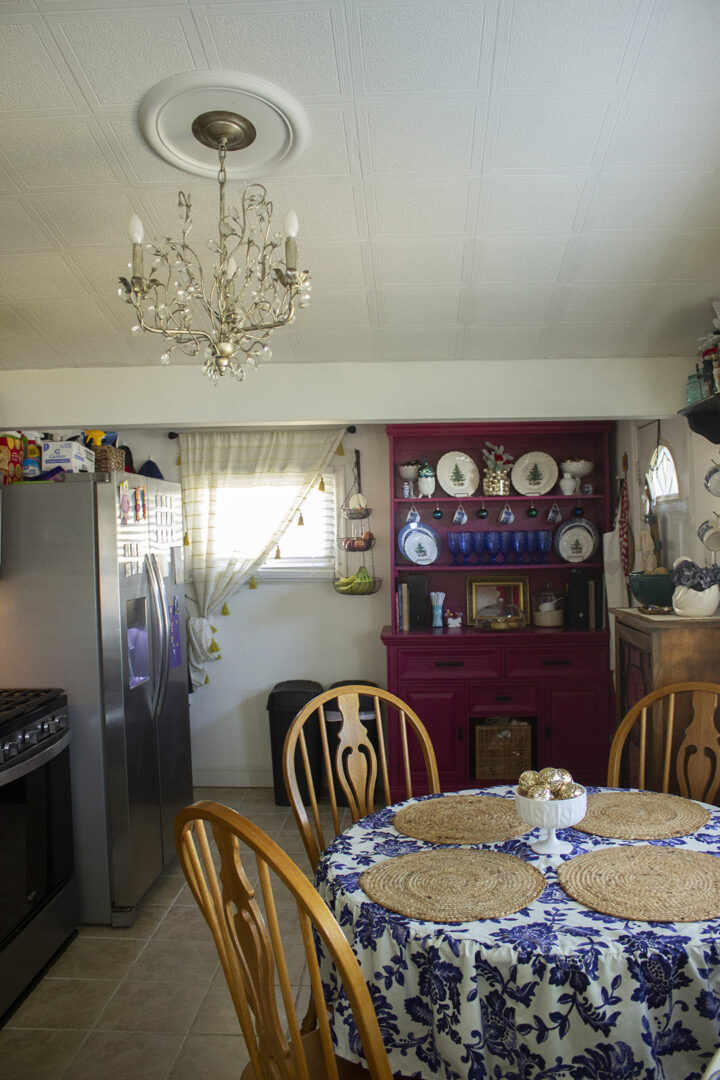
We will continue to make changes to this kitchen to get it to where we want it to be. But I’m so proud of our progress so far! If you are looking to renovate your kitchen, you may be interested in this in-depth post on how to renovate your kitchen on a budget.
I hope this post inspires you to tackle that project you’ve been wanting to work on. And I also hope you know that it’s normal to work on house projects little by little.
Everything doesn’t always get done right away. Sometimes we are living in and enjoying homes that are still a work in progress – and that’s okay!
Follow @Lauren_Rose_Home on Instagram to keep up with the updates to this room.

Design, thrifting, and entertaining are my passion, and I share that passion with you through this blog. I also love being in the kitchen and crafting cocktails. I love Jesus and occasionally, I talk about him too. He has been so powerful in my life, and I love to bring him glory with my hobbies.
©2026 Lauren Correa. All rights reserved. Design by Lauren Correa.