Recently, a good friend was clearing out a house and asked if I needed any furniture. I selected a few small project pieces to take home. This little bench was one of them! I was excited to proceed with a bench makeover.
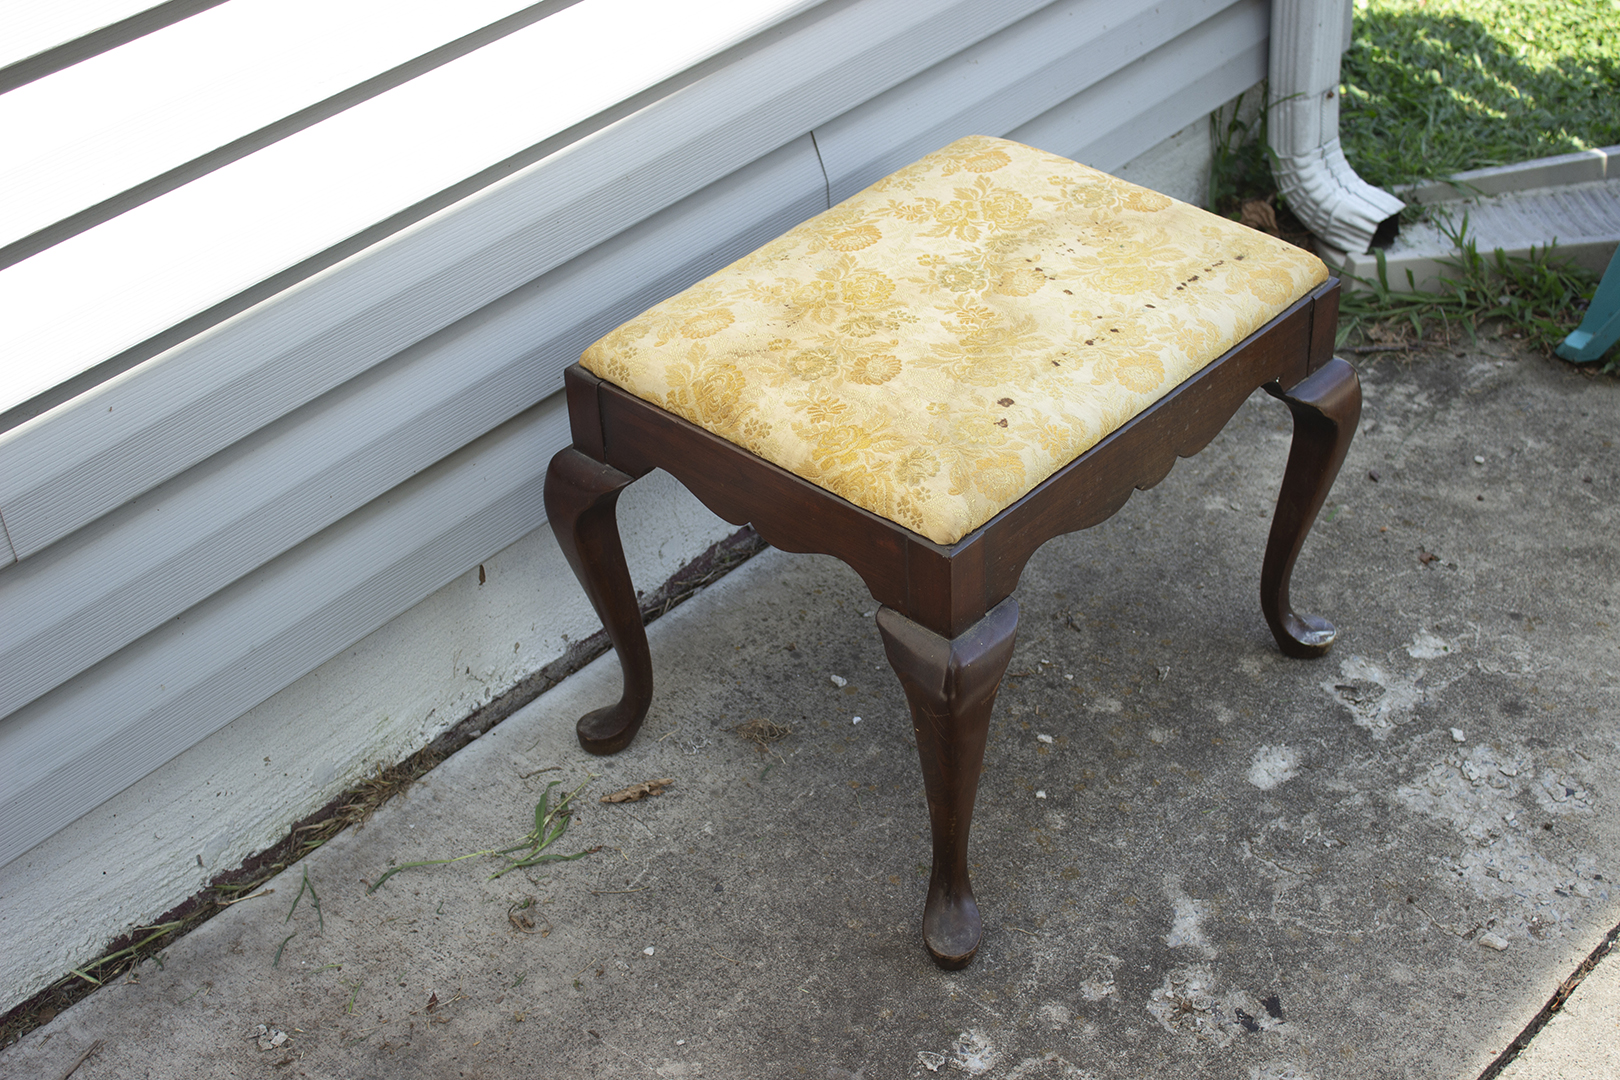
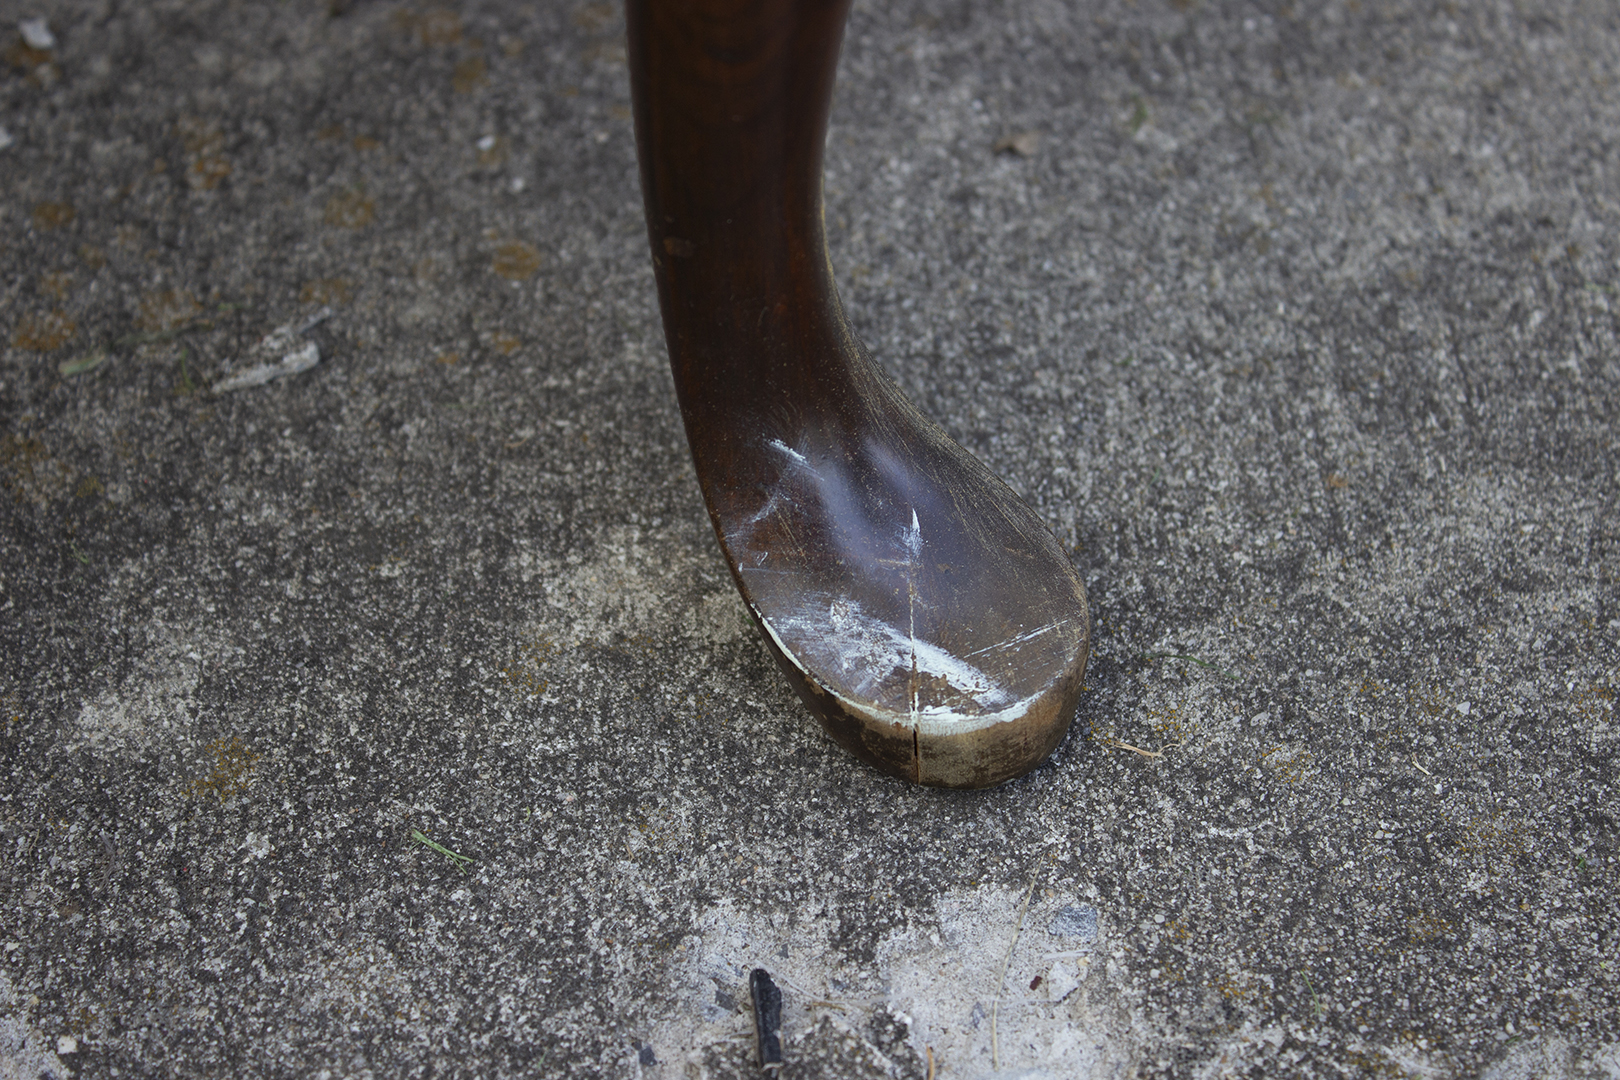
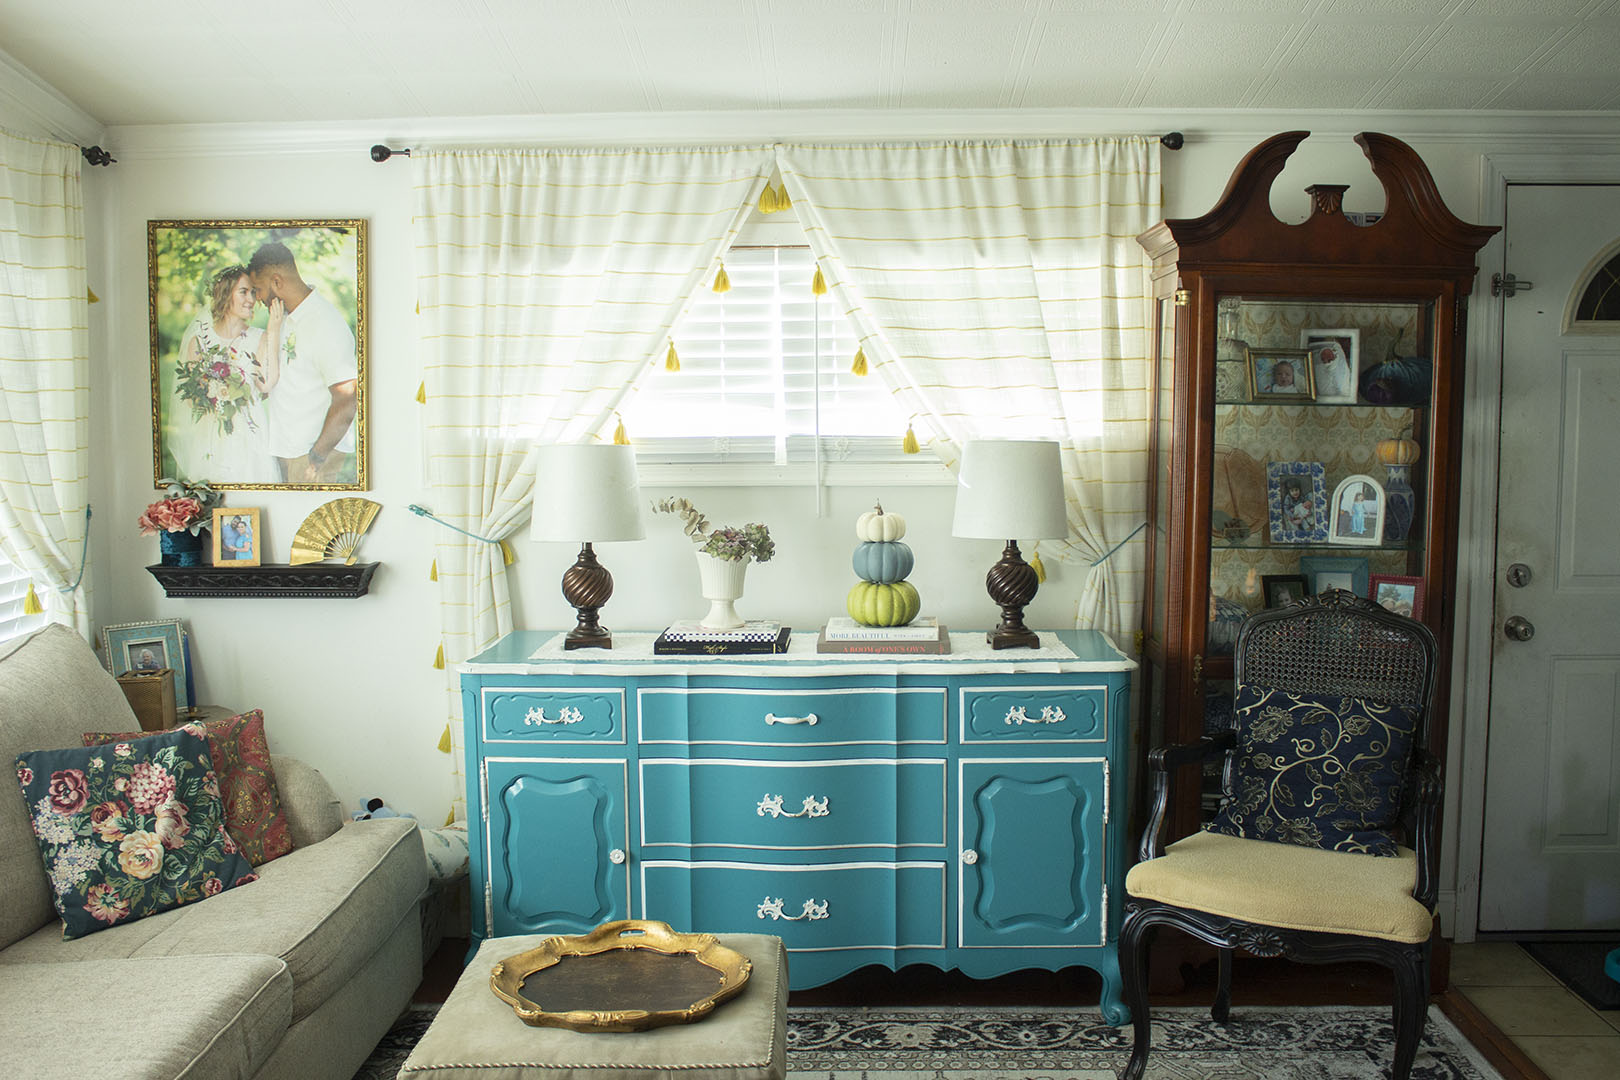
The bench was the perfect size to fit under my secretary desk in my living room. I have been wanting a bench there for a while, but they are surprisingly hard to thrift.
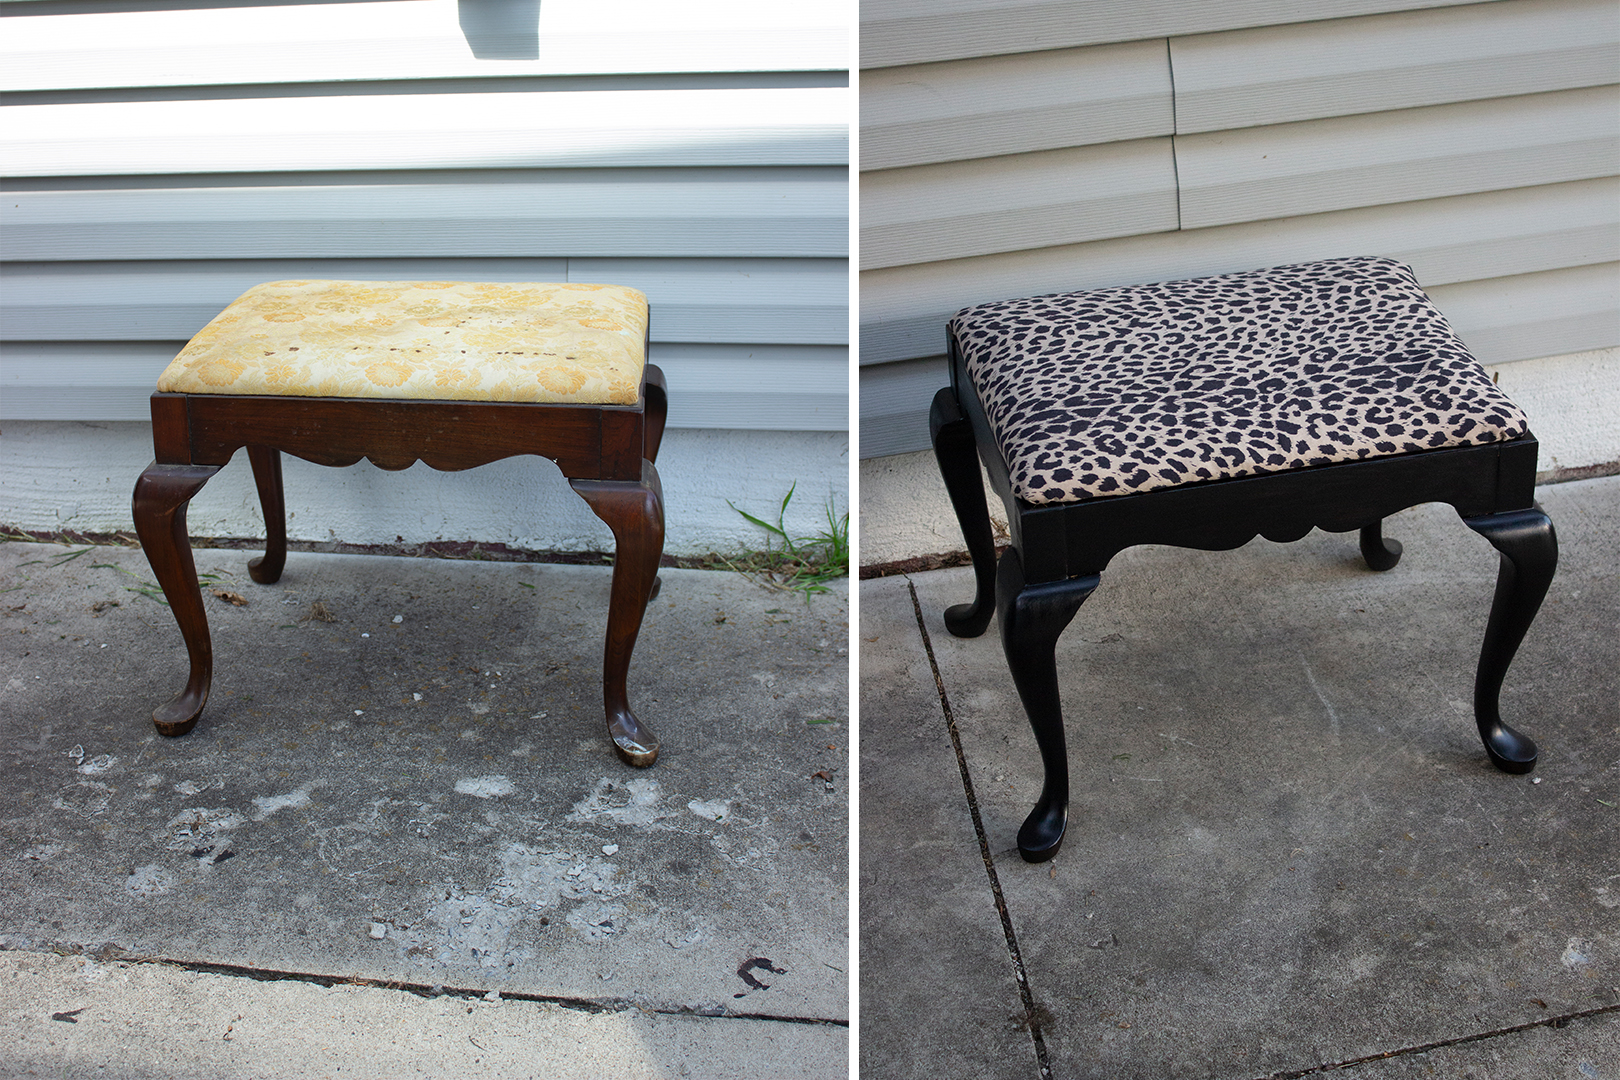
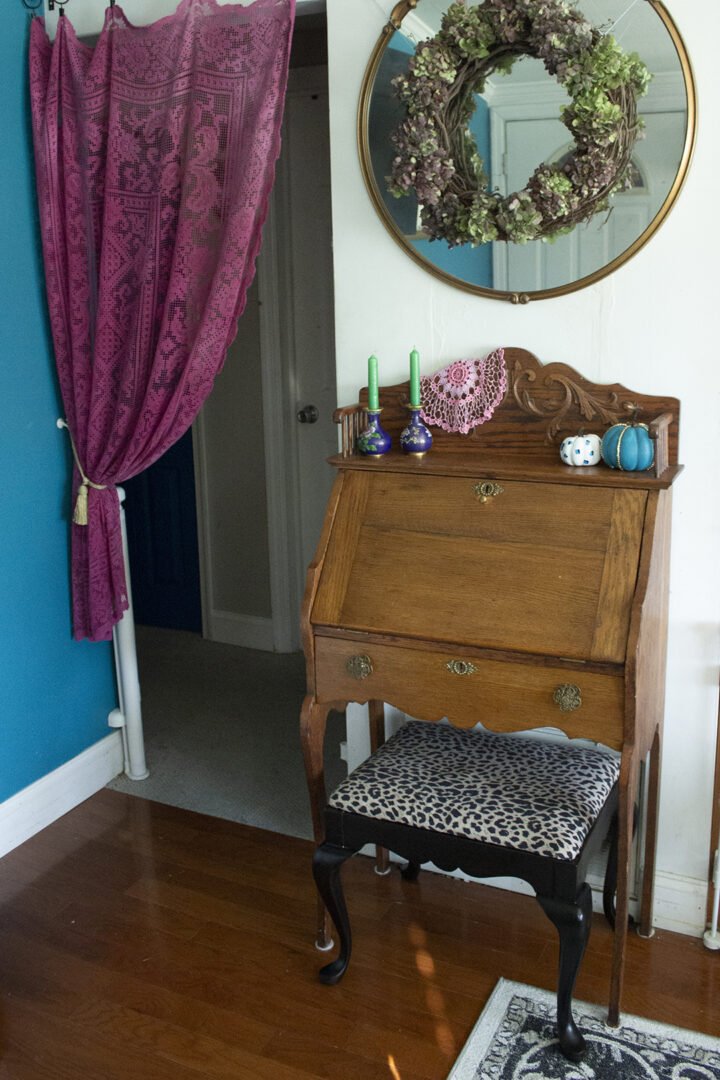
I decided to reupholster the dingy fabric seat with some leopard fabric that I’ve had in my stash for years. I’m pretty sure this fabric was a yard sale find! I’ve used it in multiple projects because I had so much of it.
I started by removing the seat from the bench frame. This was just a matter of removing a few screws. Then I got to work sanding off the finish with 220 grit sandpaper. I was careful around the curves of the legs to not remove too much.
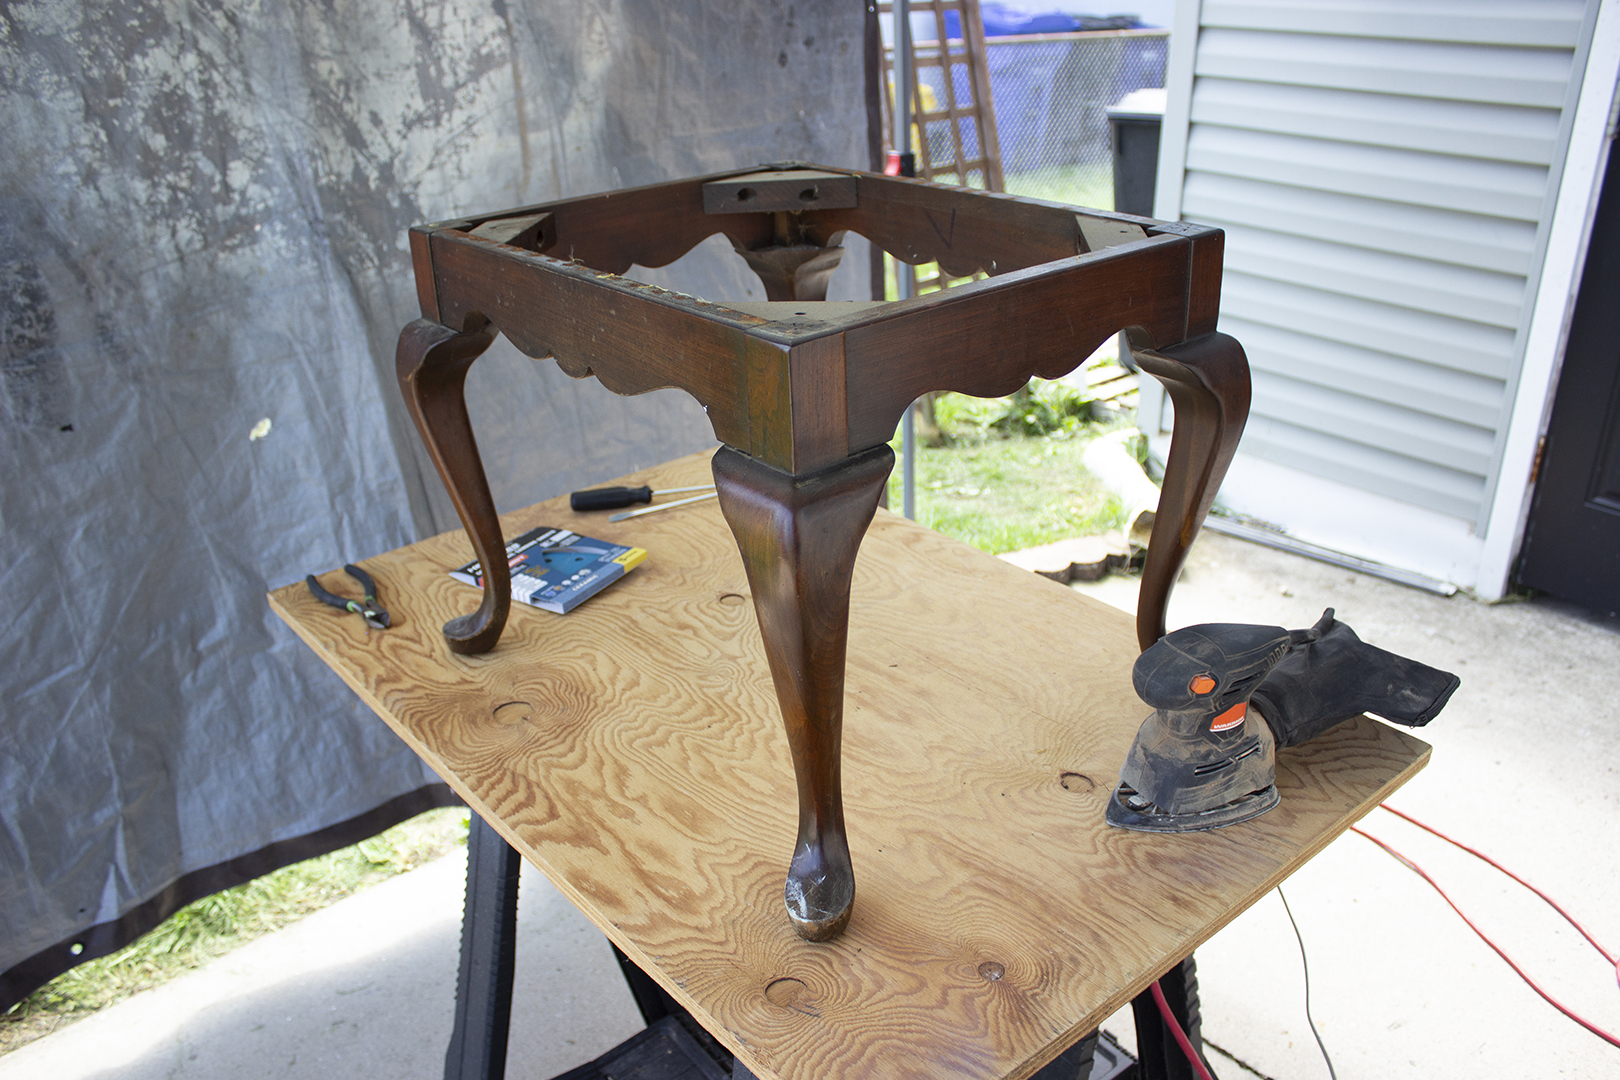
Because I was using a dark gel stain, I did not need to remove every bit of finish. The gel stain I was using really disguises things like that, especially when using a dark shade. If I were using a regular stain, I would’ve made sure not to leave any remnants of the previous finish.
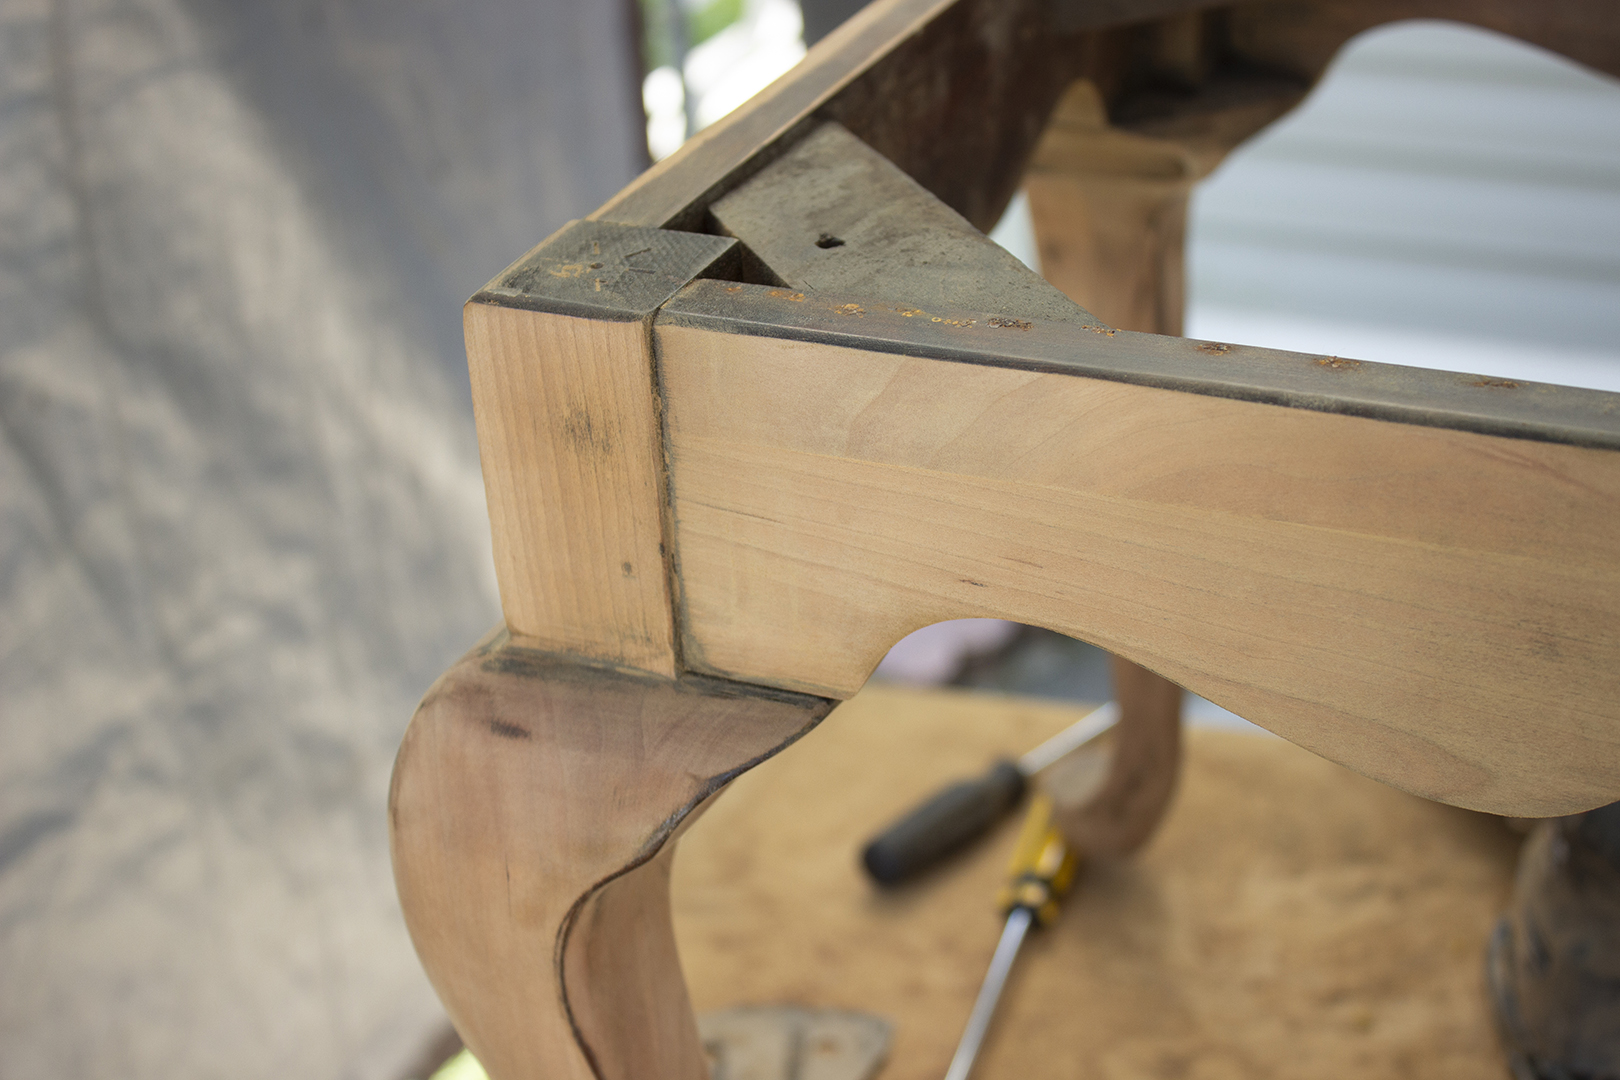
After I sanded the piece down, I cleaned off the dust with a cloth. Then I got to work adding two coats of gel stain. I used Varathane Total Control Gel Stain in the color Kona. I let it dry for about an hour between coats, wiping off the excess after each application.
Finally, I finished with a clear topcoat by Minwax to seal and protect everything.
While everything dried, I worked on reupholstering the seat. I ripped off the old dirty fabric and cut a rectangle of my leopard fabric a few inches longer than the seat on each side. This gave me enough fabric to wrap around the seat and staple down tightly on the other side.
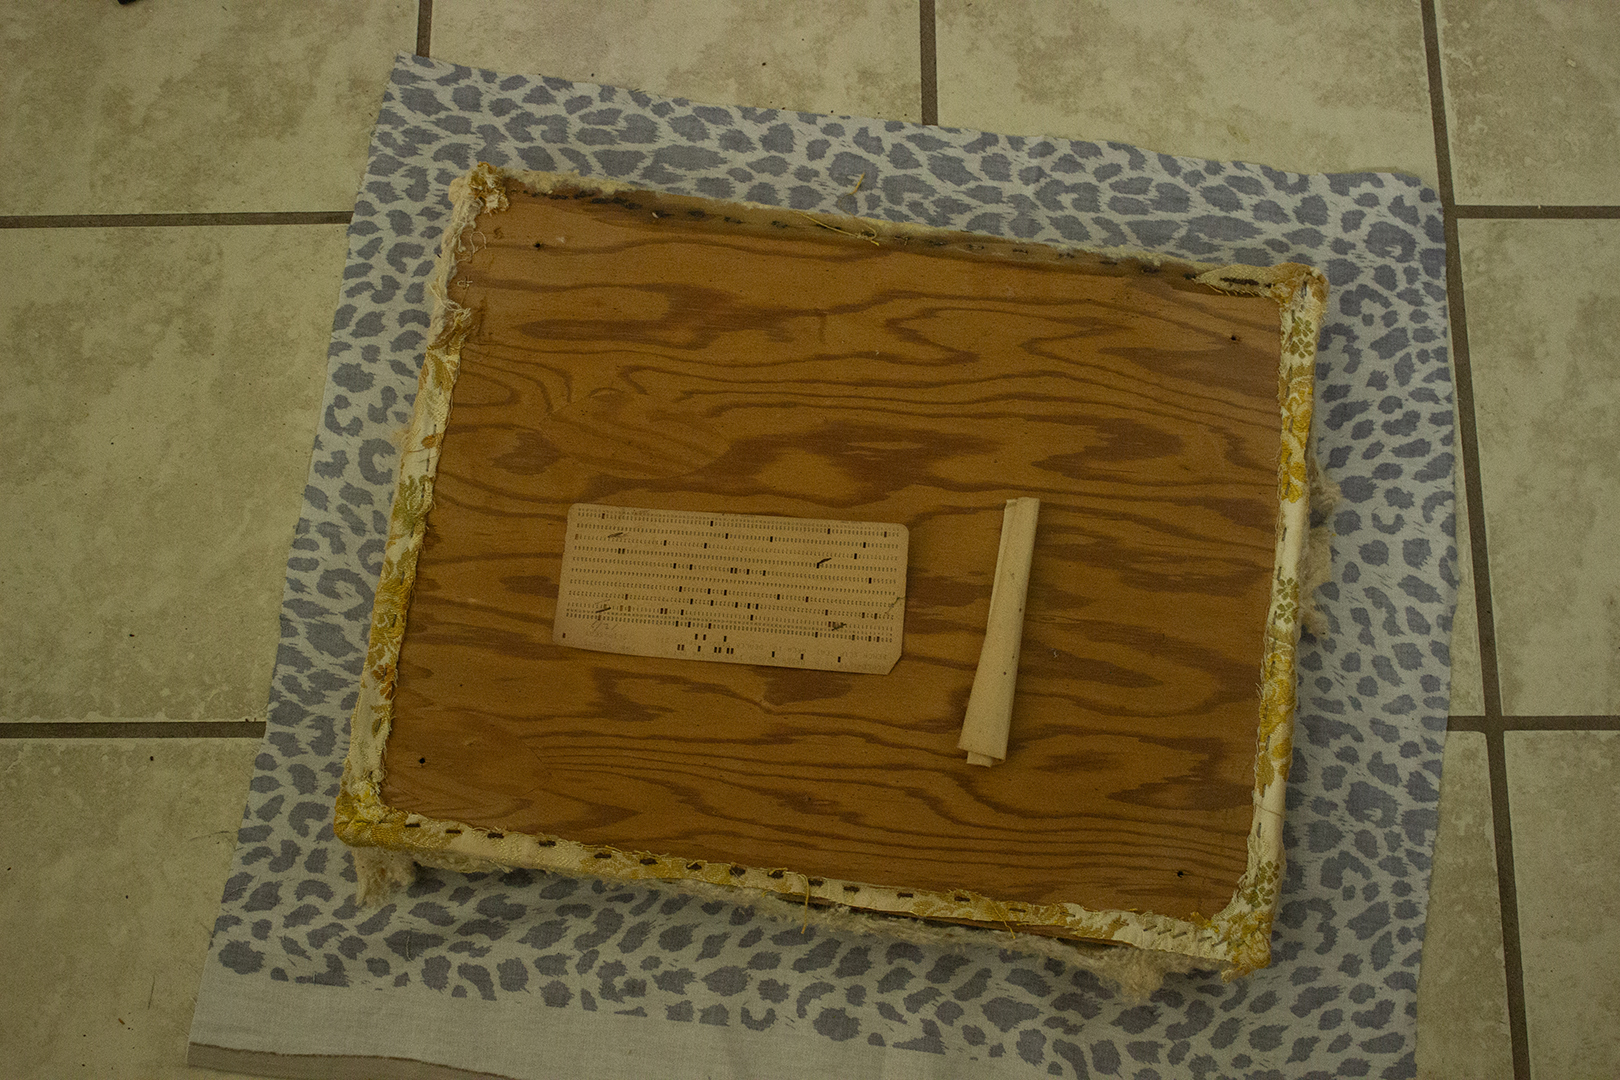
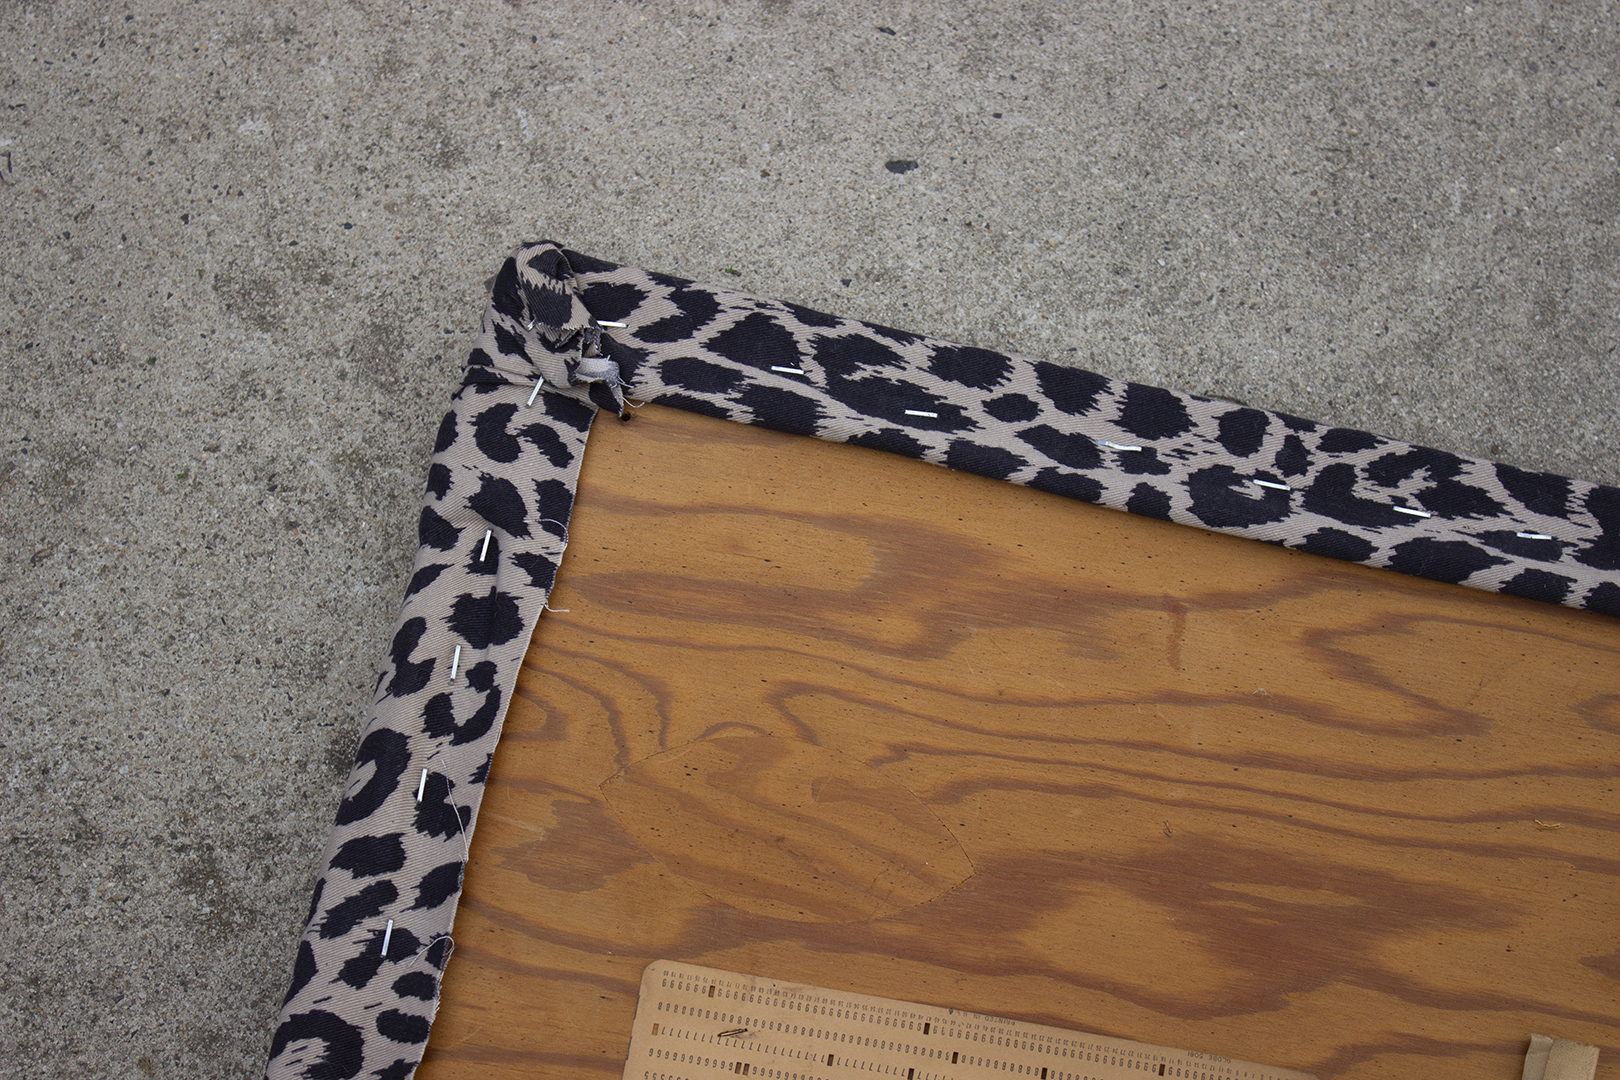
When that was done and the wooden base was dry, I reattached the seat to the base. I am in love with the end result!
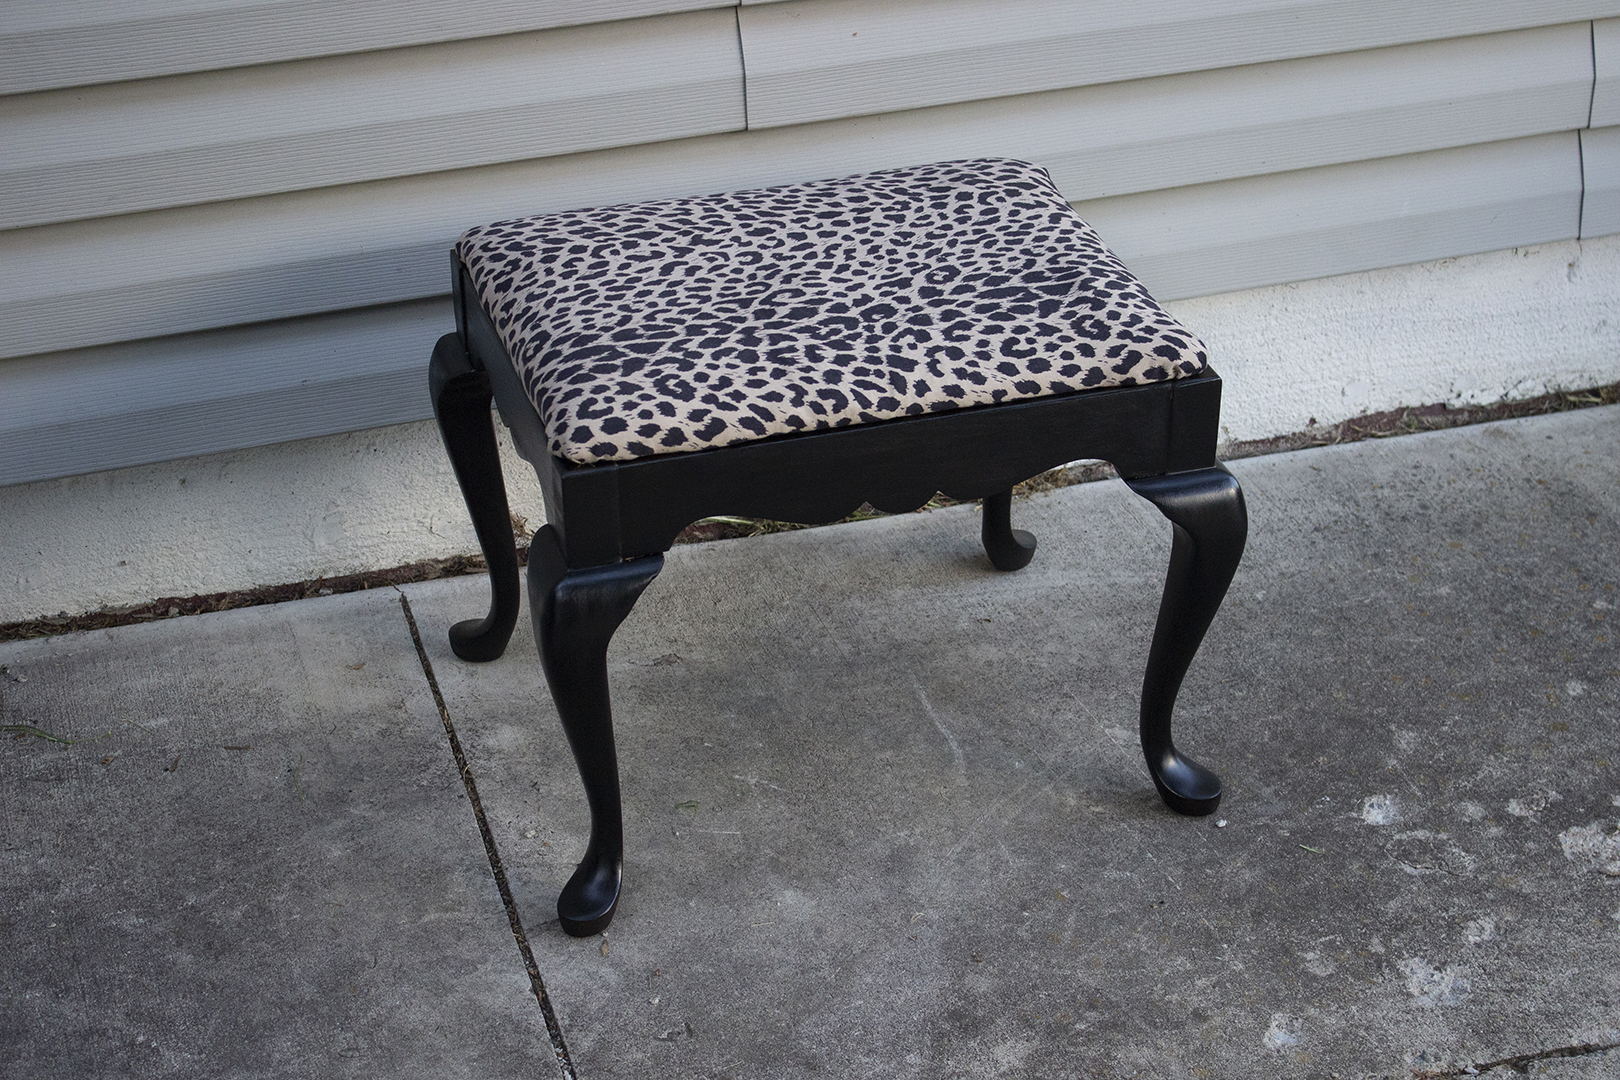
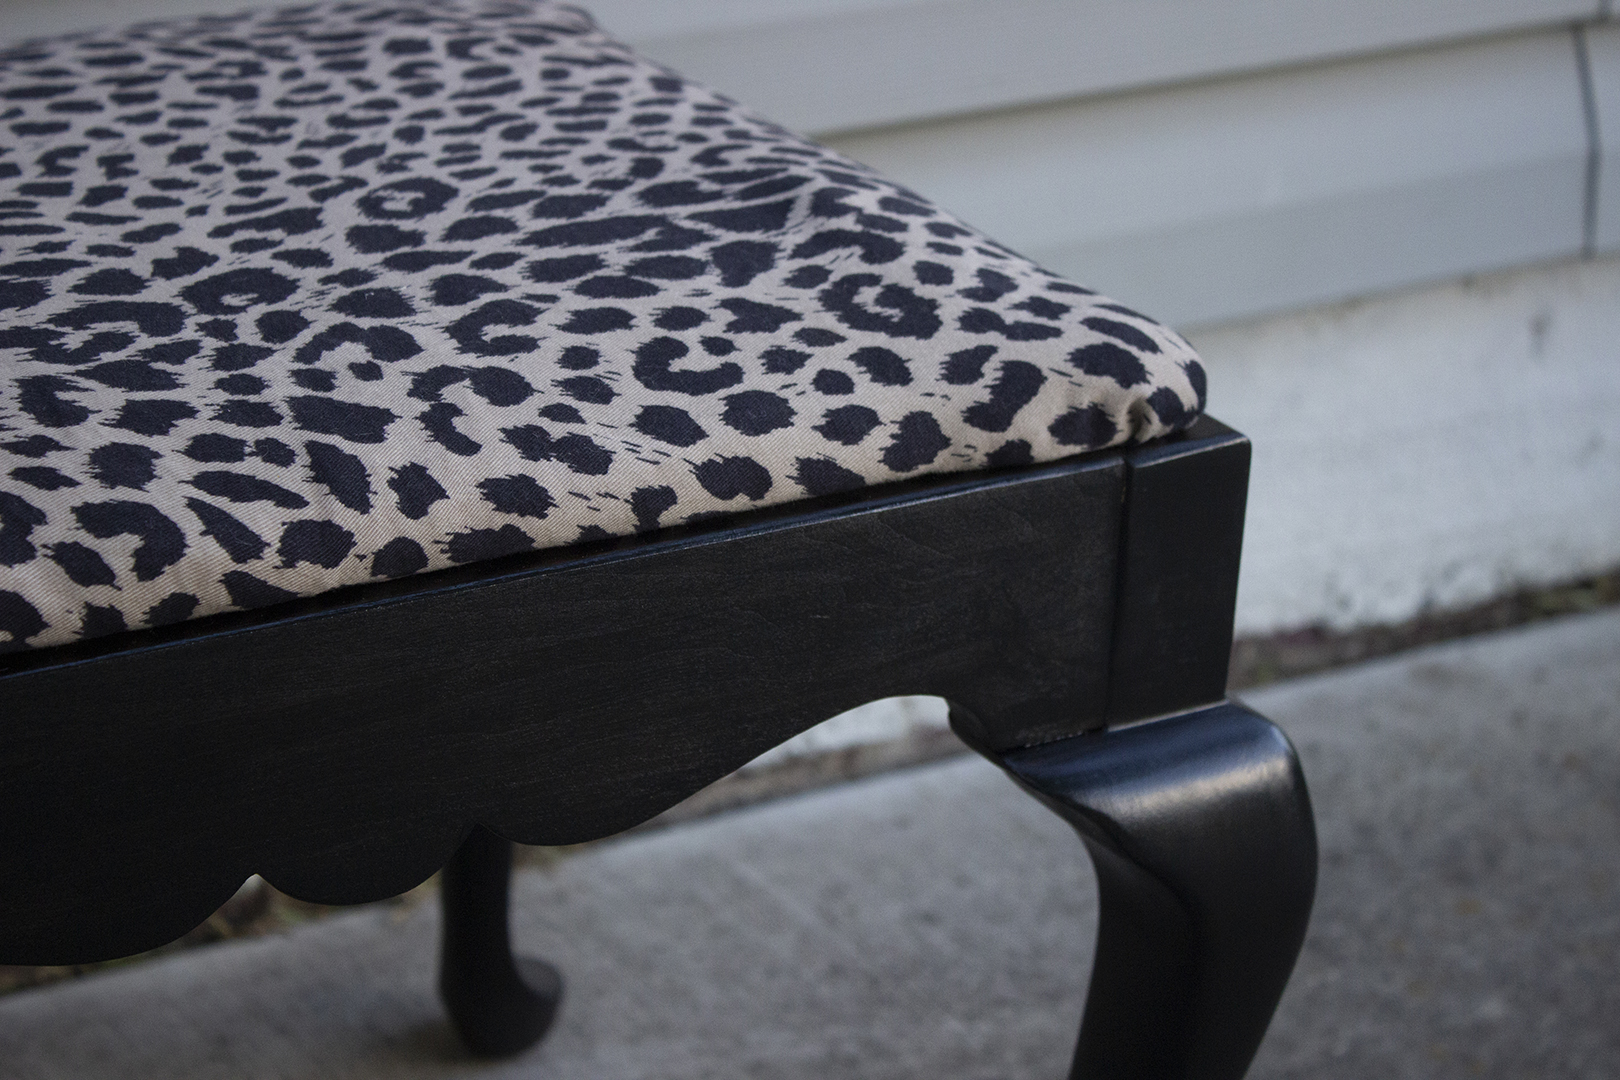
The leopard print adds a touch of personality to this corner of my living room. I love that my little desk now has a stool, so I can sit there to accomplish small tasks.
To see this project in action, be sure to check out my bench makeover reel on Instagram. I hope this inspires you that if you find a little upholstered stool, you can easily give it an upgrade. If you enjoyed this project, you may also love my recent end table makeover.

Design, thrifting, and entertaining are my passion, and I share that passion with you through this blog. I also love being in the kitchen and crafting cocktails. I love Jesus and occasionally, I talk about him too. He has been so powerful in my life, and I love to bring him glory with my hobbies.
©2026 Lauren Correa. All rights reserved. Design by Lauren Correa.