If you follow me on Instagram, you are probably aware that I’m in the middle of a budget-friendly kitchen renovation. We painted our cabinets, replaced our countertops, and we plan to tile our backsplash with white subway tile. We also took on a grout restoration project.
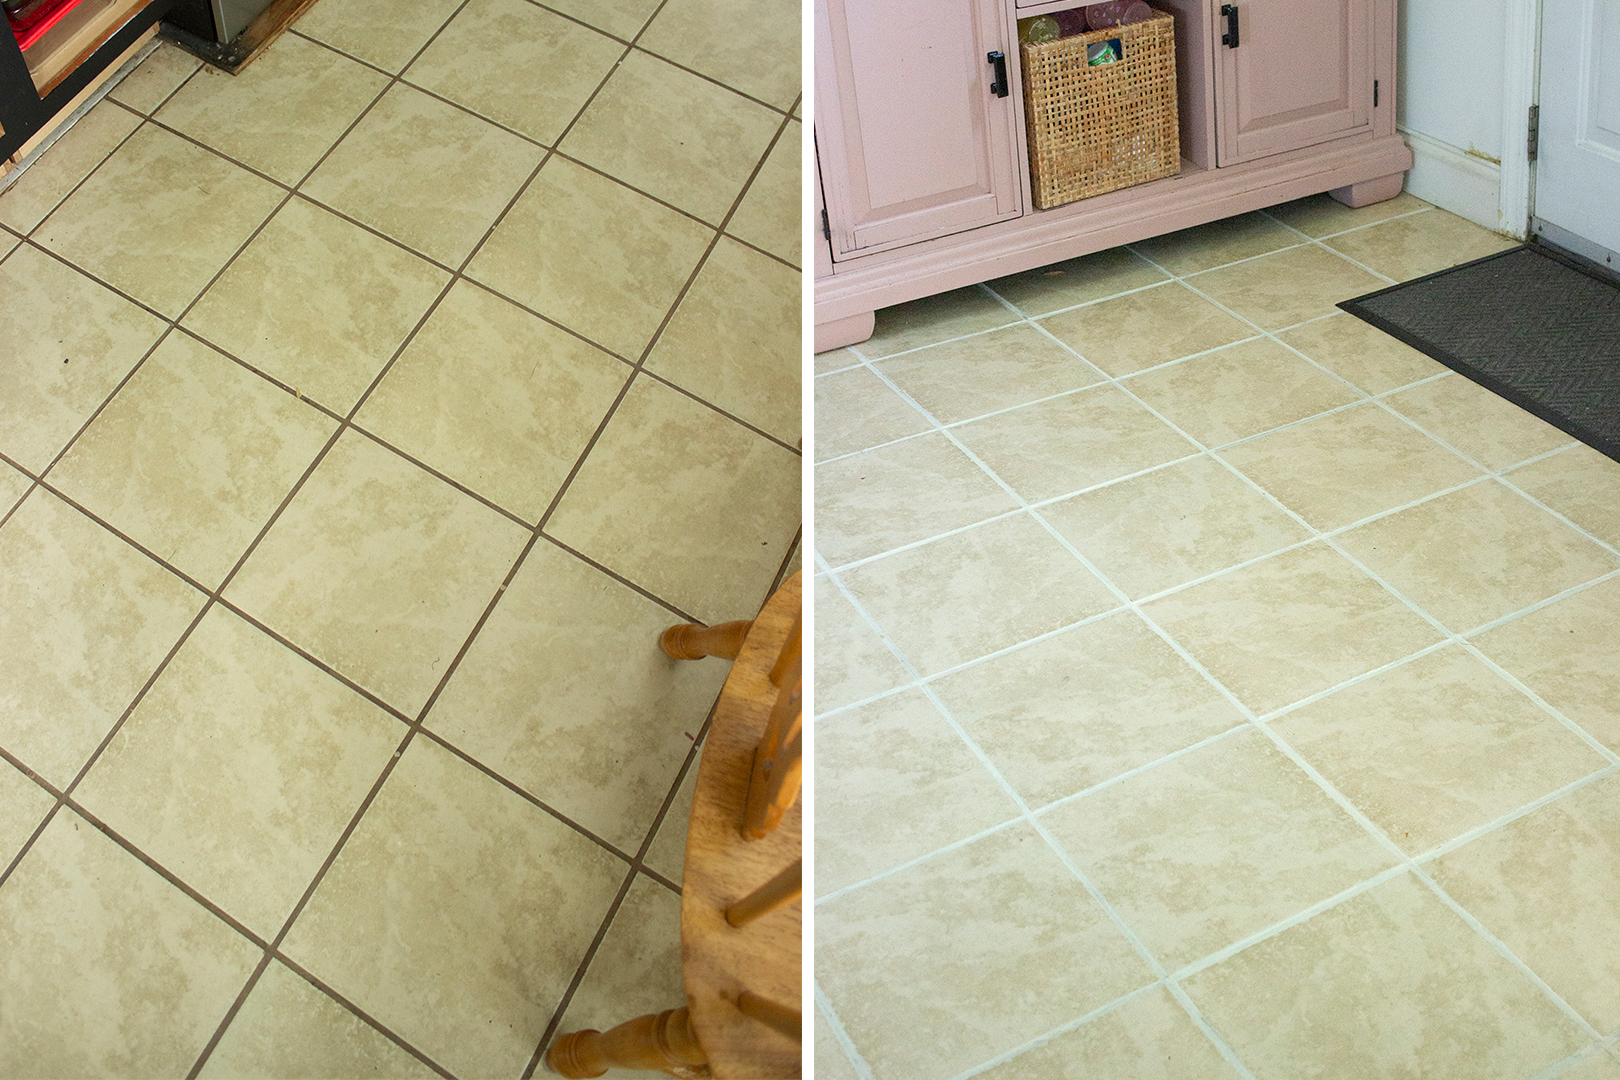
Something that really bothered me about our kitchen was the tile floor. The tiles have a yellow undertone and the grout was FILTHY!
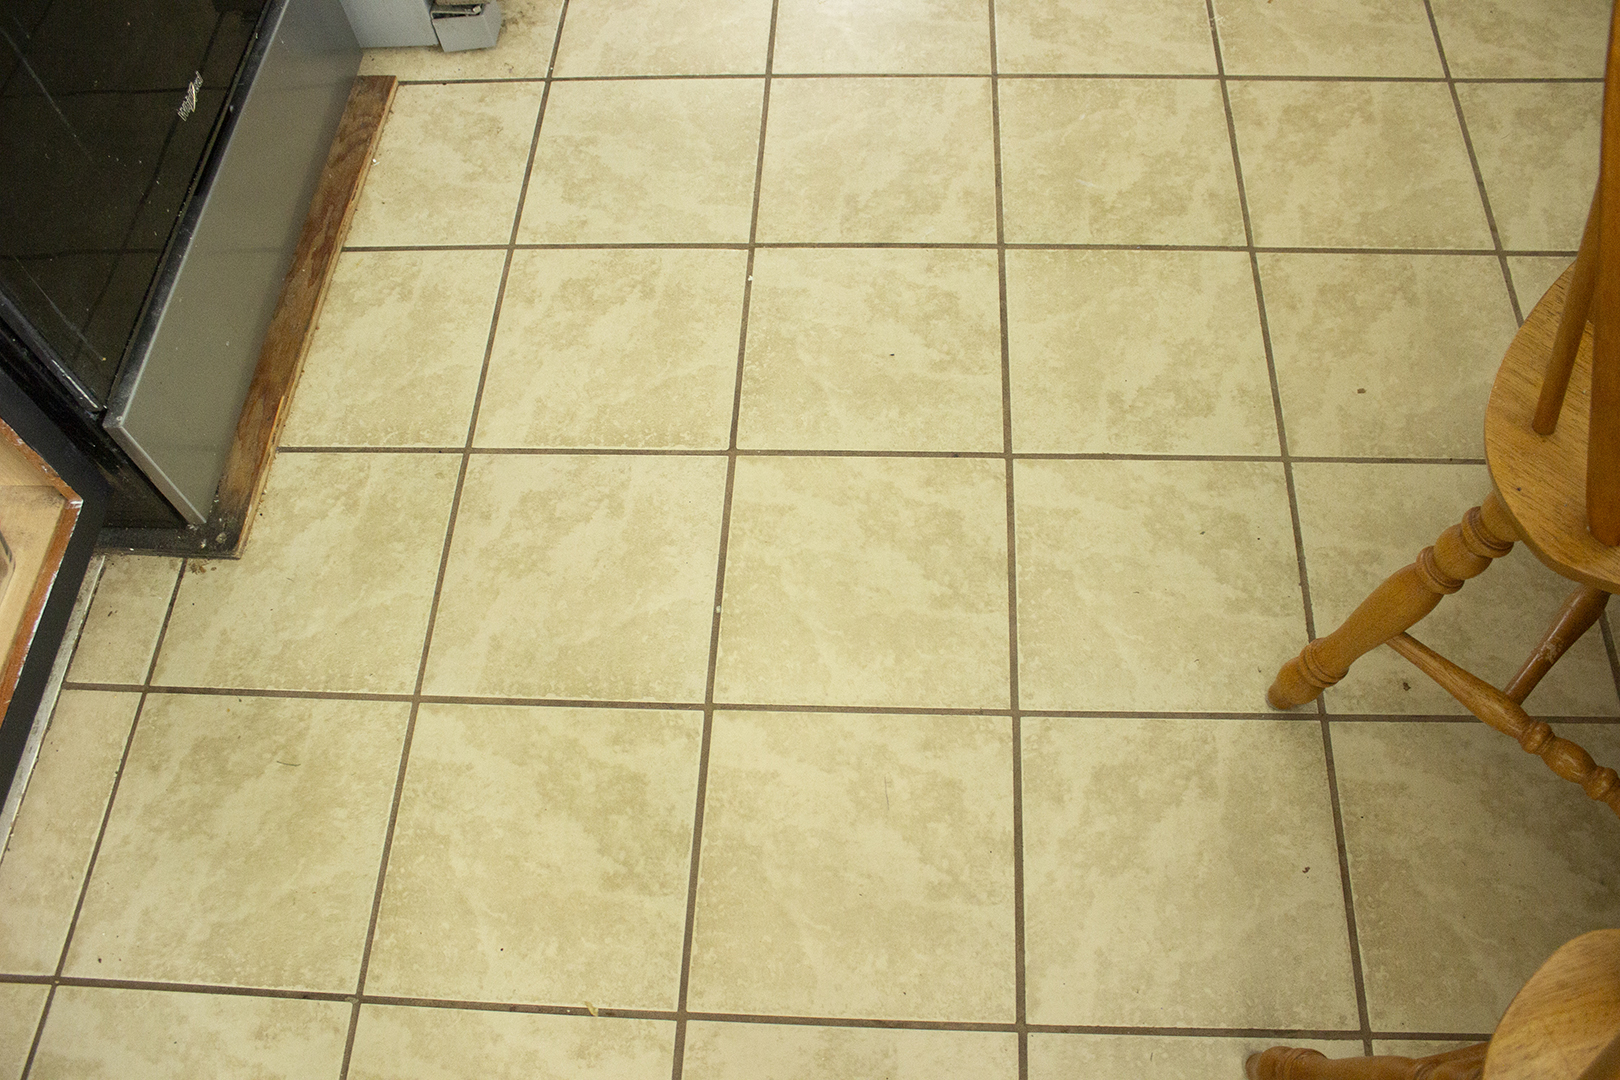
When we first moved in, I attempted to clean the grout. I used toilet bowl cleaner with bleach, and then I tried a cleaner specifically made for grout. Neither worked!
We are not ready to invest in new tile, but I figured if I could get the grout looking better, I might hate the tile less. So I did some research and decided to try painting the grout with grout pens.
I bought a wide-tip grout pen on Amazon in the color cream. Cream is slightly darker than stark white, which I felt would look better on these floors.
I tested it out on a patch of tiles and immediately saw an improvement. While still not my top choice of tiles, the new grout color made them look fresher and less dirty.
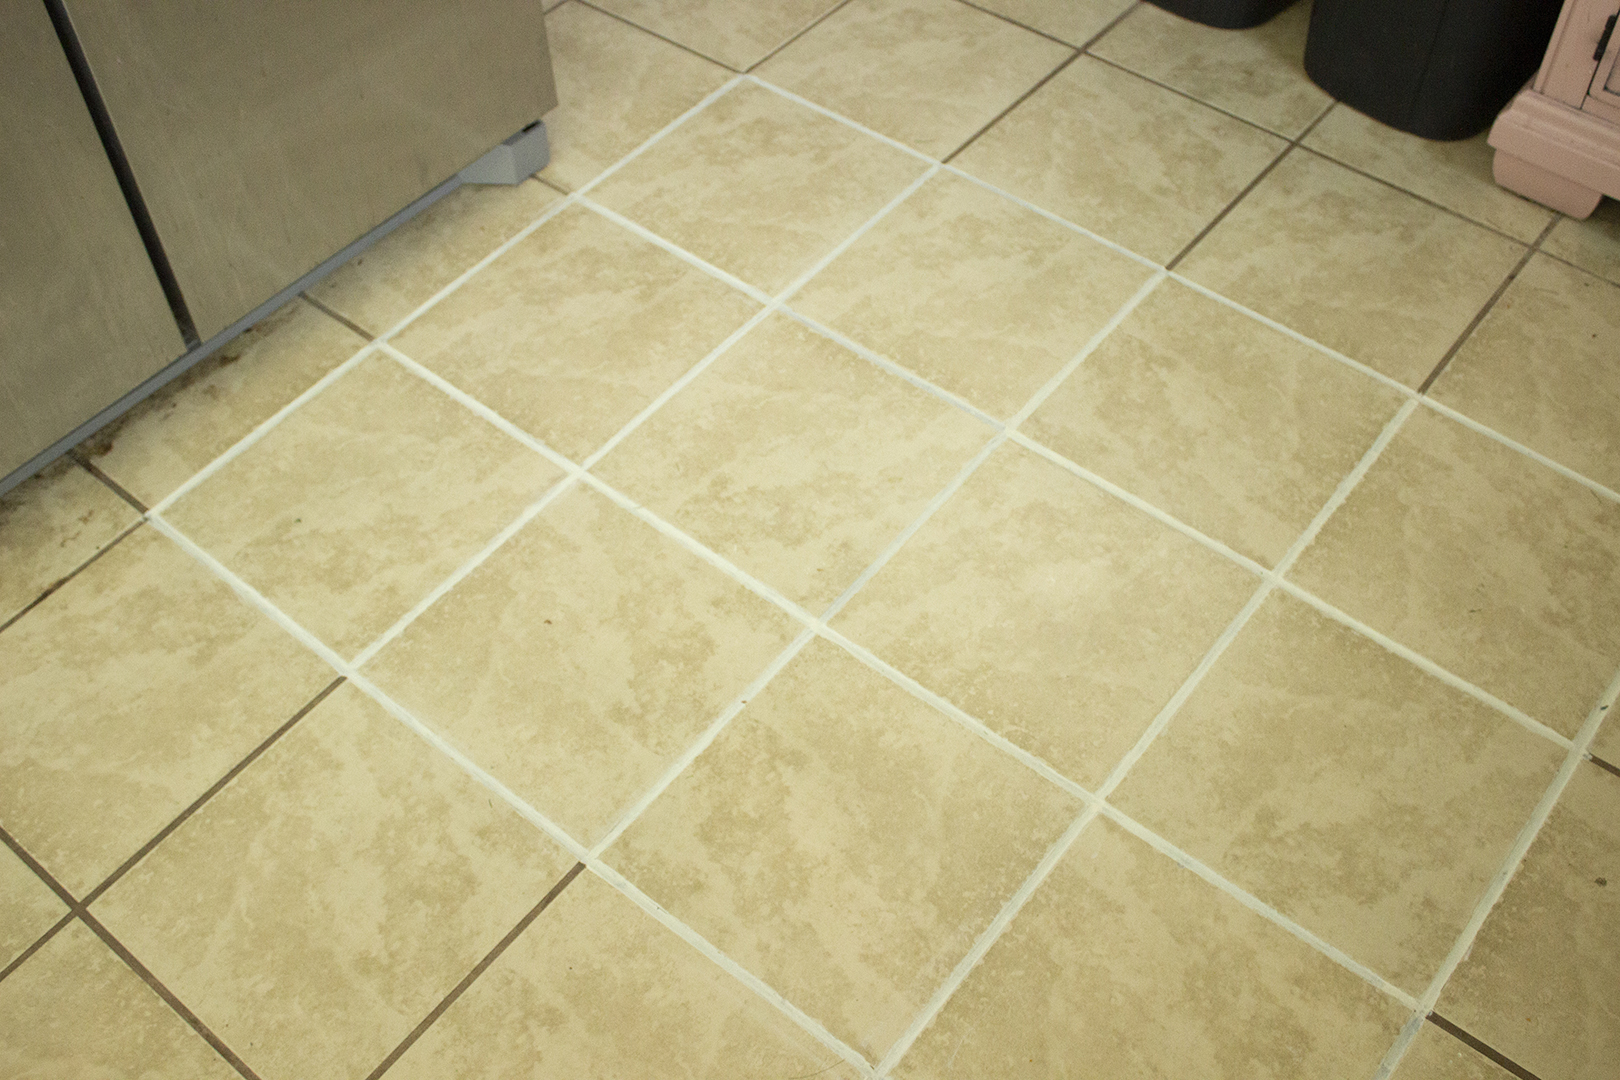
I realized quickly that a challenge of using this pen is to avoid getting paint on the tiles themselves. The wide grout pen was too wide in some areas, and I had to use paper towels to wipe the excess off the tile.
I ended up trying out the thinner grout pen, too. The thin pen was used to do the edges of the floor under the baseboards, and it worked well for that purpose. I tried it on the floor instead of the thicker pen. I ended up deciding it was quicker to just use the thick pen and clean up the excess. But I liked using the thin pen to do touch ups once everything was dry.
It took three thick pens and one thin pen to complete the whole kitchen floor. It turned out great!
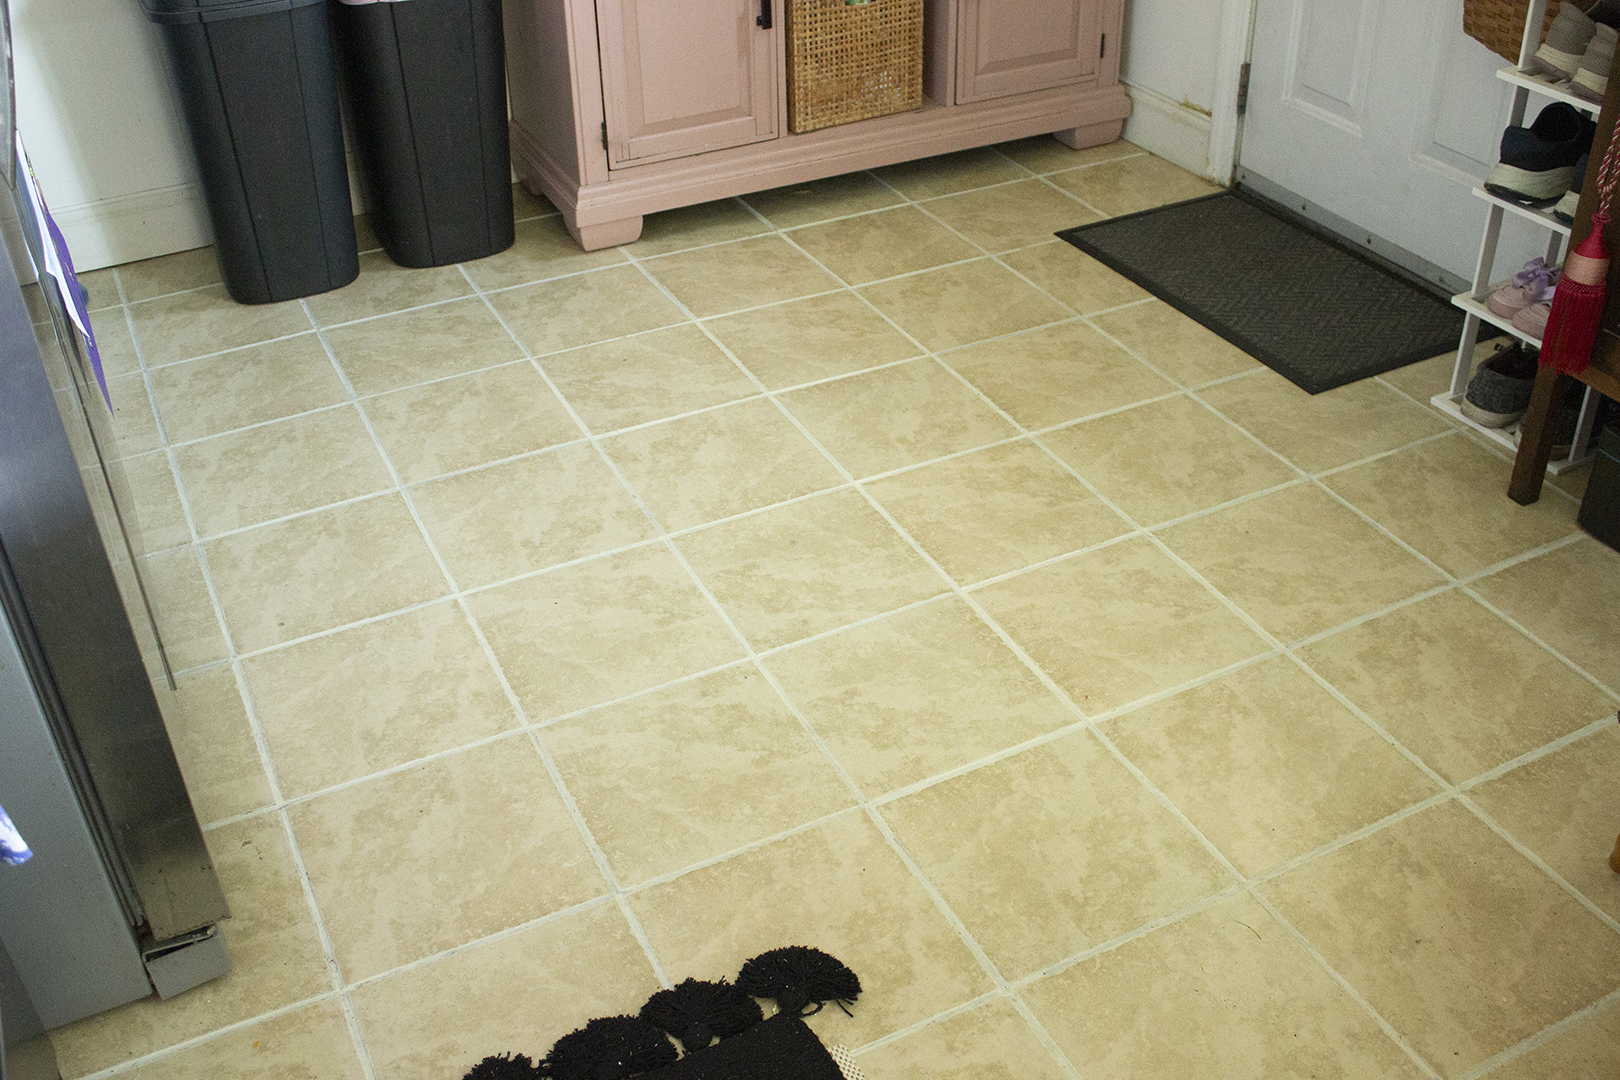
Here is a summary of what I learned:
You can order the same pens I did on Amazon, or you can find them at Lowe’s or Walmart. The links to my exact colors are below:
To see more of my kitchen renovation, be sure to check out my “Kitchen” highlight on the Instagram account for @Lauren_Rose_Home.

Design, thrifting, and entertaining are my passion, and I share that passion with you through this blog. I also love being in the kitchen and crafting cocktails. I love Jesus and occasionally, I talk about him too. He has been so powerful in my life, and I love to bring him glory with my hobbies.
©2026 Lauren Correa. All rights reserved. Design by Lauren Correa.