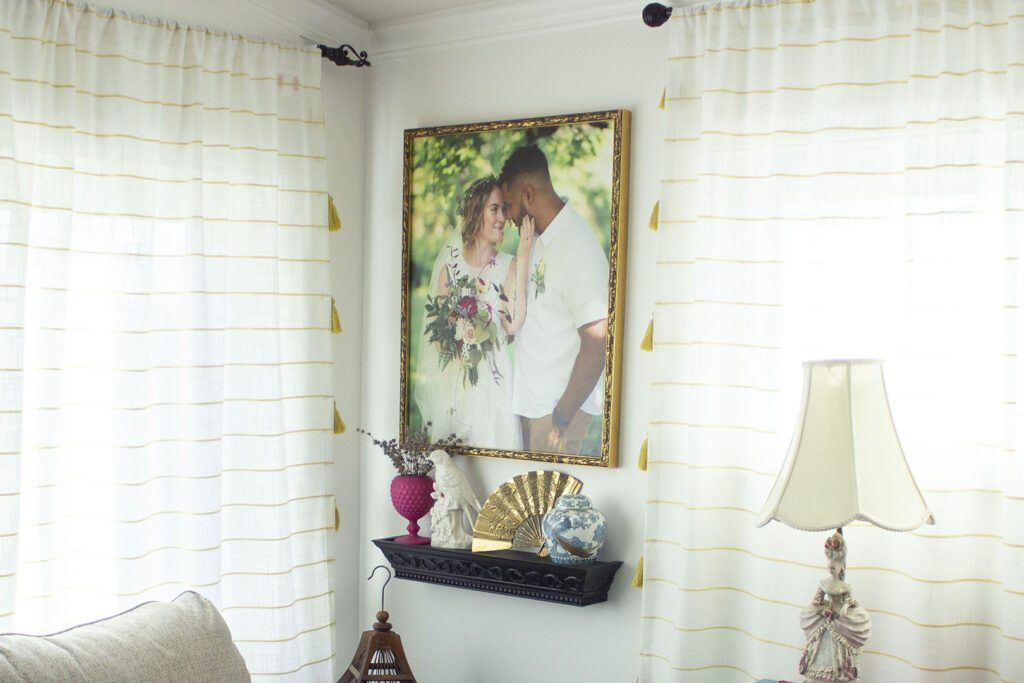
I love the look of a canvas print! I have some stunning ones in my home – from our wedding portrait in my living room, to some floral photography, to a collage in our baby nursery. High quality canvas really takes your artwork in your home to the next level, and in this post, I’m going to share my favorite method for how to frame canvas.
Canvas can be tricky for a few reasons. First, if you have a canvas stretched and mounted on a wood frame, it’s super thick and may require custom framing. It’s also one of the priciest materials to print on. Over the years, I’ve developed my own method of framing canvas prints that both saves money and allows you to use almost any frame you want.
The trick is to have your photos or artwork printed on unmounted canvas, which costs less than having it mounted on wood. It also produces a flat, thin piece of canvas, which can be glued to thin board and framed without all the bulkiness of a mounted canvas print.
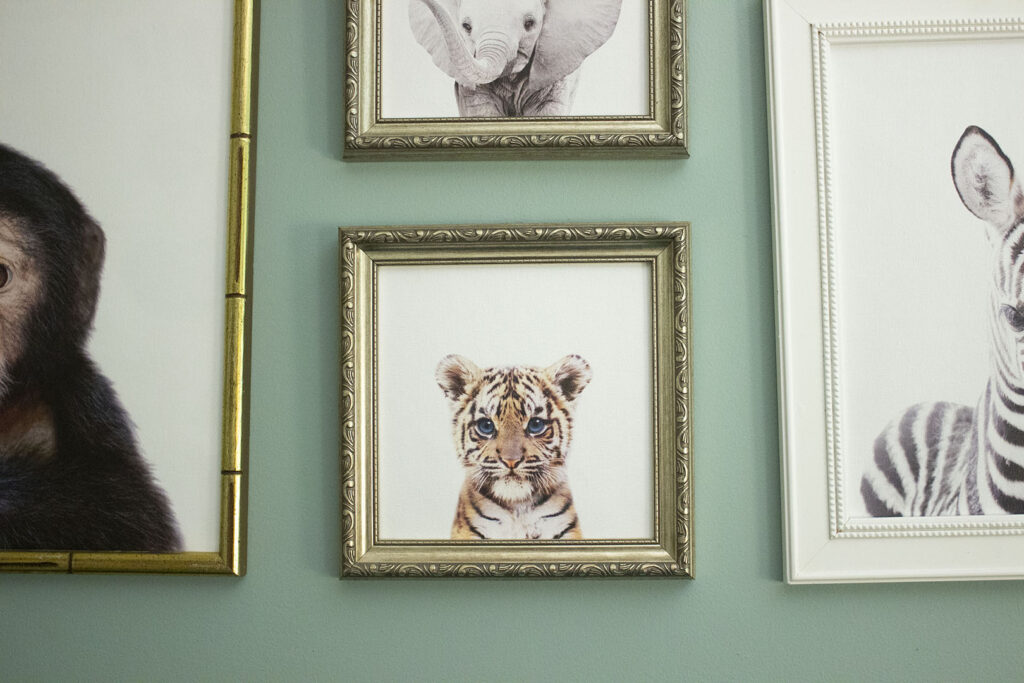
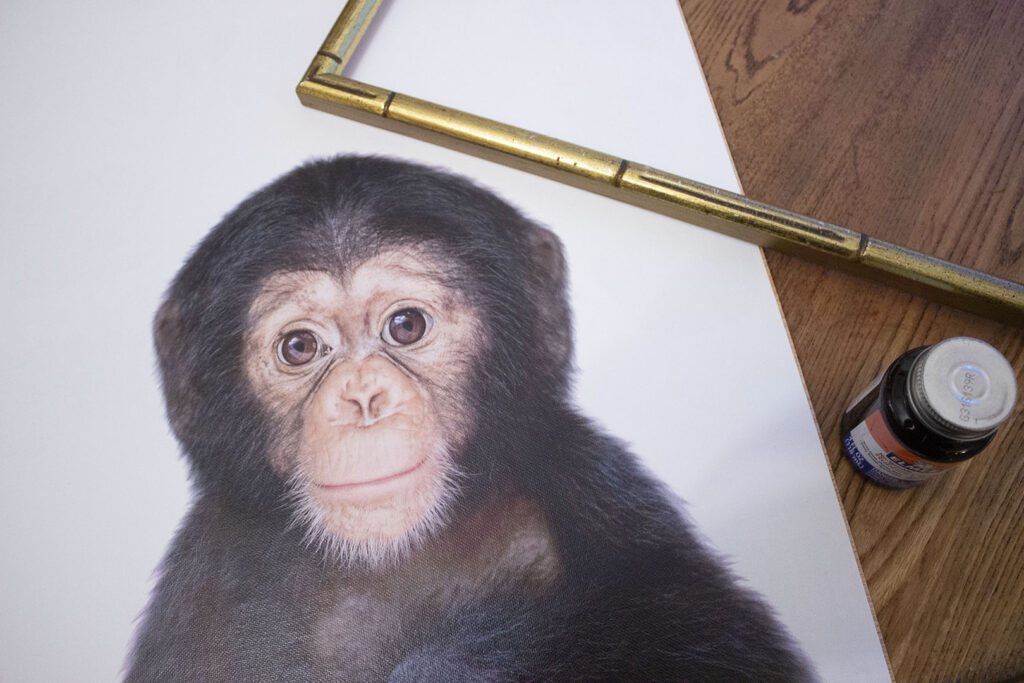
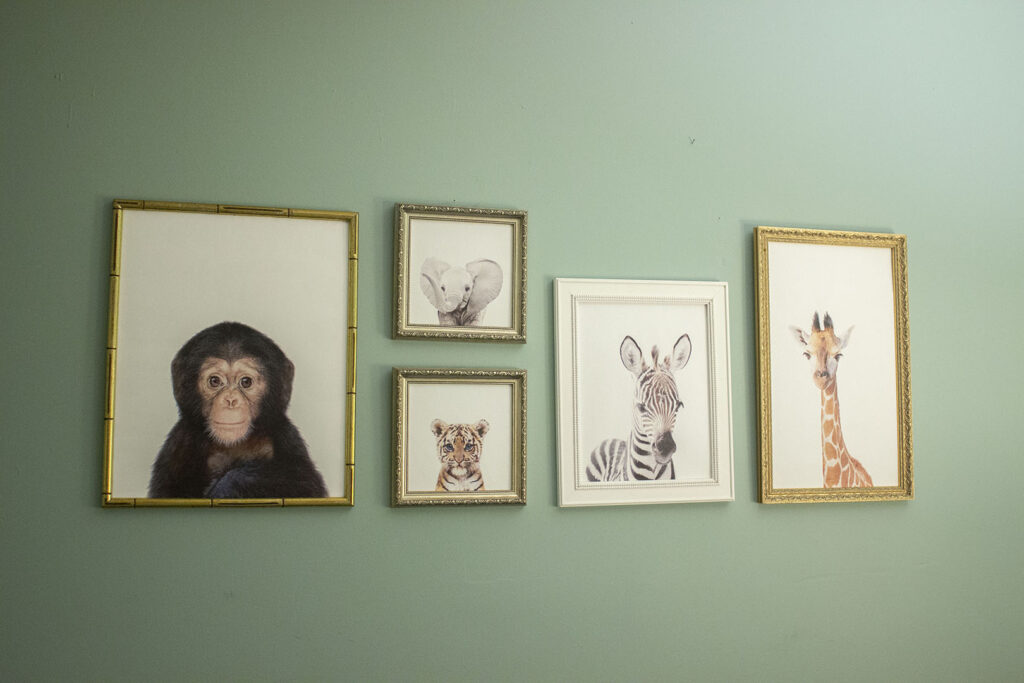
For the monkey print that I created in this post, I ordered the 16″ x 20″ print from a local print shop, and the total cost came to about $42. The other animal prints in the nursery were printed with another local shop about three years ago, just before my daughter was born. The price I paid isn’t relevant anymore because of inflation.
You could possibly find a cheaper price with an online printer, but I haven’t worked with any and didn’t want to risk ending up with a subpar product. The cost savings is still significant compared to mounted canvas.
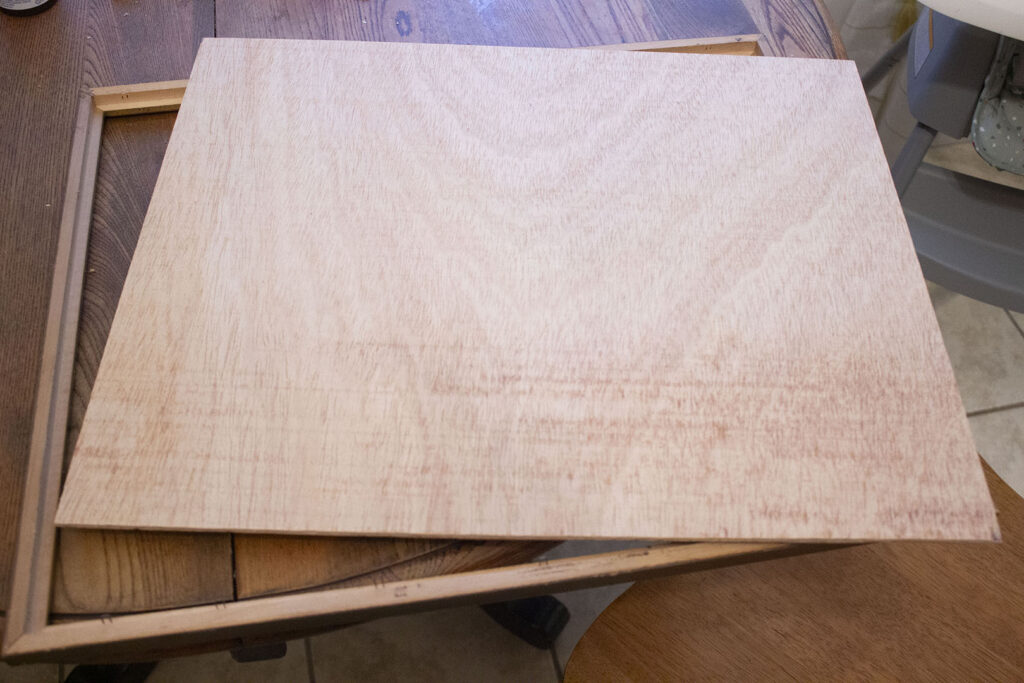
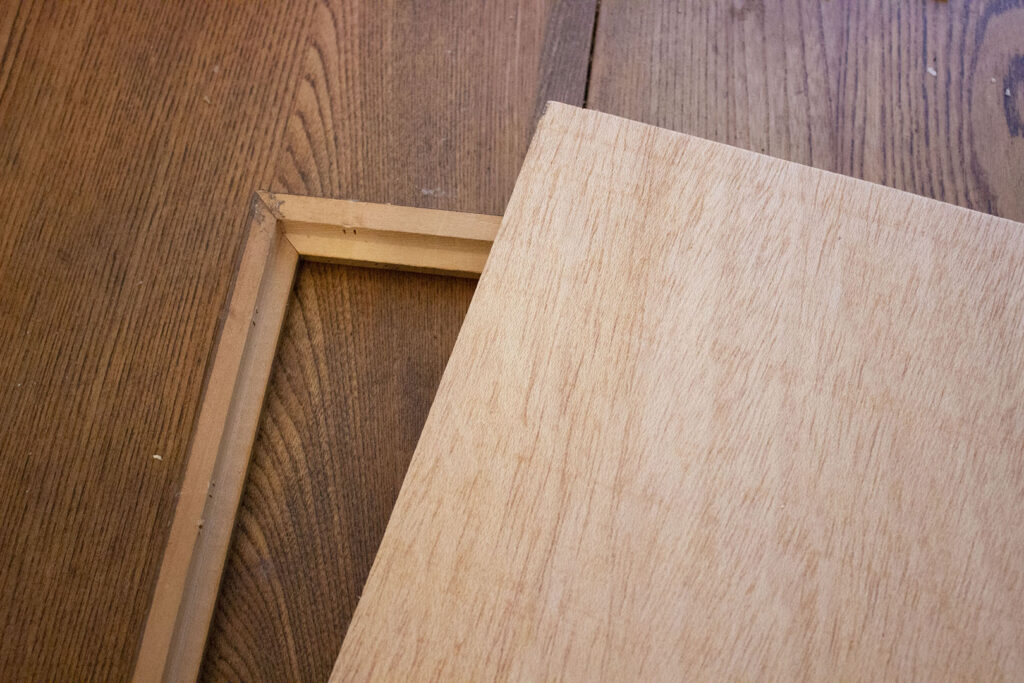
To provide a sturdy yet thin and frame-able backing to the canvas, my favorite material is hardboard. You can buy it at Home Depot and cut it to the size of your frames.
For this particular project, I used ¼ inch plywood, which also works well. I do prefer hardboard, but I had the plywood on hand already and didn’t want to purchase a whole board for just one frame.
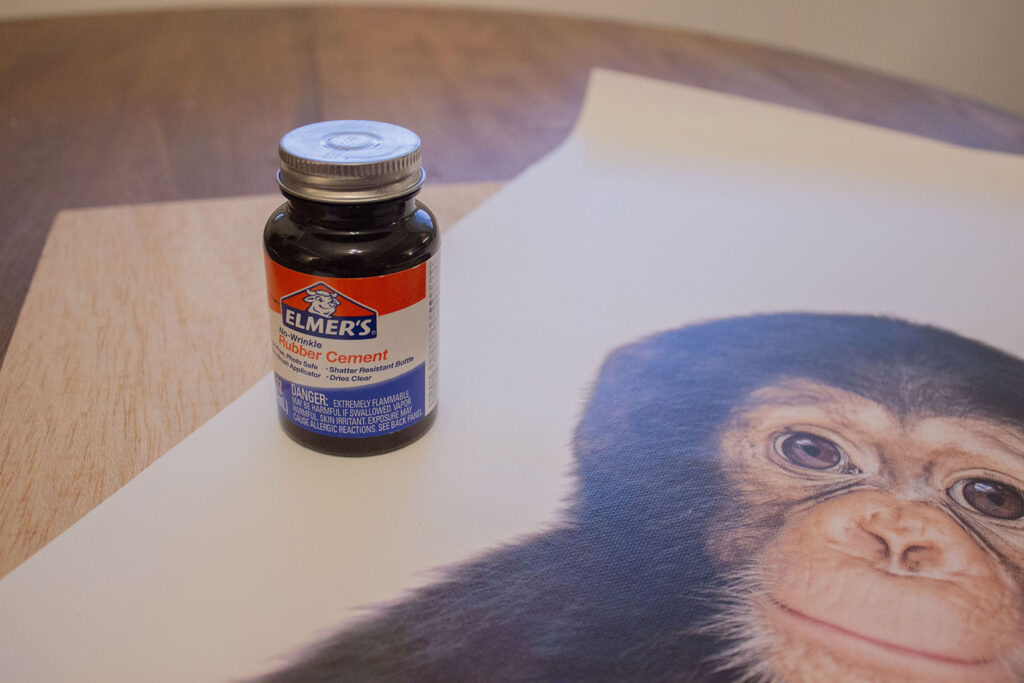
To glue the canvas, the best adhesive to create a wrinkle-free finish is rubber cement. It cures pretty quickly too (in about 20 minutes), so you don’t need to wait hours for it to dry.
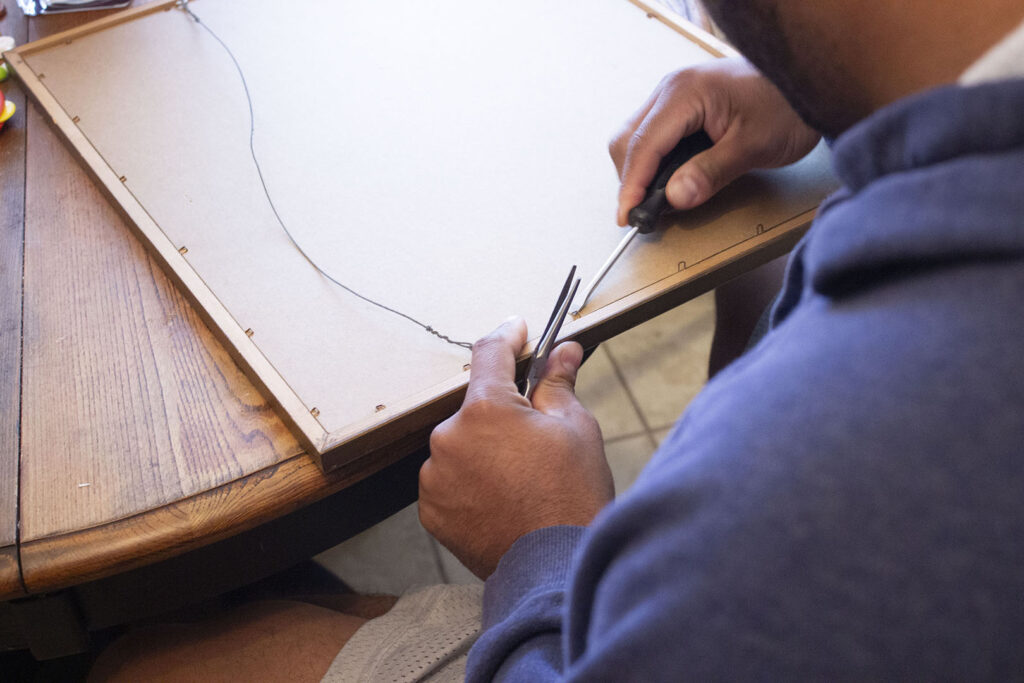
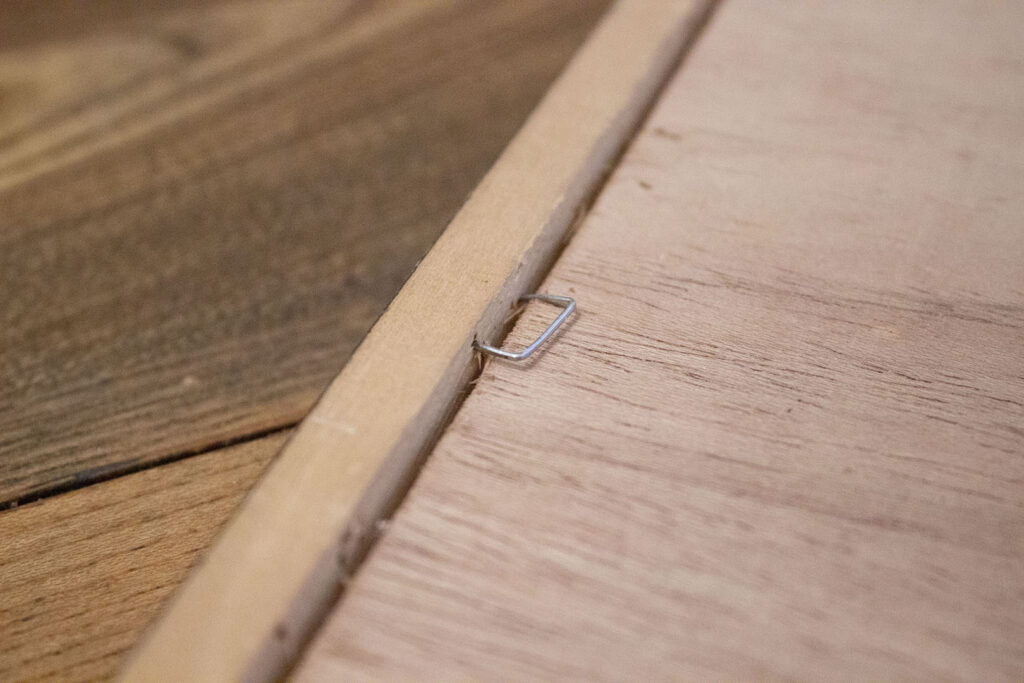
Another way to cut costs is to thrift the frames for this project. All of my frames were purchased secondhand, and a few were even trash picked.
If you are creating a collage and like the look of matching frames, you can add a coat of spray paint to unify the frames. I like an eclectic look, so my nursery collage features gold, white, and silver frames.
This project is simple and produces high-quality results. Follow along to recreate this look in your own home!
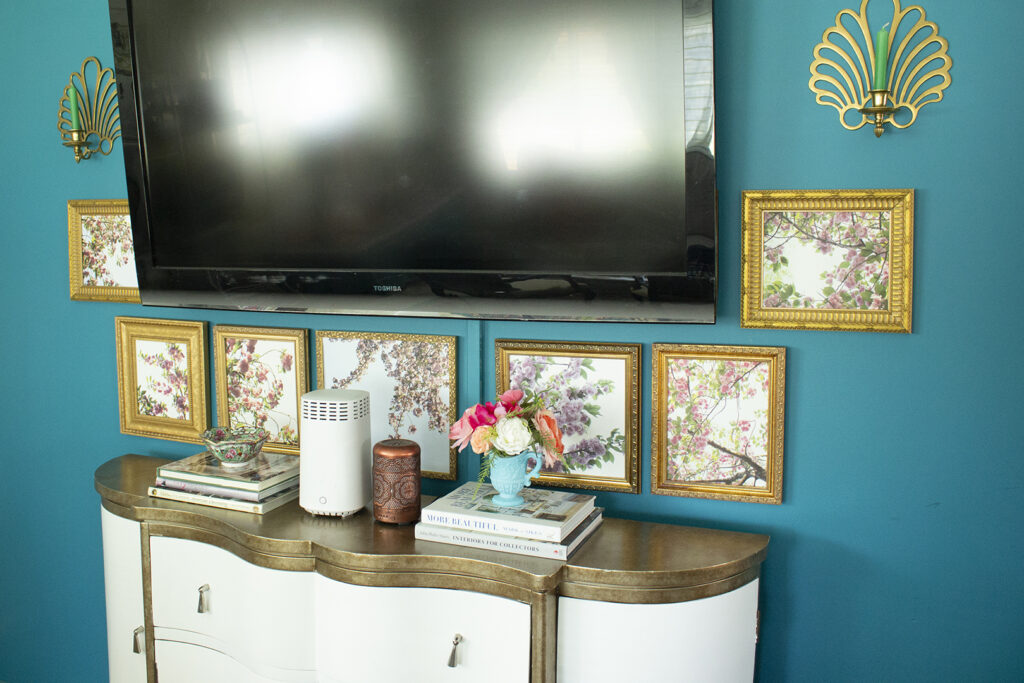
As I mentioned earlier, I’ve used this method of framing canvas all throughout my home. It’s a great way to create stunning prints at an affordable cost. If you replicate this project at home, be sure to let me know in the comments!

Design, thrifting, and entertaining are my passion, and I share that passion with you through this blog. I also love being in the kitchen and crafting cocktails. I love Jesus and occasionally, I talk about him too. He has been so powerful in my life, and I love to bring him glory with my hobbies.
©2026 Lauren Correa. All rights reserved. Design by Lauren Correa.