A few years ago, I picked up this adorable little rocking chair at a yard sale for just $1. It had a broken seat, but I had an idea to repair it and give it a second life. I hope this colorful child’s rocking chair thrift flip inspires you to save something from the trash like I did!
Please note: This is not a comprehensive tutorial. This is simply meant to inspire you and help get your DIY juices flowing!
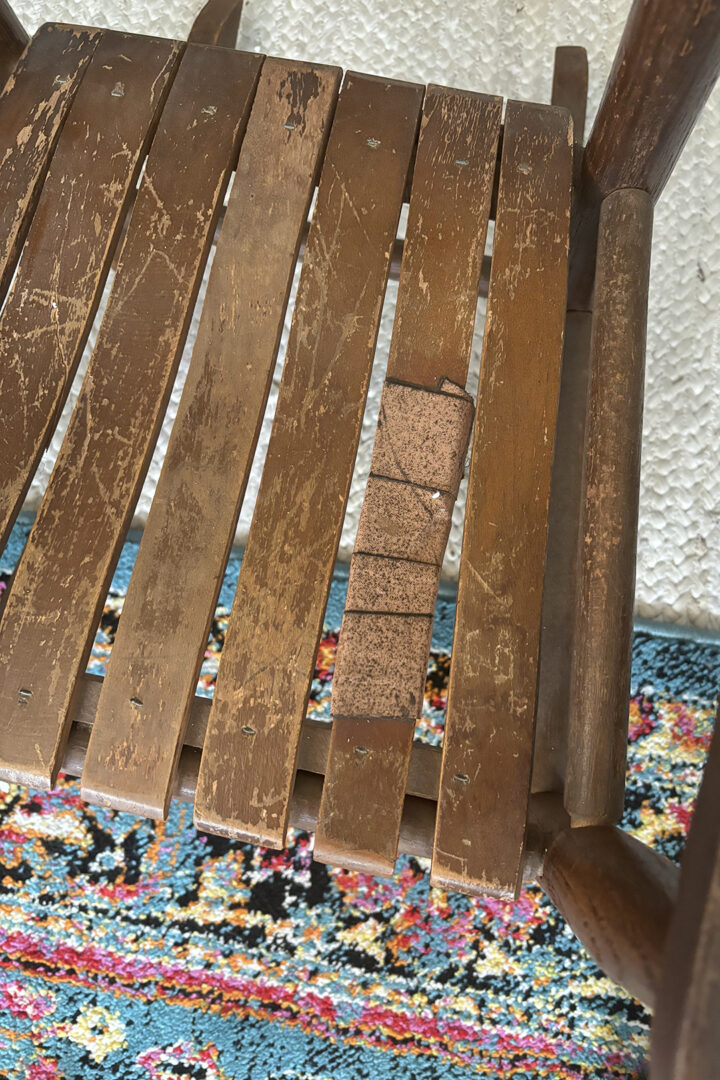
The finish on this piece was in rough shape – it had certainly seen better days! And one of the rungs of the seat was broken and repaired with some sort of tape.
Truthfully, this piece sat in my shed for a while before I finally got around to fixing it up. The other day my daughter came into my décor shed with me and saw the rocking chair sitting there.
“Mommy, is this for me?” she asked.
“Yes!” I responded. “But I need to fix it up first.”
This ended up being the motivation I needed to tackle the project.
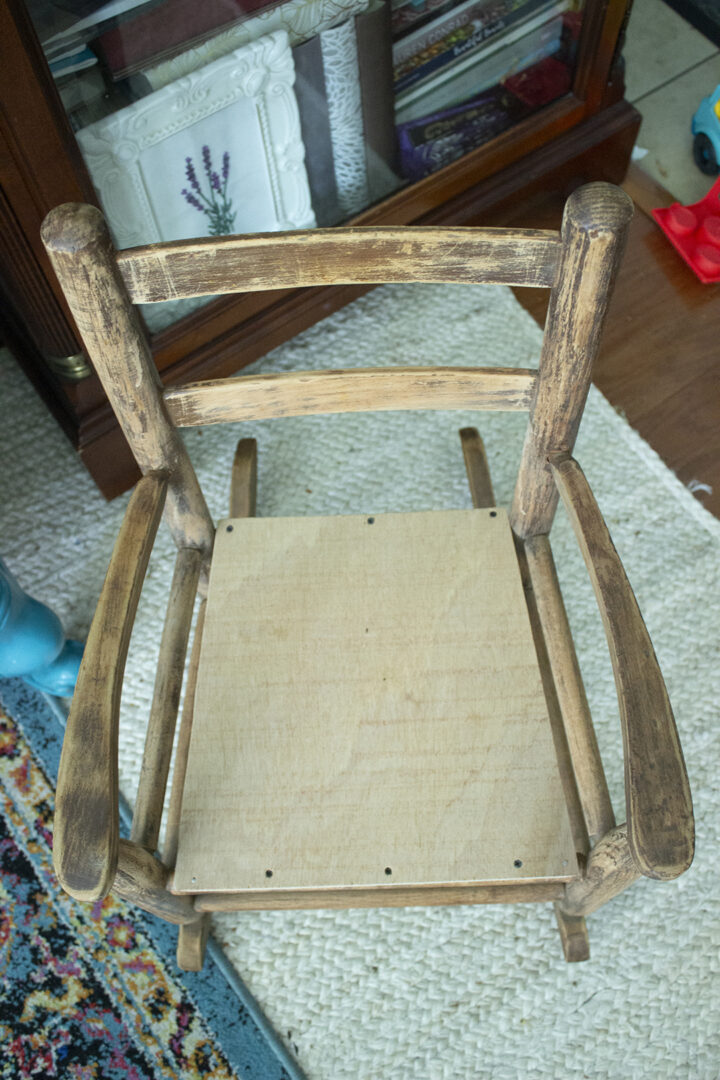
My husband started this for me by sanding down the rocking chair. Since I wanted to paint, we didn’t need to sand it all the way down – just a scuff sanding was sufficient.
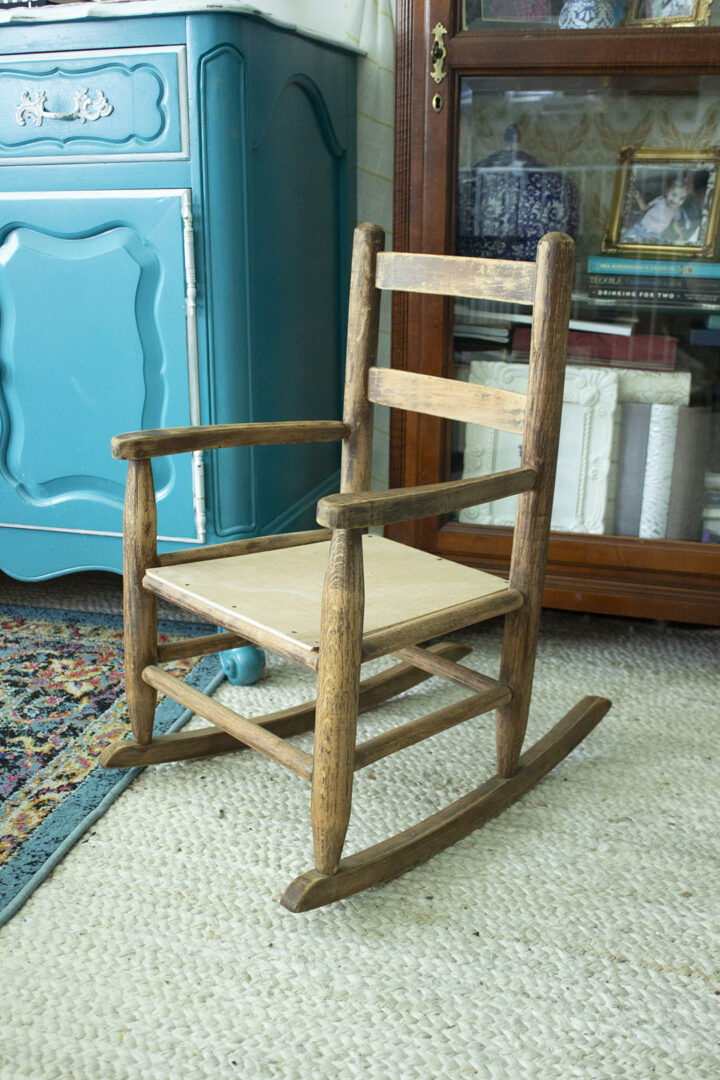
I decided to remove the broken seat entirely and replace it with a piece of plywood cut to size. My dad helped me out with this part.
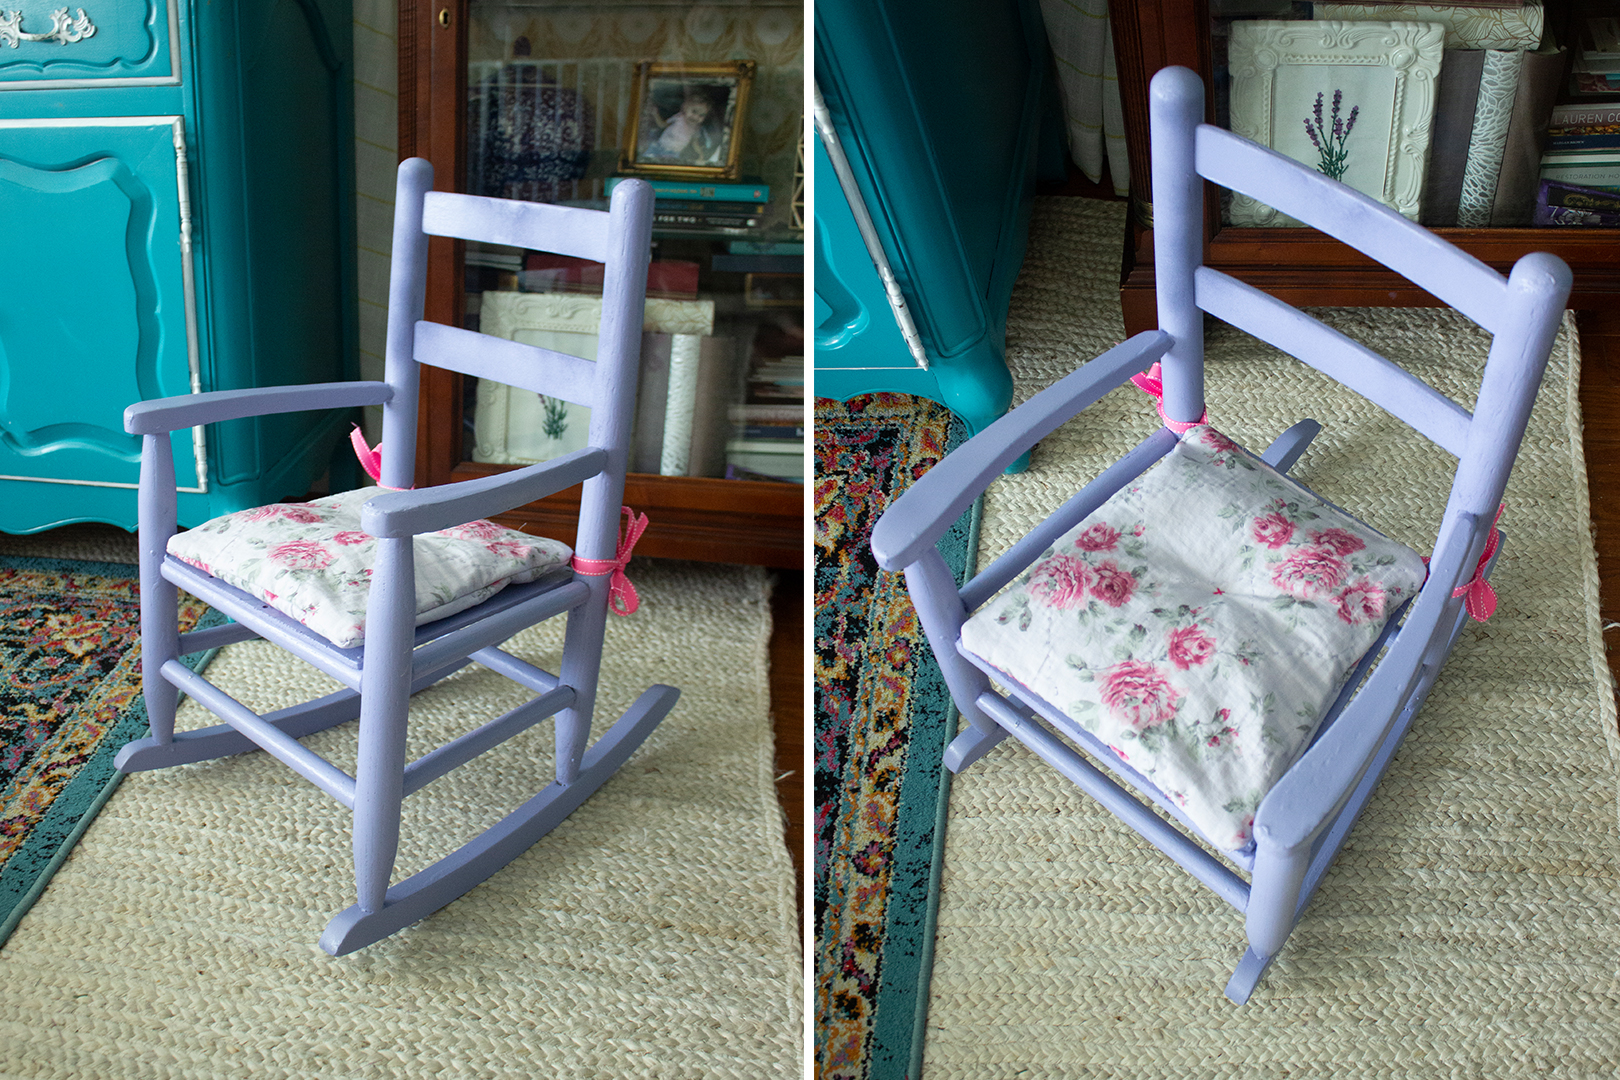
The final step was painting. I used Rust-oelum spray paint and primer in French Lilac, a color that my daughter picked out herself. I started by spraying while the piece was right side up. Then when it dried, I flipped it over and painted the bottom half.
The final touch was to sew a seat cushion for the chair. I created a pattern for this by tracing the seat onto a piece of paper. Using the paper as a guide, I then cut the fabric out to be a half inch wider on each side of the seat (one inch wider and longer total than the seat size). This allowed me to sew with a half inch of seam allowance on each side of the cushion.
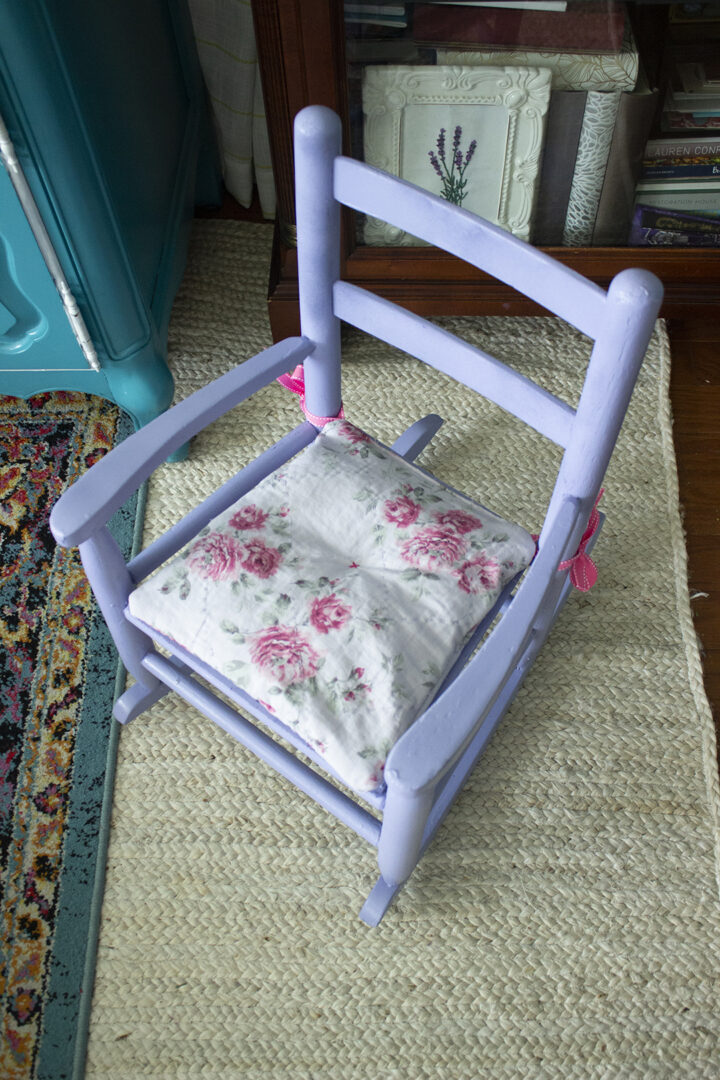
For the fabric, I used leftover pieces of a quilt that I had previously used on some other projects for my daughter’s room. When I stitched the seat cushion, I sewed in some pink ribbons to serve as ties that would attach the cushion to the seat. I lightly filled the cushion with stuffing and stitched it shut.
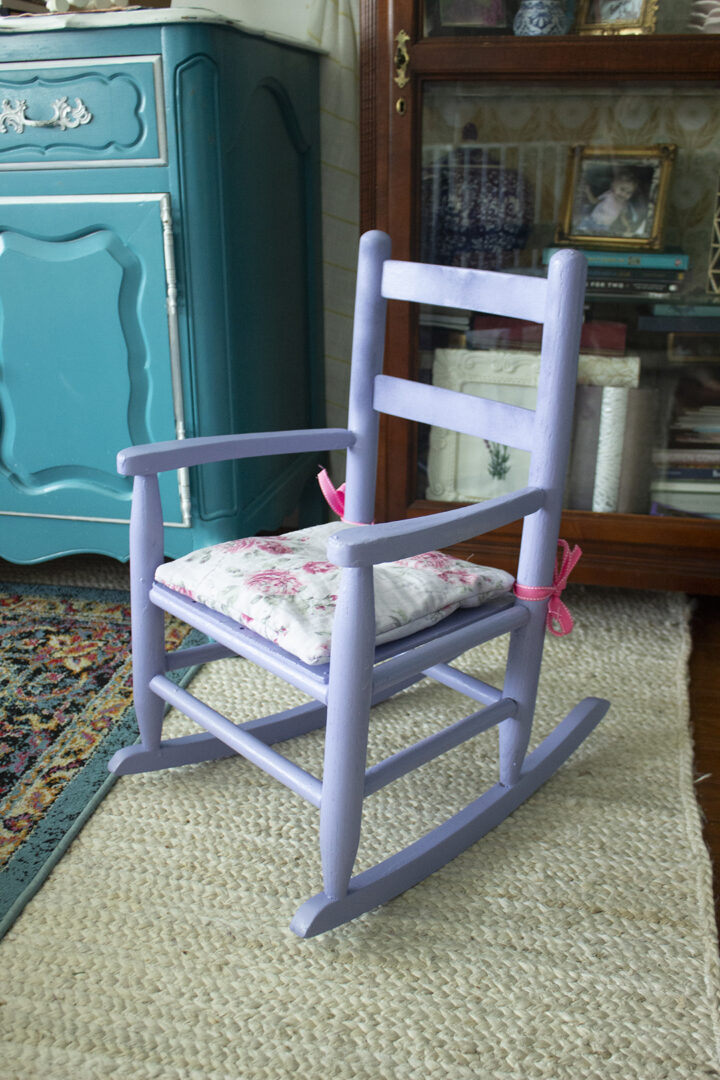
My daughter was so thrilled with this project! Most recently, I caught her sitting in her rocking chair pretending to nurse her baby doll. It goes perfectly with her girly butterfly bedroom.
For a closer look at this project, check out the Instagram reel that features this rocking chair.

Design, thrifting, and entertaining are my passion, and I share that passion with you through this blog. I also love being in the kitchen and crafting cocktails. I love Jesus and occasionally, I talk about him too. He has been so powerful in my life, and I love to bring him glory with my hobbies.
©2026 Lauren Correa. All rights reserved. Design by Lauren Correa.