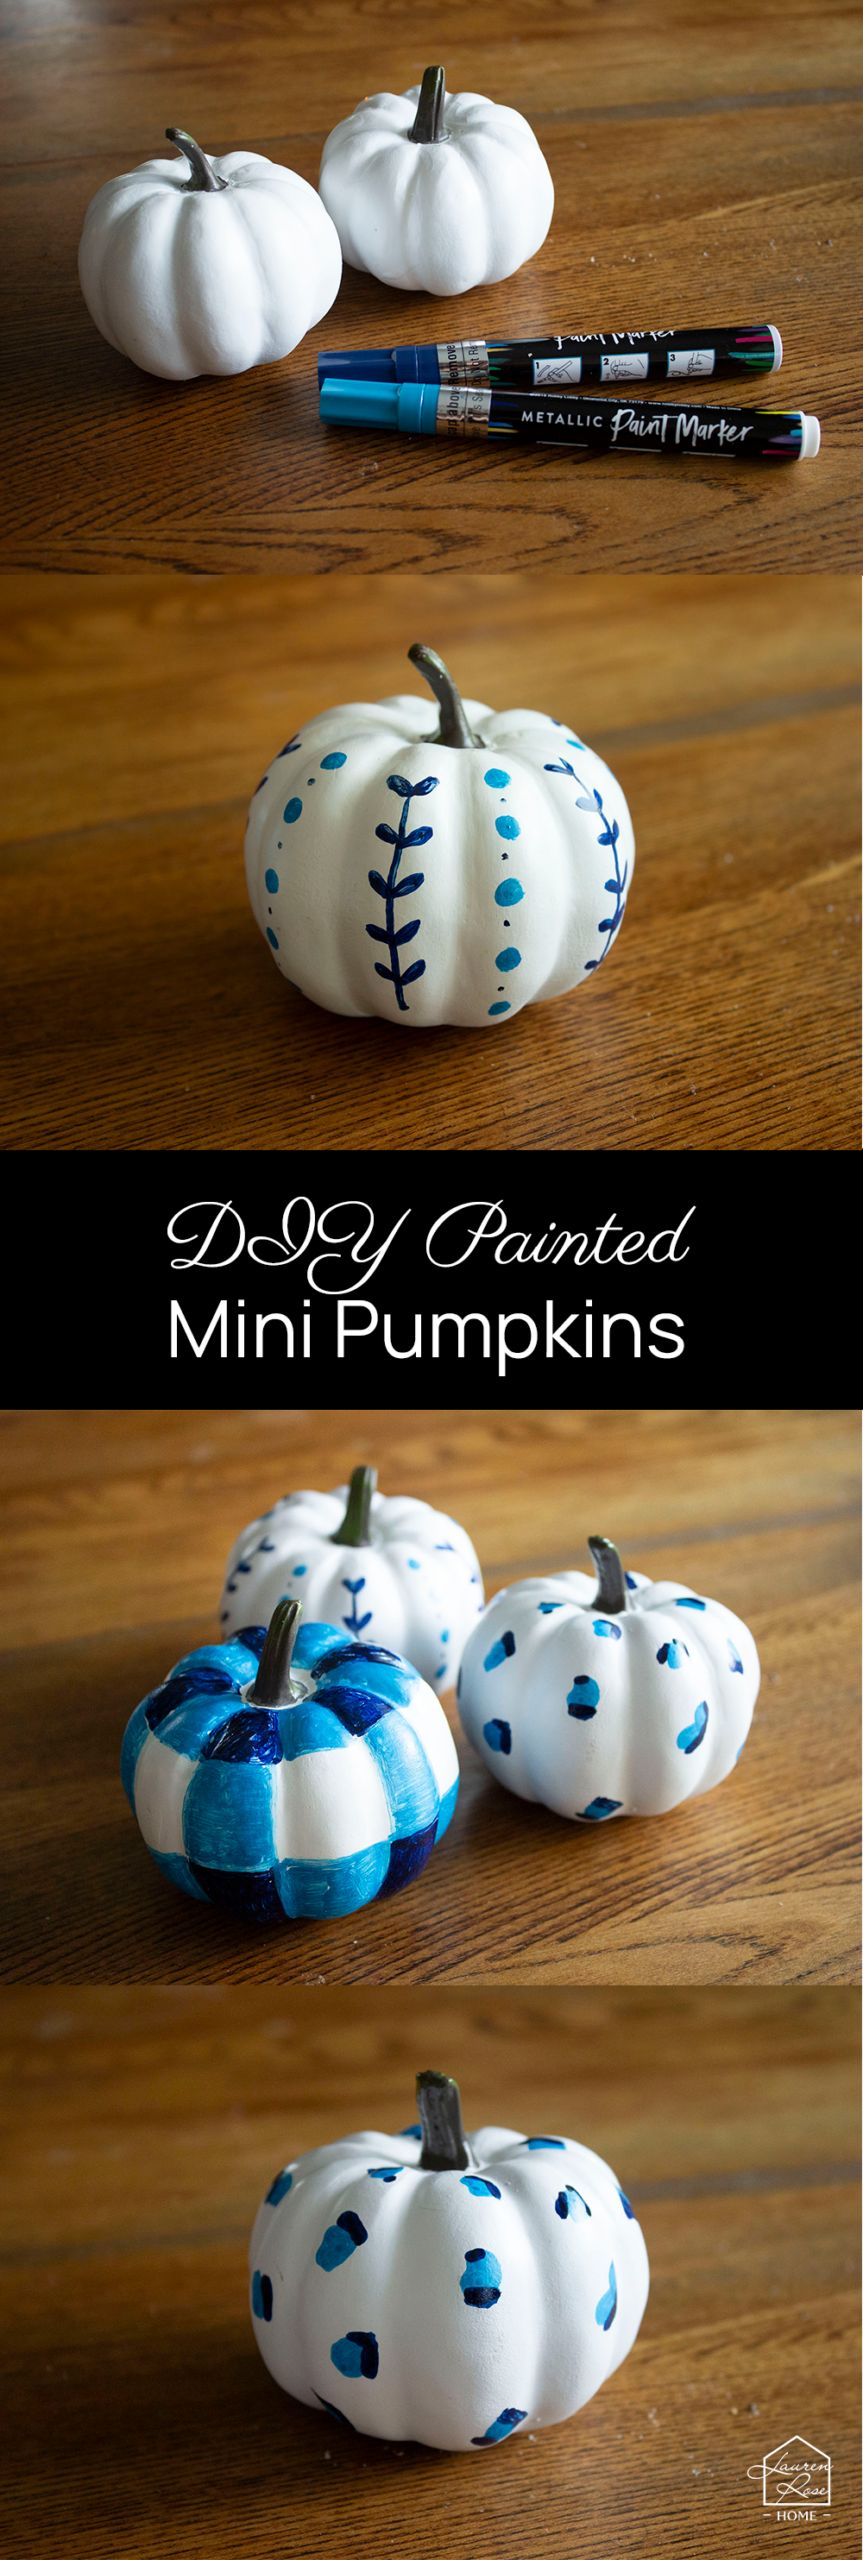
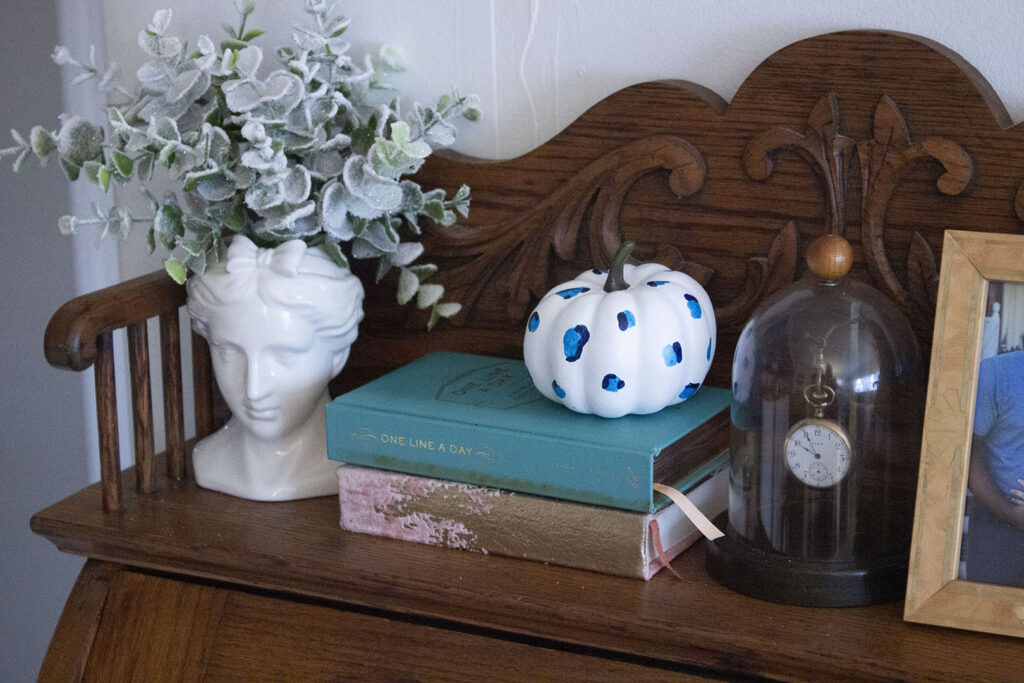
Miniature pumpkins are a cute way to decorate for the fall season! They are a great addition to your bookshelves or placed in a bowl as filler. You can buy real pumpkins, or pick up some faux ones to reuse year after year.
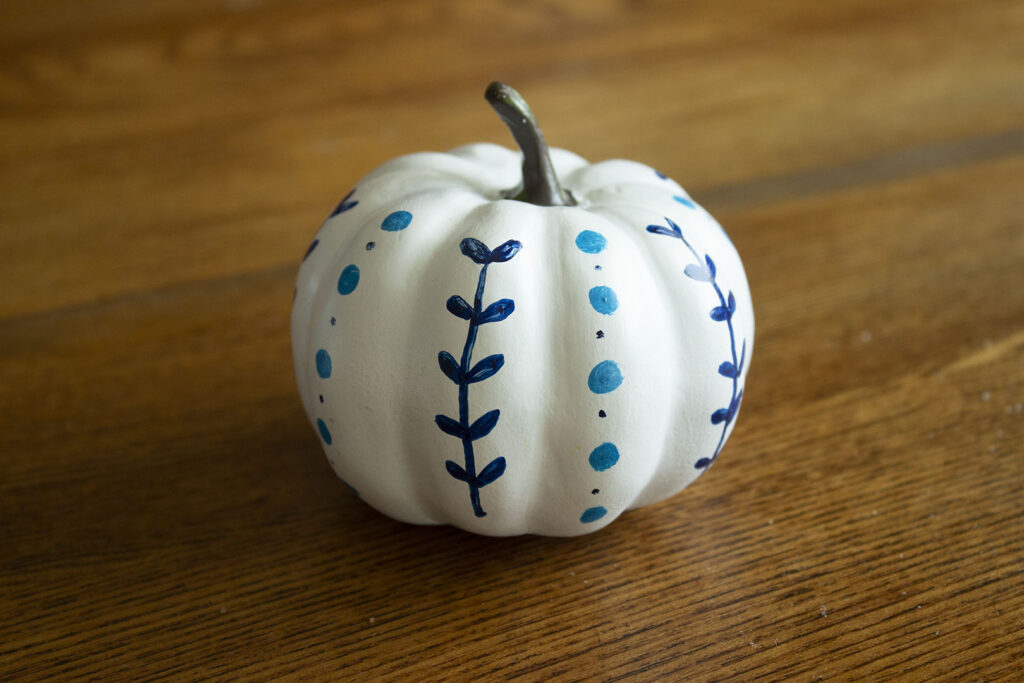
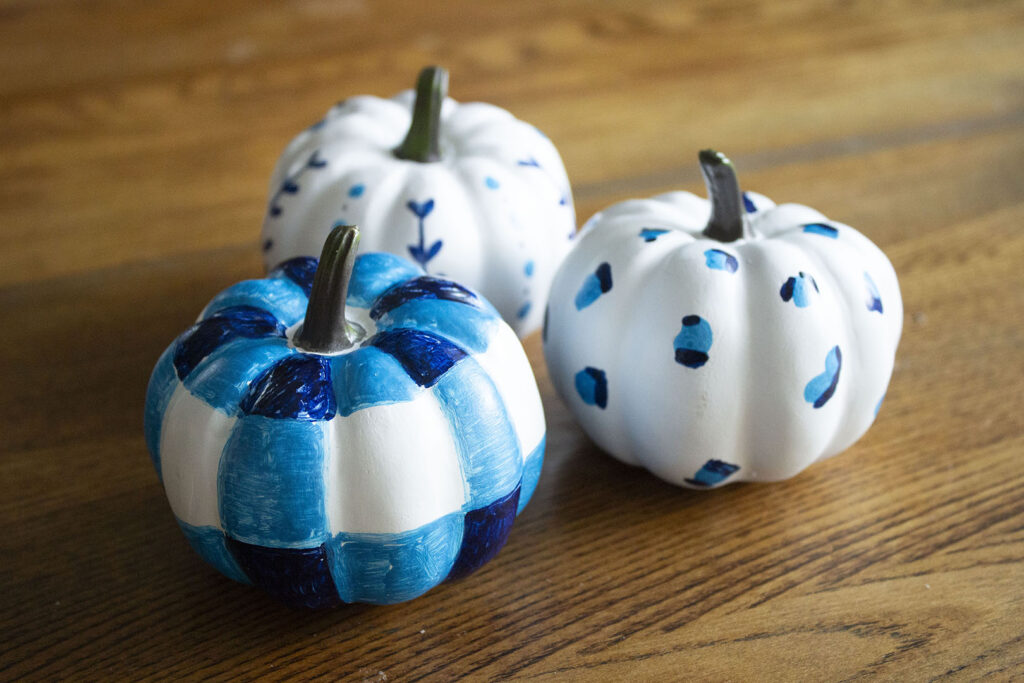
I’ve always wanted to paint some chinoiserie style pumpkins for my fall decorating. I’ve seen them on Pinterest and never quite got around to making them until this year. You may have painted pumpkins before, but these are elegant and go great with grandmillennial or traditional décor.
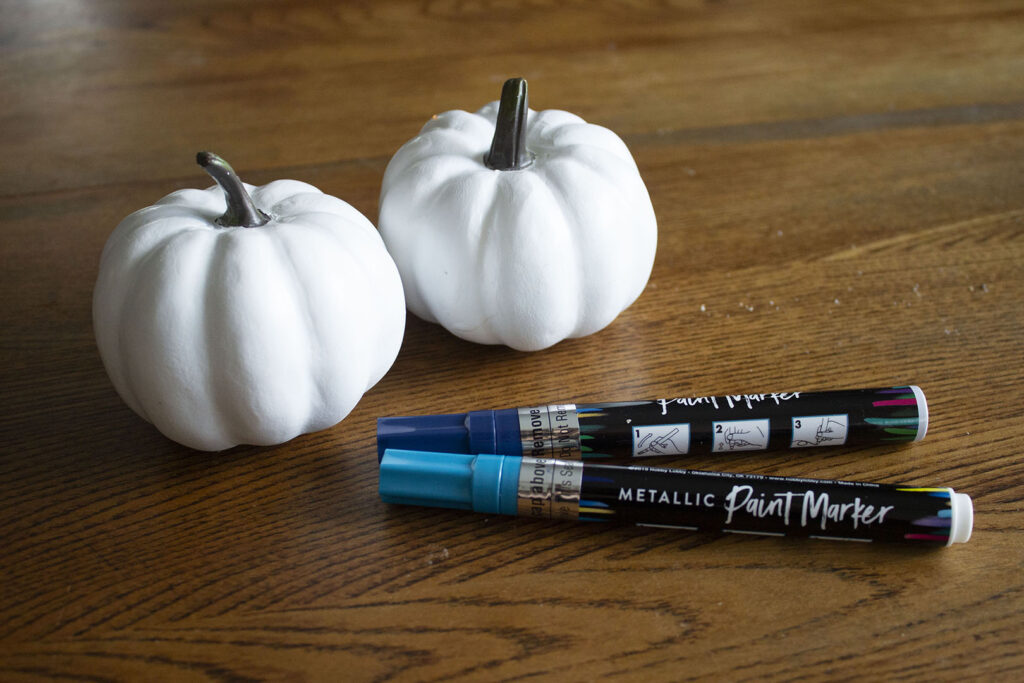
For this project, I picked up three small white pumpkins from Hobby Lobby. They were $3.99 each, but I bought them at 40% off. I also picked up a few paint markers from Hobby Lobby for $1.99 each. Read on for instructions and tips for creating your own painted pumpkins!
If you try this project, be sure to post a photo on Instagram and tag @LaurenRoseHome so I can see your pumpkins!

Design, thrifting, and entertaining are my passion, and I share that passion with you through this blog. I also love being in the kitchen and crafting cocktails. I love Jesus and occasionally, I talk about him too. He has been so powerful in my life, and I love to bring him glory with my hobbies.
©2026 Lauren Correa. All rights reserved. Design by Lauren Correa.